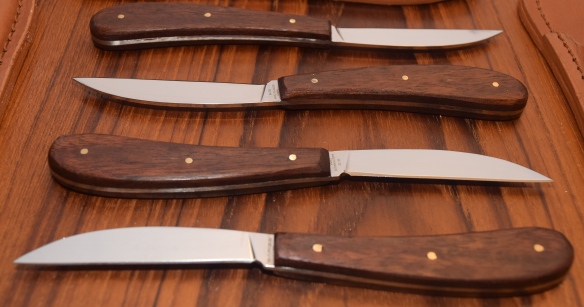
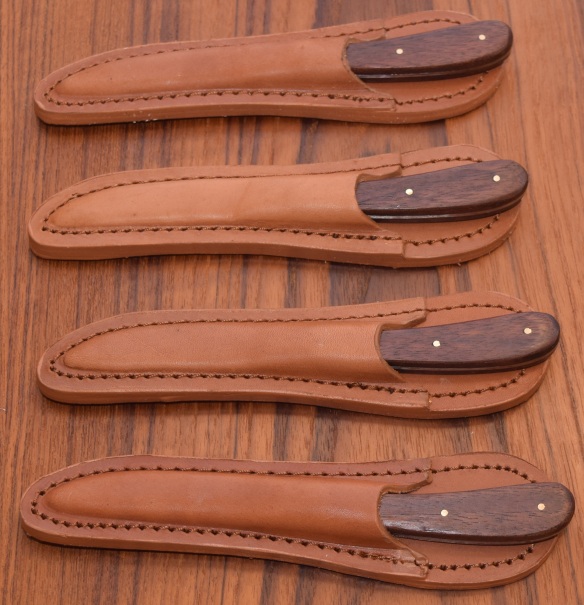
The family wood strikes again. Mother’s day gifts one and two have already been delivered, and it is time for the dads. I found these letter opener kits at woodcraft, and they include a blade, leather holster and brass pins. All you have to do is make up the scales, bond them on, and sand away the excess. It was actually that simple, and by going really slowly and carefully they turned out great.
I wanted three total. One for my dad, one for my father in law, and one for me. This is far enough out of my comfort zone that I bought a fourth kit to build first as a test article. I have watched enough forged in fire to know that things can go wrong at the handle assembly. Enter the family wood, and a thin slice via my bandsaw.

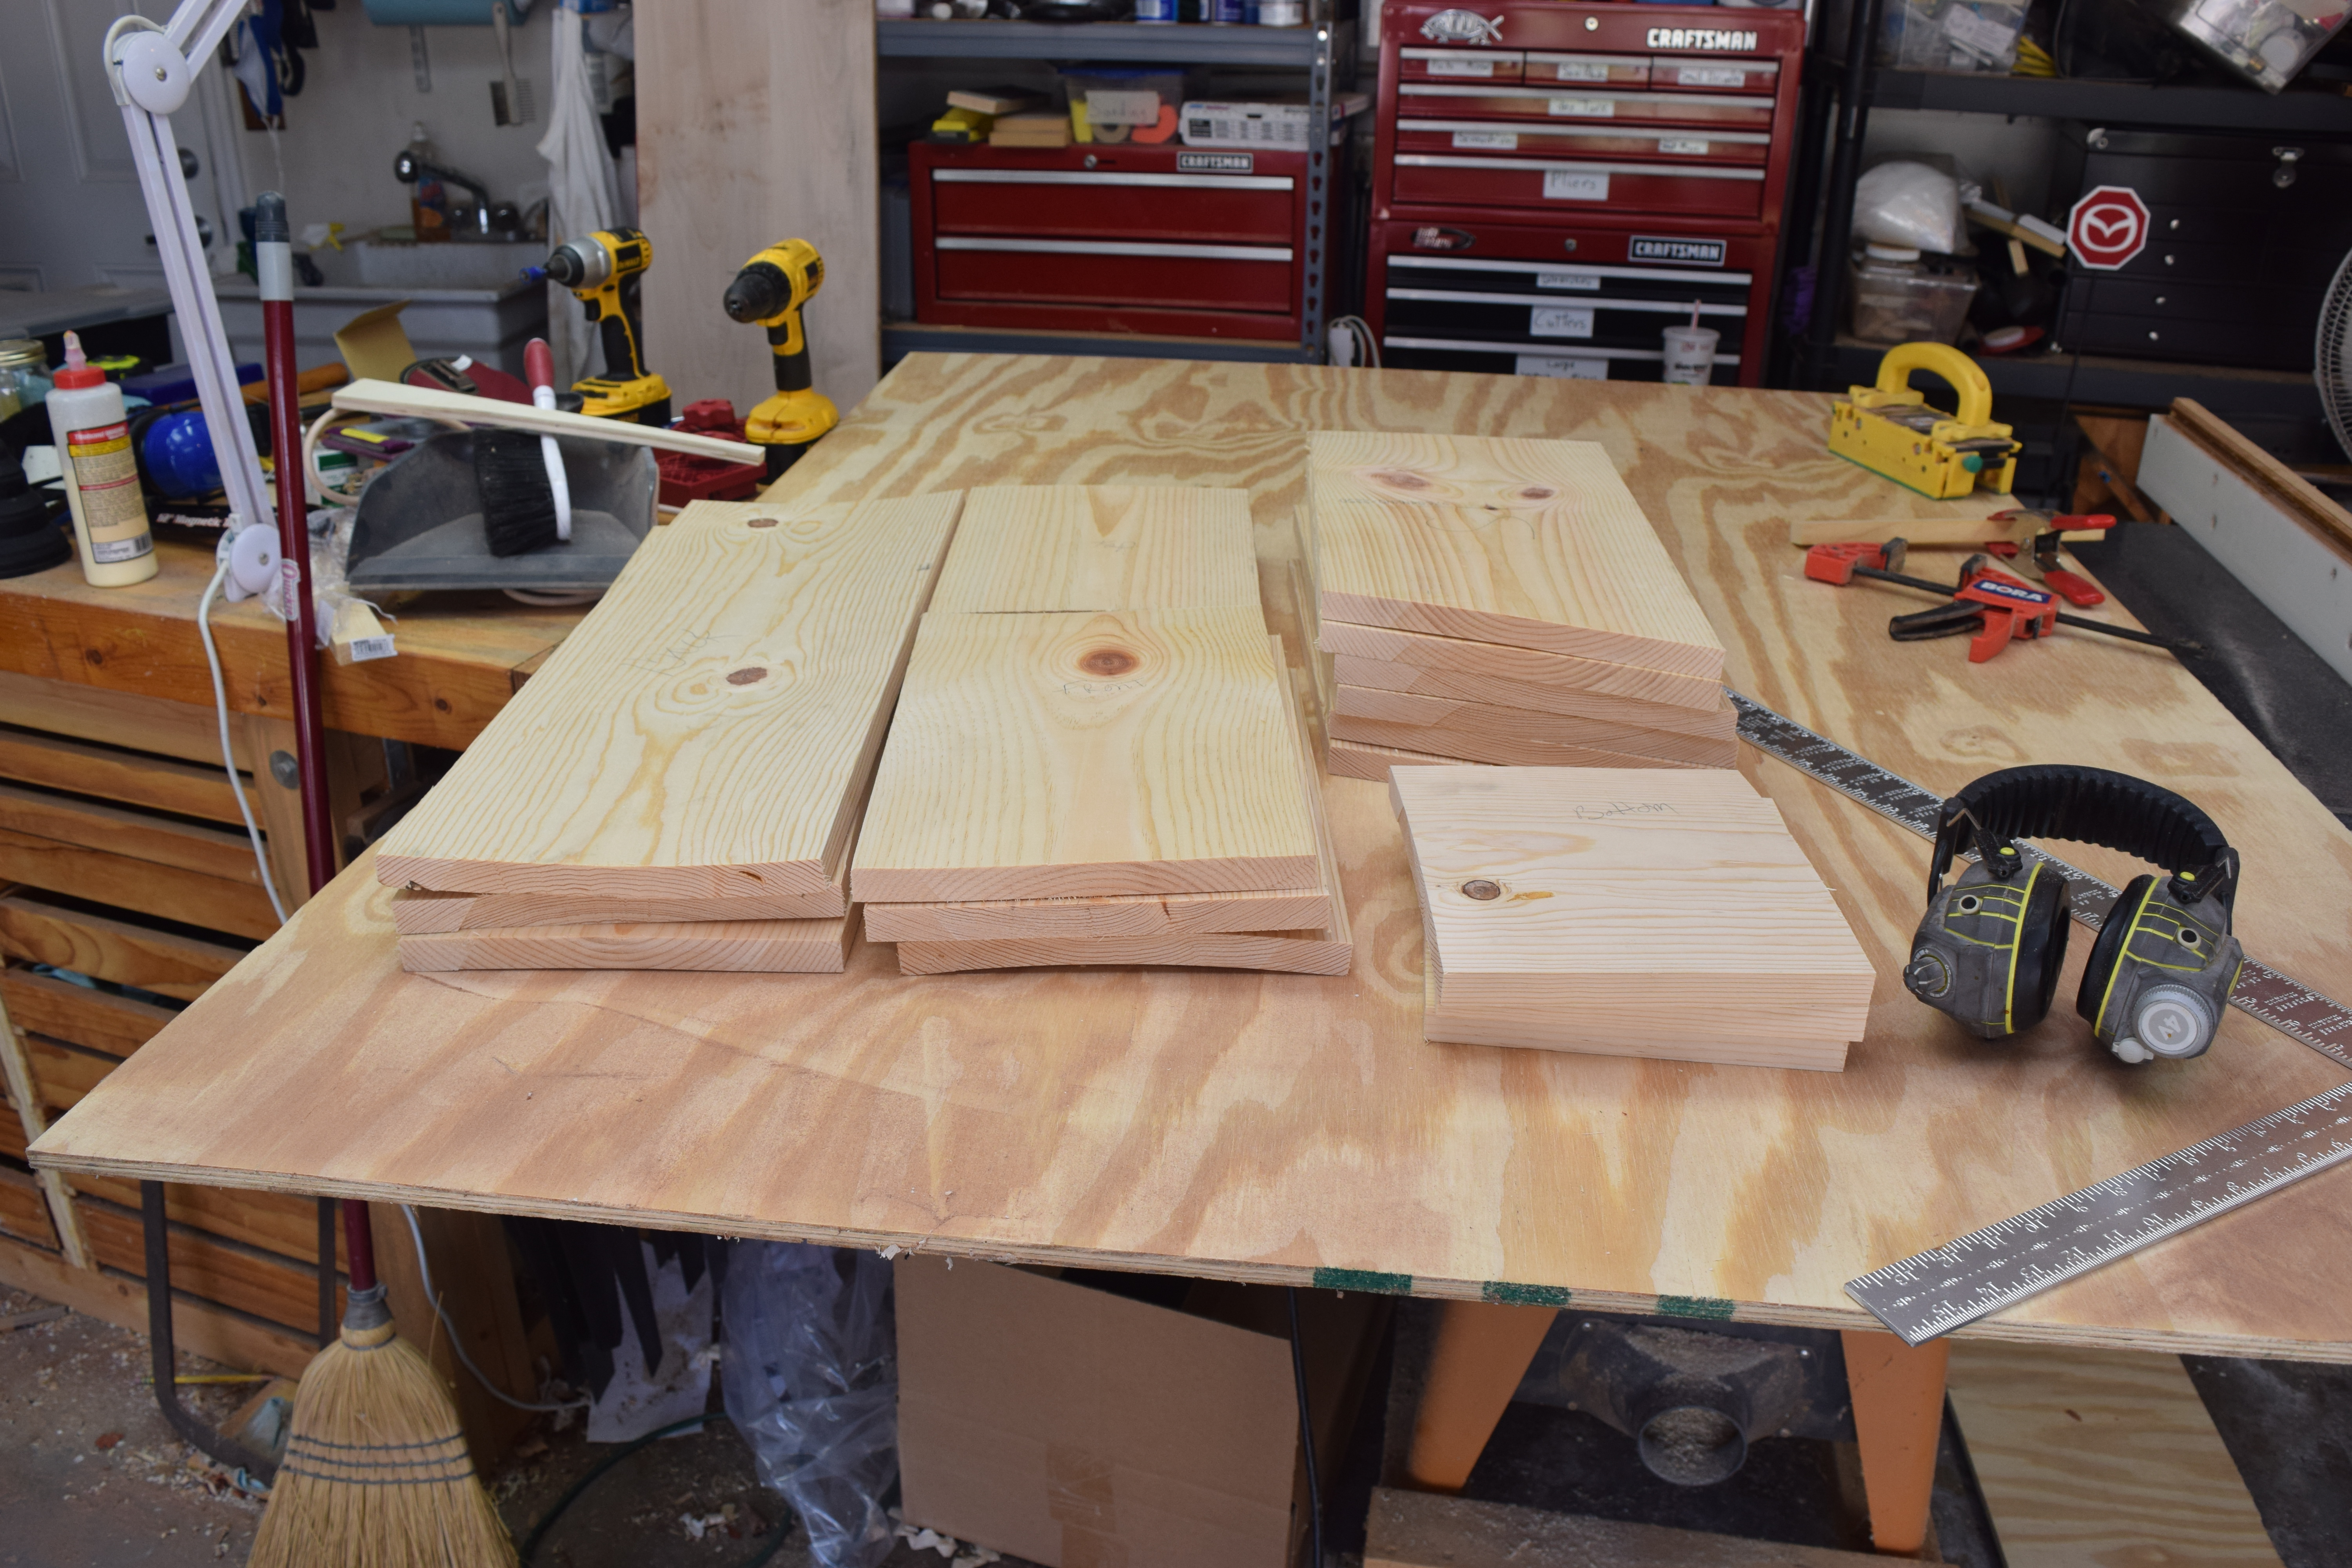
The family wood!

Thin slices for the scales
I cut down two small rectangles and held them together temporarily with carpet tape. I clamped the blade on and match drilled the holes all the way through. Once bonded on everything excess will have to get sanded, so I trimmed as close as I dared with my band saw. The metal surfaces got a light sanding for bond strength and everything got a wipe down with alcohol. I used T-88 which has a really long working time and high bond strength.

Scales cut to rough size

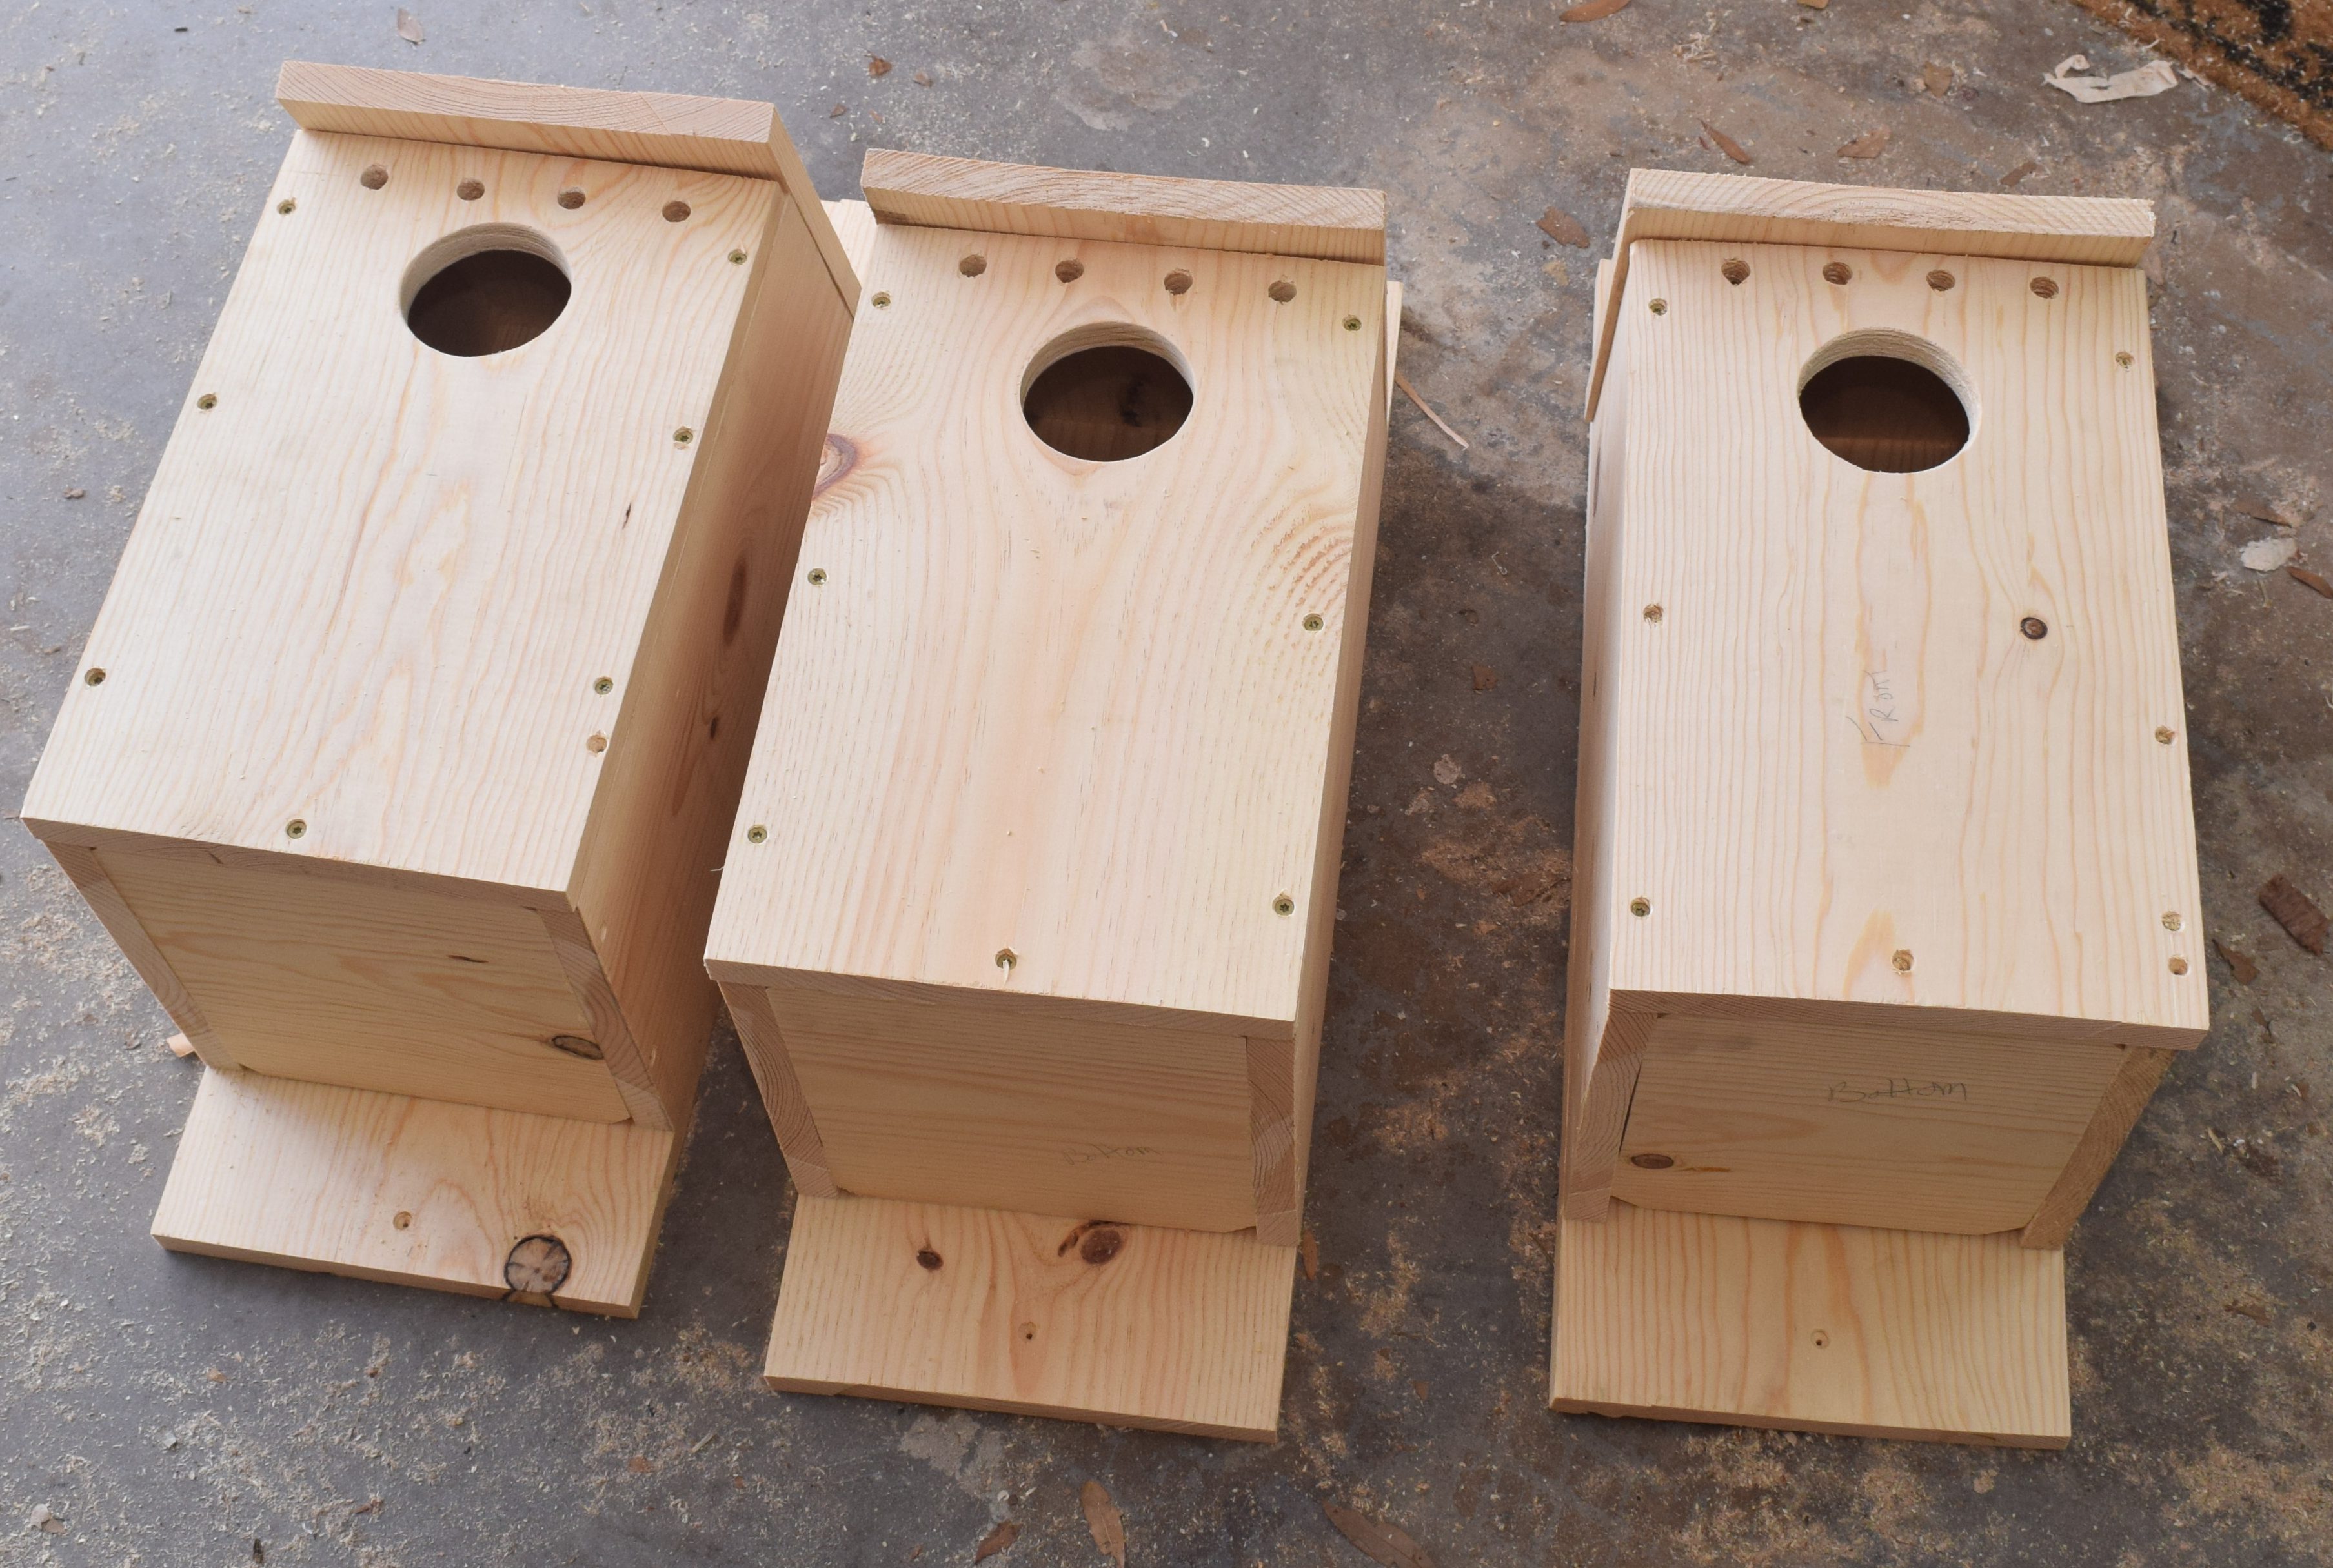
Holes drilled

Successful glue-up
The next day the clamps came off, everything seemed solid, and it was time for the sanding. I have a junky harbor freight 1×30″ belt sander. It rattles and shakes, but really did the job. First I went over with an 80 grit to remove everything sticking beyond the metal. Once squared I went to 400, then 1000 grit belts to refine the shape and polish the metal interface.

Squared with 80 grit

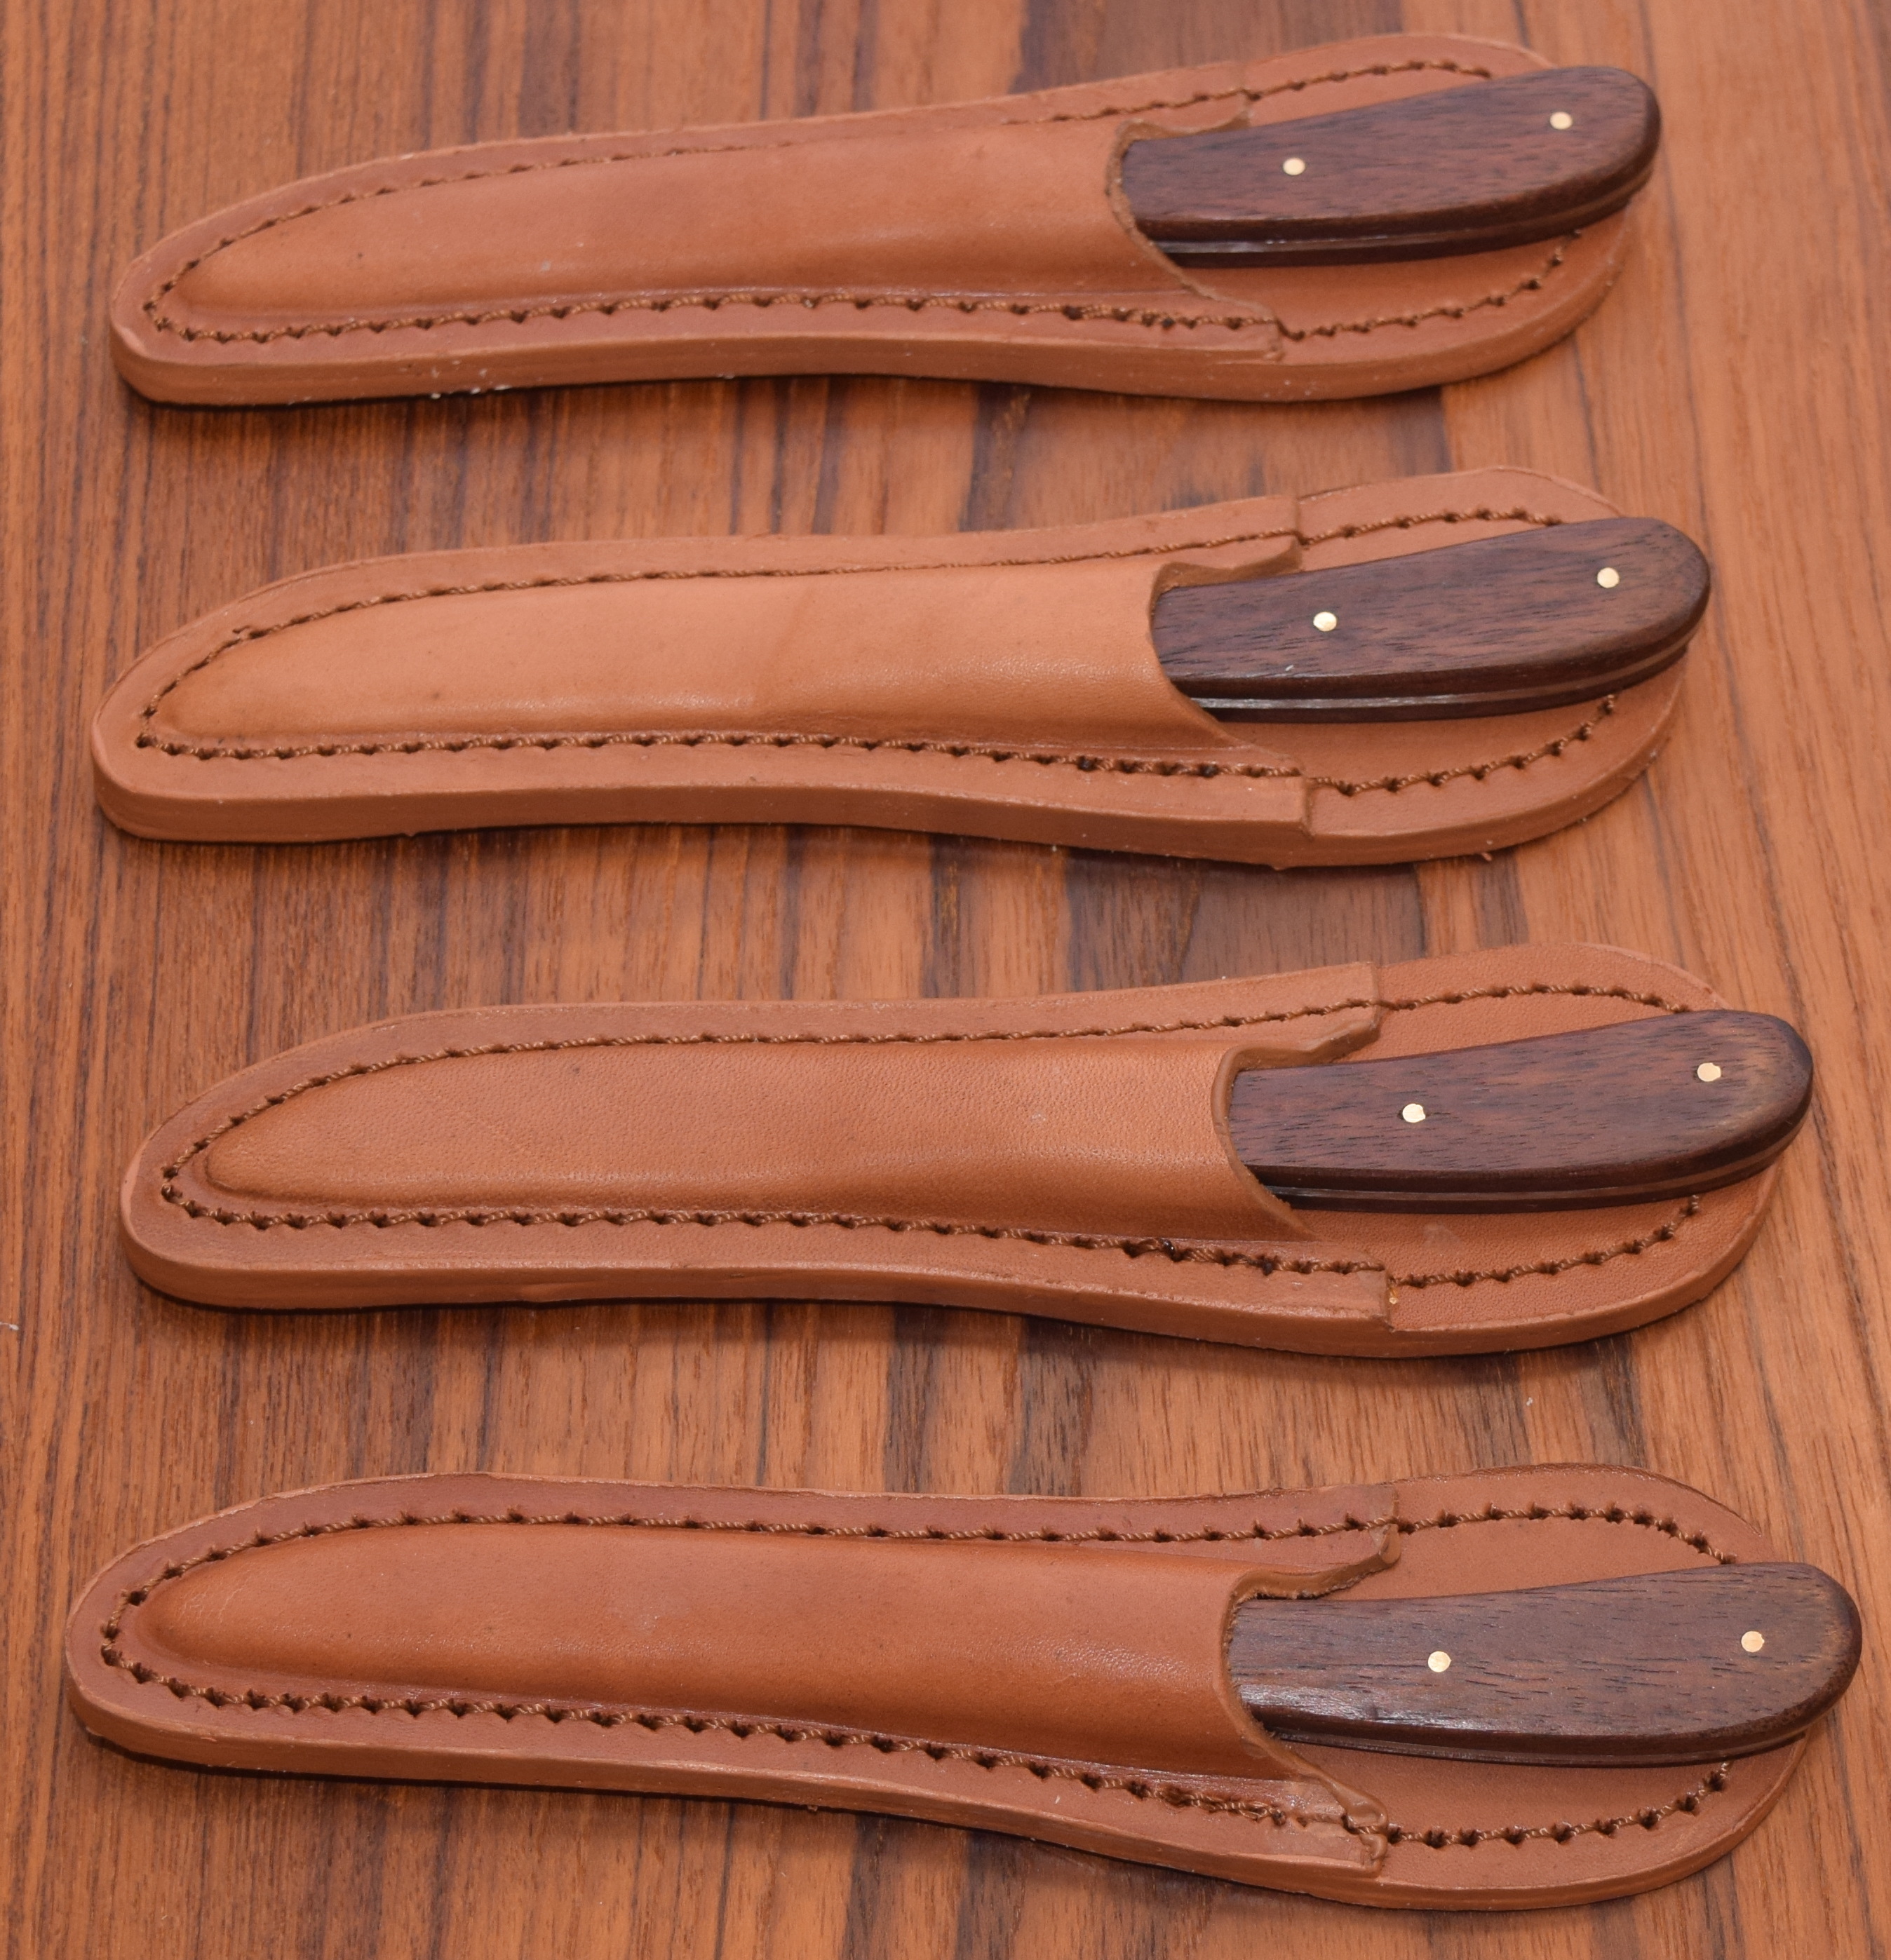
Final product
It turned out really well. The instructions wanted you to cut the scales to match exactly, then bond. I figured this way guaranteed that everything fit smoothly, and if you used high enough grit, the metal could be put back to a polish. I was right!
With one down and finished I had everything figured out to do the other three. Doing them in a batch made things go quickly and efficiently.
My only point of confusion comes with the pin insertion. Do you put them in the bottom scale, then install the tang, then the top scale? It is hard to see if the pins are a little crooked, and everything is sticky with glue. Pounding them in from the top with all pieces sandwiched means you are hitting the bottom scale’s holes blind. I tried variations, and still haven’t refined that part of the build well yet.
The last picture on the right shows the first one with a coat of tung oil on it. It looks good and feels smooth in my hand. All of them turned out great, and the 4th one was kind of unnecessary. I’ll bet I can find a worth recipient.