Giant Jenga

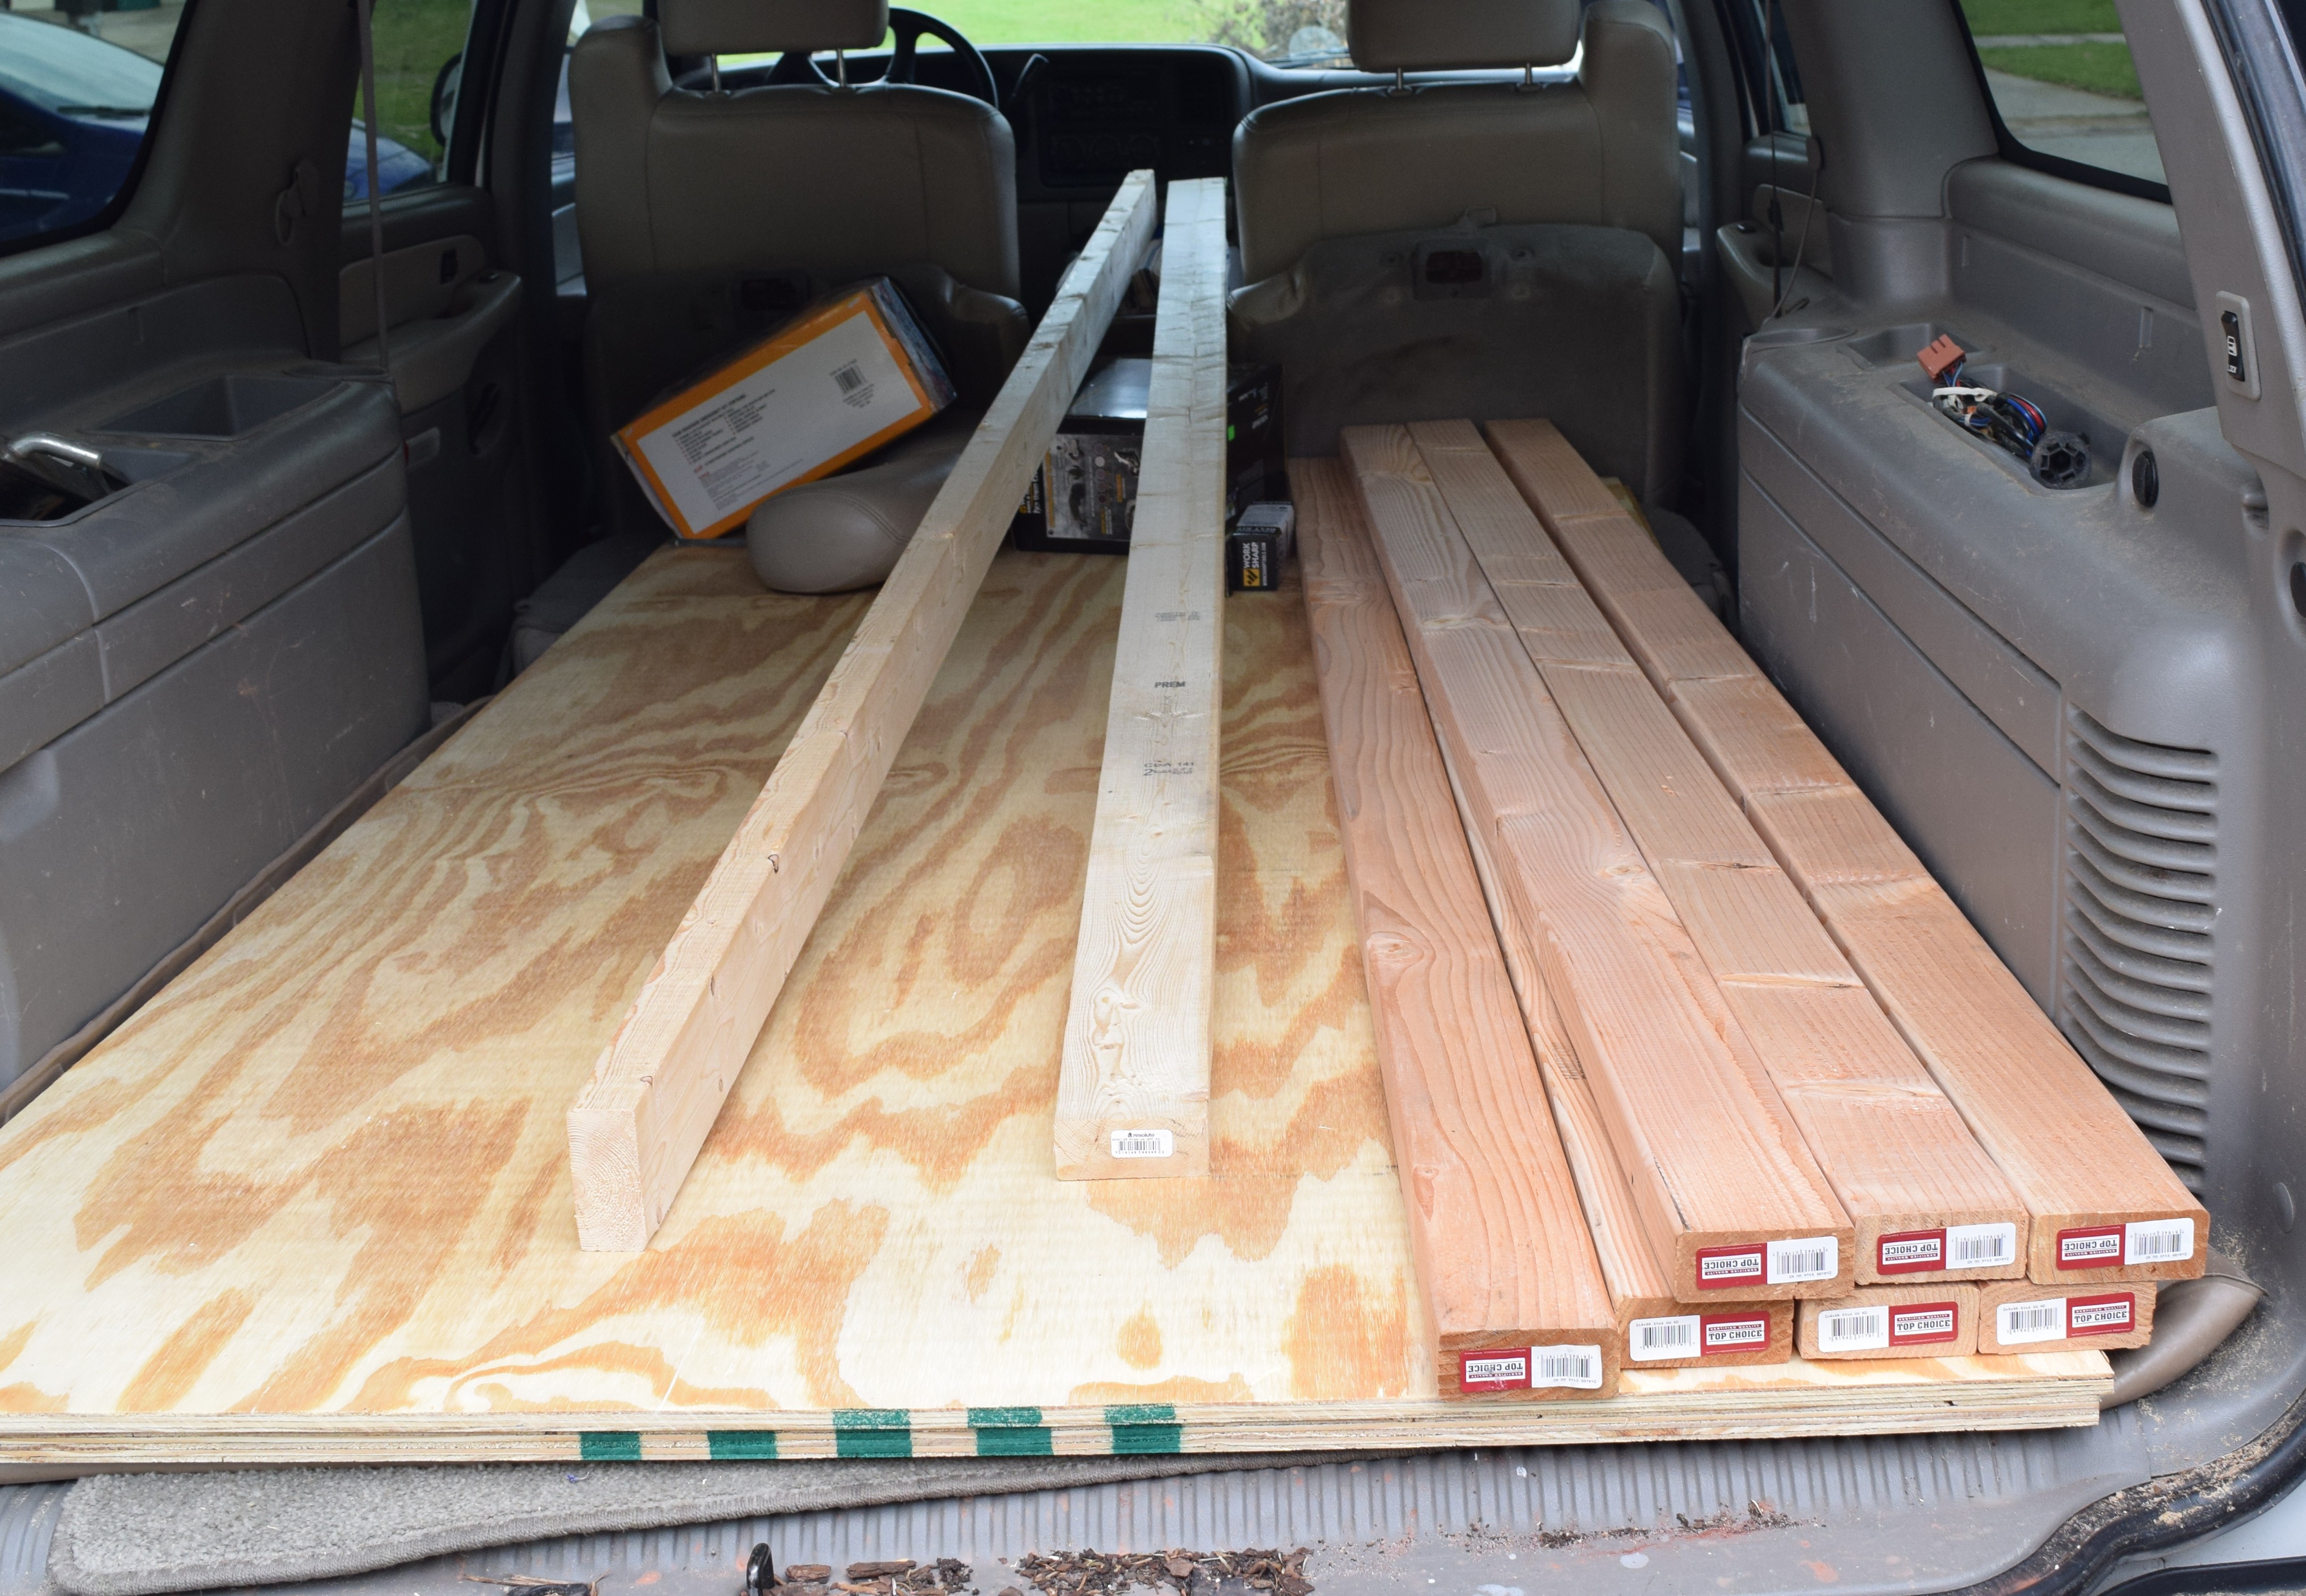
A few weeks ago a friend of mine asked for help making a giant jenga game.  It sounded like a lot of sanding, luckily I could make him do that part!  Step 1, acquire a lot of 2x4s and plywood to make a box.

DSC_0090

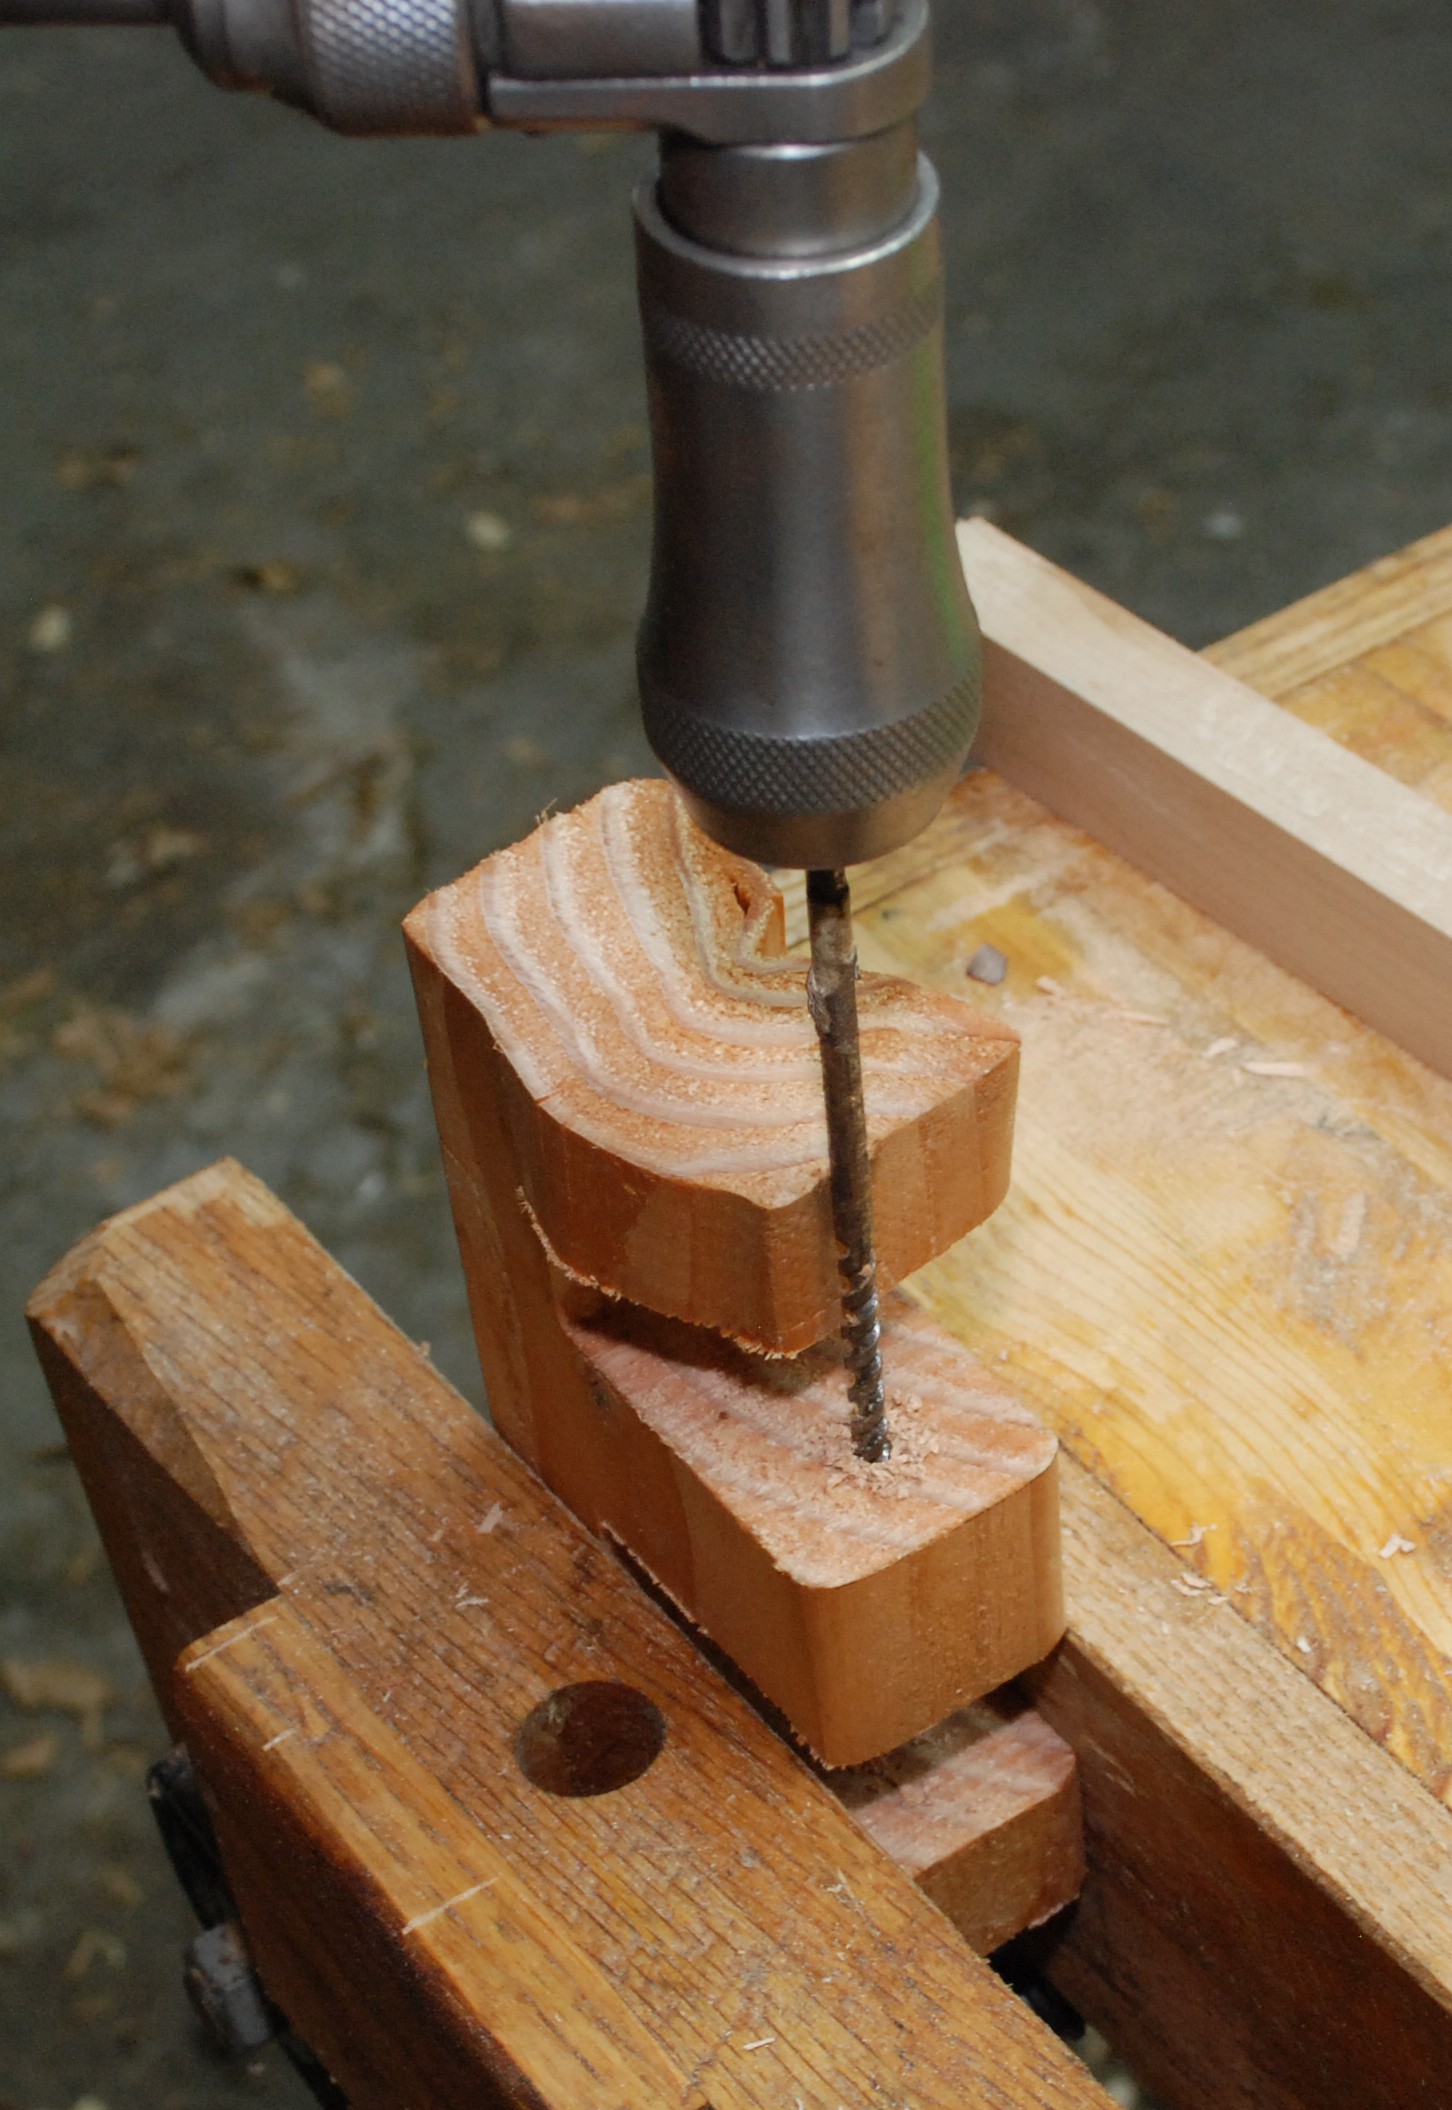
Now, cut a minimum of 72 10.5″ sections.  We cut a few extra 2x4s so we could be choosy and kick out ones with bad knots or dings.

The stack up comes out to 3 feet tall.  It is the equivalent of eight 8 foot 2x4s.  That is a lot of weight.  How about a box to move it around?  Stacking them 6 wide gives a box that is more or less square in width and height.  It should be a good dimension for picking up and transport.  We used pocket holes to tie it all together.

Once the box was assembled the moment of truth came.  Would it all fit?  I left a 1/2″ in length so the wouldn’t get bound up coming out of the box, and added an inch in width to help get fingers in for pulling them out.  It worked well, you can comfortably stack 3 wide at a time from the tower to the box.

Best of all, the box fits perfectly in the back of his hatch back.  It is heavy enough to require two people to haul across any distance, but it is a good size for one person to carry for a short bit.

DSC_0109

Pinball in Cube

This goes nicely with my nail in the block “puzzle” as a way to confound coworkers.  Once again it takes advantage of wood’s ability to swell along the grain when wet.  I started with a 3″ block of maple and drilled centered holes all the way through.  I had a 3/4″ pinball, so 5/8″ was the drill diameter

After looking at it for a bit, I felt like the holes were too small for the total block size.  I needed bigger pinballs or a smaller block.  The install was pretty easy.  I dunked the block in a bucket for a day, and then pushed the ball in on my wood vice with the help of a small 1/4″ deep socket.  The hole still looked ok, but I threw it back in the bucket for a few hours to make sure it returned to its original shape and size.

With the ball installed and everything dry, I took it back to the table saw for a diet.  All the edges came down till the proportions seemed right.  I liked the look of the chamfer, but my crummy chamfer bit chewed up a few edges.  Still, overall it looks nice and should leave some heads scratching.

Nailed It

This is kind of a puzzle in multiple ways.  It is supposed to be presented to people as an impossible puzzle.  How did the nail get there, how do you get it out?  In reality, it was kind of a puzzle figuring out how to make it properly.

DSC_0244

I have seen it described a number of times.  Cut the shape out of a block of wood, boil the one end for a while, clamp it down in a vise till it dries, put the nail in, and reboil to (mostly) return the wood to its original form.  The finished product pictured above is my 3rd attempt.  The first two times had an issue

DSC_0228

Something that isn’t stated, at least not in the articles I read, is that grain orientation matters a lot.  The first two blocks of wood were flat sawn, and rolled badly under compression.  See the picture below.  The successful piece is a core cut and compressed evenly during the clamp.  I don’t know if core woods work better than stuff near the edge, but my guess is you want something that is mostly quarter sawn for this trick.

DSC_0230

See how it keeps rolling over in the vice.  I couldn’t stop it, and reboiling the wood never straightened out very well.  Another lesson was to use a brace and long bit instead of a power drill.  The chuck kept getting in the way till I switched to the trusty old family heirloom.

DSC_0231

To summarize a few lessons in case anyone else wants to do this:

  • Be sure to get a really good boil, my first attempt wasn’t boiled enough and didn’t compress well
  • Use quarter sawn wood, or a core piece, flat cuts roll with the grain
  • Make sure you have a long enough bit
  • Try doing two at once.  It shouldn’t be any harder and gives better odds of success
  • Be careful when sanding everything flush later, I broke one tab clean off trying to rescue it with heavy sanding the second block