Socket Cabinet

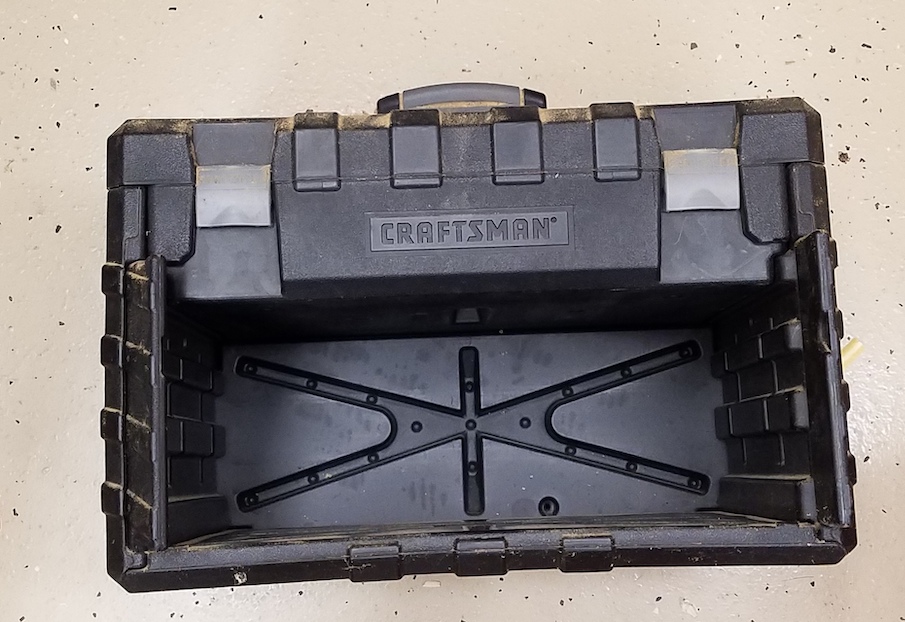
Not long after buying my first house I picked up a big set of socket wrenches from craftsman. Previously I had an odd assortment of hand me downs that were missing various sockets. The plastic trays the sockets came in were labeled and worked well. The case was always kind of shoddy. It tended to drop the drawers out and spill sockets everywhere. If you pulled the bottom drawer out the top drawers collapsed. I am finally ditching it and making my own cabinet.

I started by making plywood drawers for each plastic tray (1/4″, 3/8″, and 1/2″ socket set), and two more full drawers for extras. This is the first project I have done where I made the drawers all first, then built a cabinet to hold them all. Kind of a neat way to work.

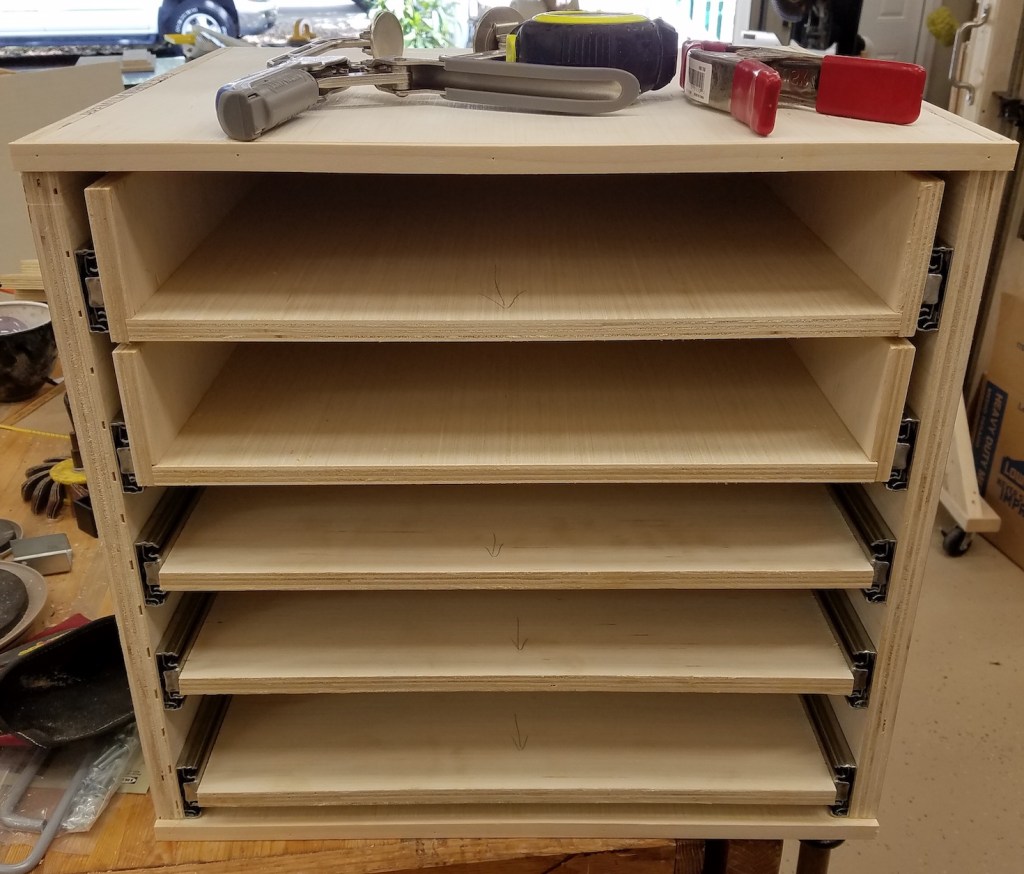
Once I got all the drawers assembled and installed into the cabinet I covered the face frame of the cabinet with 1/4″ poplar. I thinned more poplar down to 5/8″ and put a heavy chamfer on it to make drawer fronts. I thought pocket hole screws would be a great way to attach the fronts. They were, but I forgot to reset the depth of the drill bit to 1/2″ instead of my standard 3/4″, and drove the first screw through the drawer front. oops…

That won’t matter too much, and I am sure nobody will notice. Mostly because I accidentally drilled the first set of drawer pull holes at 3″ instead of 5″. Otherwise the cabinet looks great after a coat of boiled linseed oil.

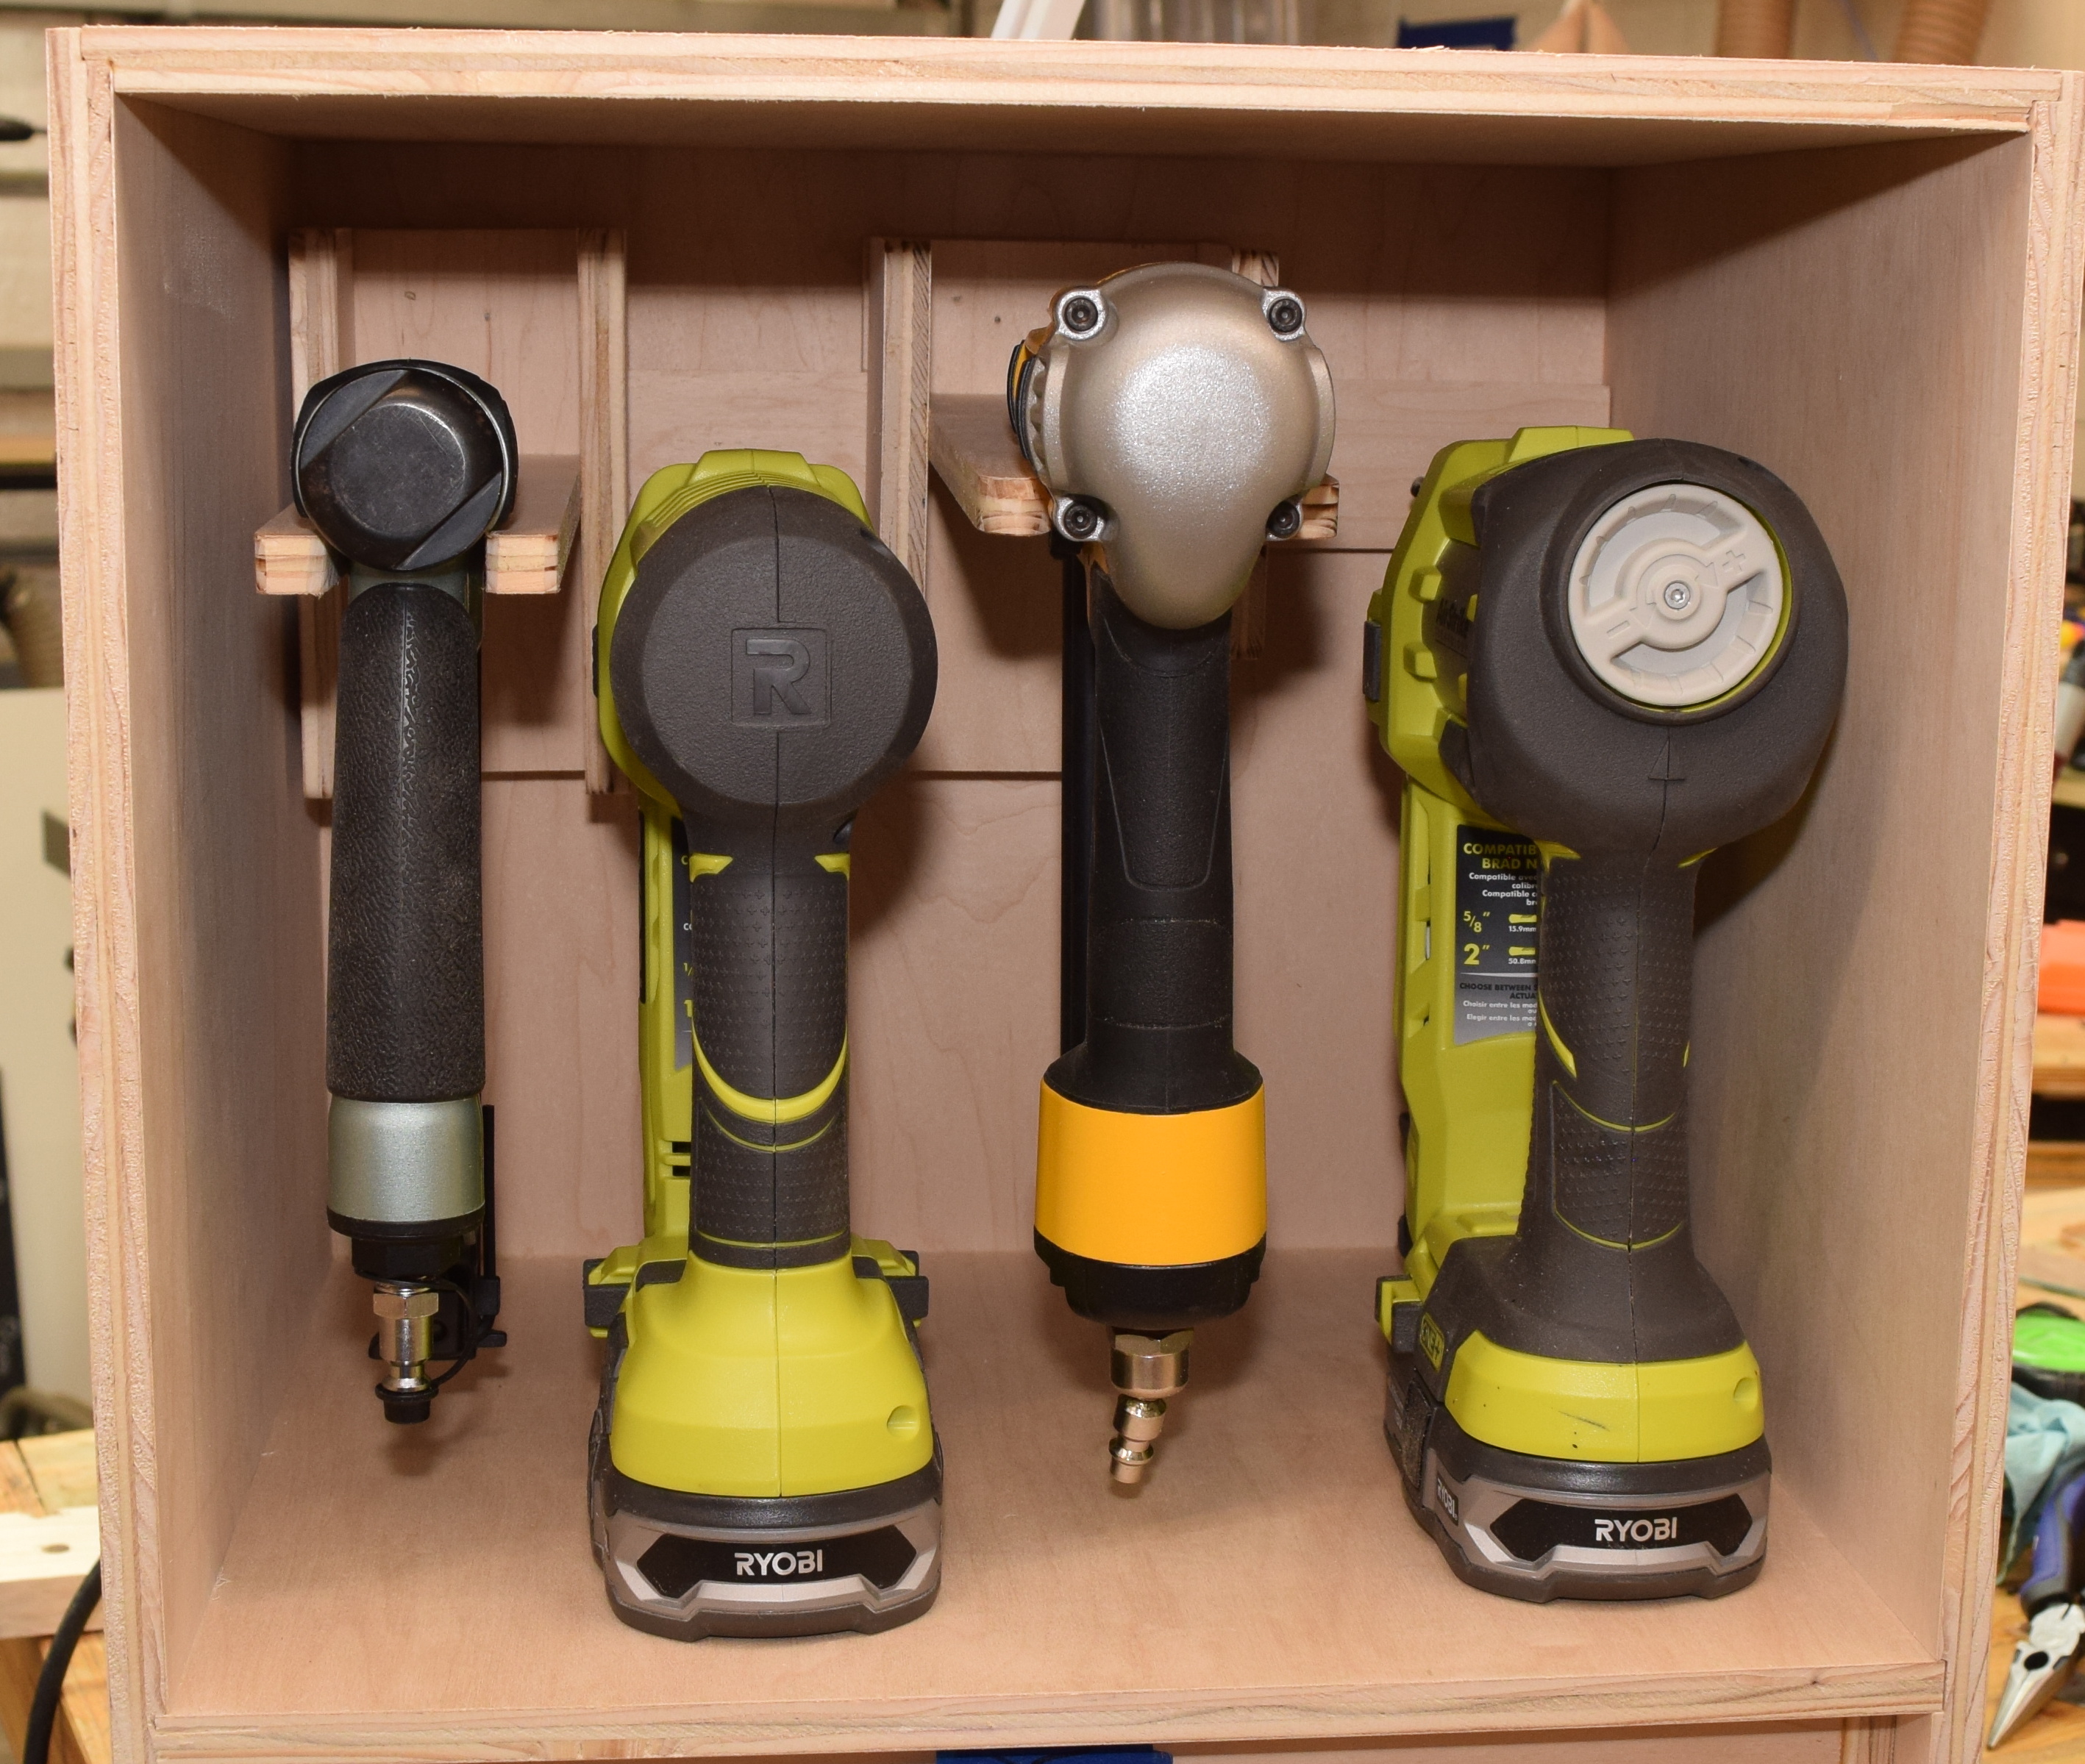
Now to fill it all up. I used small strips of plywood to make stops so the plastic organizer trays sit still and don’t slide left to right when opening and closing the drawers.

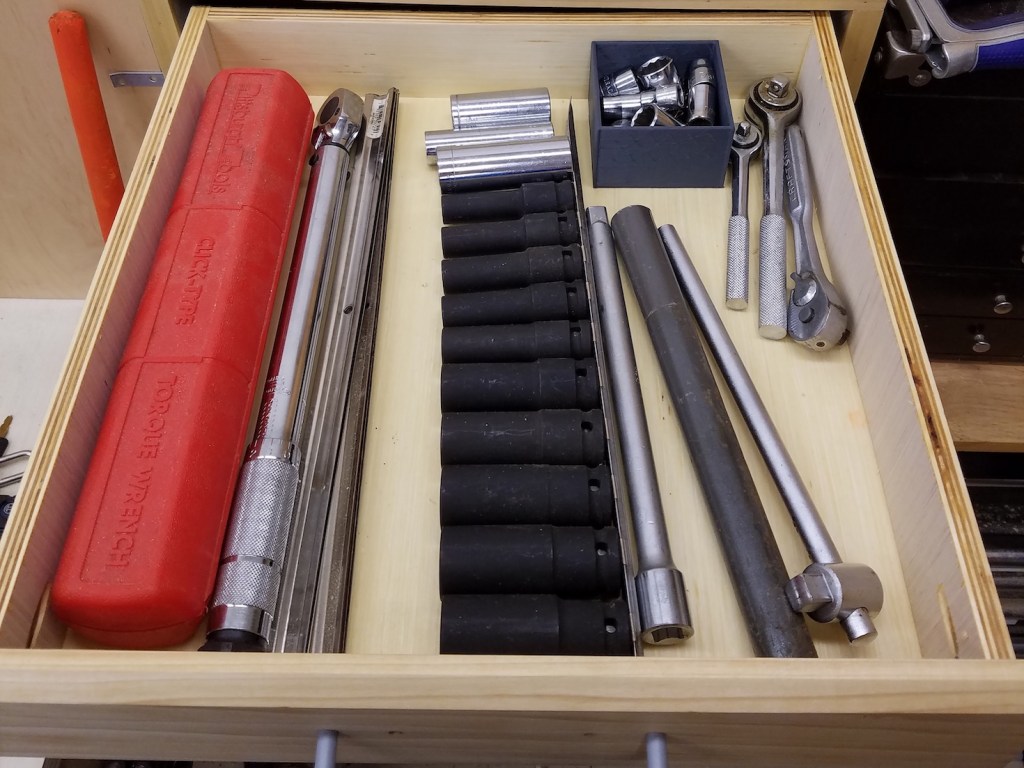
Everything fits with room to accommodate future purchases. I don’t do a lot of mechanic work, so this set will probably cover me for the very far future. Lastly I did 3d print a few little organizers and helpers. I seem to have a lot of 3/8″ extensions, so I made a little slot holder for them. Also adapters to go from 1/4″ hex drive to various socket set sizes. The steady drum beat of garage organization marches on.

Nailer Cabinet

Air nailers are a pretty wonderful invention.  They can provide low visibility fastening in a lot of different applications.  I have had a brad nailer for ages, and picked up a good pin nailer when I redid the kitchen.  The cordless electric nailers are a lot heavier than their air counterparts, but for just a few quick hits, they are awesome.  I recently built up a full inventory of air and electric brad and pin nailers.  Time to put those nailers to work building a little home for all these gadgets.

I planned out a cavity to hold all the nailers up top, and a set of drawers below to keep the nails and other accessories.  1/2″ maple made up all the components except the drawer bottoms.

Once assembled I cut more plywood with a 45 degree angle on it to act as a french cleat across the back.  The electric nailers sit nicely on their own, but the air ones will need hangers.  Plus, this lets me rearrange things, or add dividers if I feel the need later down the line.

I played with the arrangements, and there are lots of spacing options that work.  Big enough to be flexible, but not so big as to waste space.

DSC_1298

This is a decent looking cabinet on its own, and is about where I would stop in my previous builds.  I wanted to add a little something, so I made my own maple edge banding.

The pin nailer came in handy for securing it all, and hand planing really lets you sneak those parts into a good fit.  With the body of the cabinet in shape I turned to the drawers.  I thought drawer fronts with chamfers might be a neat flare, and I had a new router bit to try out.  I cut all the end grain chamfer while it was still a solid long block, then cut the two fronts out and routed the long grain.  It completely mitigated any tear-out issues.  I finally feel like all those minor screw ups of the past are congealing into wisdom.

Everything got multiple coats of danish oil.  Not a bad finish, I like the wipe on aspect and how it looks.  Honestly though, it is just some kind of thinned linseed oil.  At probably 4x the price of basic linseed oil, I might just figure out how to thin that stuff myself.

I 3D printed organizers to keep each set of nails contained and labeled.  The drawer I had these in was a mess with different nail lengths all mixed up.  Mishaps have occurred from pulling the wrong length nail ream.  If I ditched the manuals I could have probably combined everything in one drawer.  Oh well, this provides ample expansion for new nail lengths, or other jigs/accessories I might acquire.

The final design looks pretty nice.  I will see how much dust it collects and consider adding doors later, but for now it is perfect.

DSC_1311

Bee Storage Cabinet

Our back porch is a hodge podge of furniture, bbq stuff, and bee equipment.  The bee equipment is starting to get in the way and makes it harder to use the porch.  In comes a bee stuff storage cabinet.  It will have enough room to store extra hive body equipment, my scale, the tool tote, our veils and the other odds and ends.

I started with a 3/4″ plywood open faced box.  The box is 4 feet tall, which made dimensioning from a 4×8 sheet of plywood easy.  The legs are there to allow for a plastic straw storage tub to sit underneath.

A morning of cutting and assembling and I was ready to paint.  I moved it out to the back porch and began to prime and paint it along with another project.  I am working on hurricane supply storage boxes that got made at the same time.  More on that at a later date.

DSC_0331

I couldn’t help the use of that wild yellow paint again.  Anything bee related gets it!  The black strap hinges, handle and bee spray logo really pop and give it some life.  I might have to come up with another spray pattern for that big untouched left side.

Everything went inside just as planned.  The straw tub (smoker fuel) fits perfectly underneath.  The bottom shelf has our feeder, an extra super, winter inner cover and bottom board, and the mite screen equipment.  The other shelves hold our protection gear and some odds and ends.  On the right side a set of decorative plant hangers holds the tool tote, and a less than decorative shelf bracket holds the hive body scale.

Everything we need is exactly where we want it and there is storage room to grow.  The total cost was probably under 50 bucks assuming you don’t count labor.  I doubt I could find anything out there for that cost that fit my needs so perfectly.