Death and Resurrection of a Drill Press

My beloved drill press is a Craftsman from the early 90s (I think) that I snagged on craigslist.  It has served me well, but is very difficult to move.  Top heavy and with a small base; even small shifts in position are precarious.  I am going to need to move it a lot soon, so when woot had a Bora Portamate mobile base on sale I snatched it up.  I was walking the drill press out of its corner to get the base installed when disaster struck.

20180720_135157

I tried to control it on the way down, but once it got going there was no stopping it.  I didn’t get hurt but the arm that holds the table broke off.  I still had a drill bit installed in the chuck, and that is what kept the table from sliding further.  It bent the drill bit, but the quill appears true.  I stood it up and started it spinning.  No wobble of any sort that I could see.  With that established I gathered up the broken parts.

Maybe a quick visit to the local welding shop would have me set right?  Apparently cast iron is very difficult to weld.  They were not wild about trying, and wouldn’t guarantee me any of their work.  Whelp…forget that.  After being really bummed for a day or two, I decided I could build up my own top table top out of the scraps I had around.  I gained enough confidence to install that mobile base.  It floats like a dream now!

DSC_1377

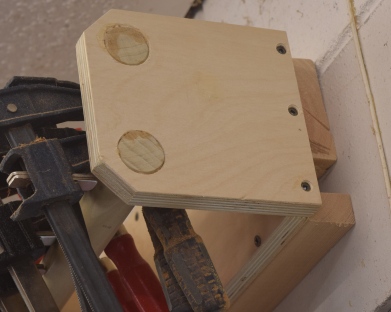
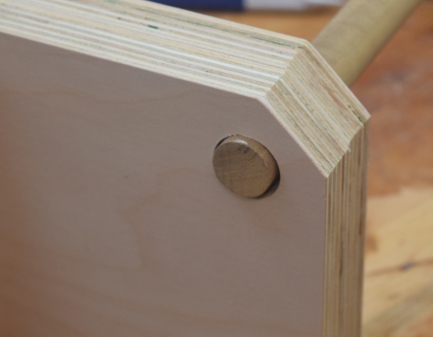
I started with a stout piece of oak drilled to match the table arm attachment point.  A drill press would have been really useful there, but I managed without.  From there I built out ribs that hold the top.  I made sure everything was square with respect to the drill bit before screwing them in completely.

The table top will be done with two layers.  The top will have a square cutout that holds a sacrificial drill insert, and the bottom has a hole so you can push up from the bottom to remove the insert.  I printed a square guide to let me cut out a 2.75×2.75 inch hole for the insert.  That new plunge router lets me do all sorts of cool things.

DSC_1402

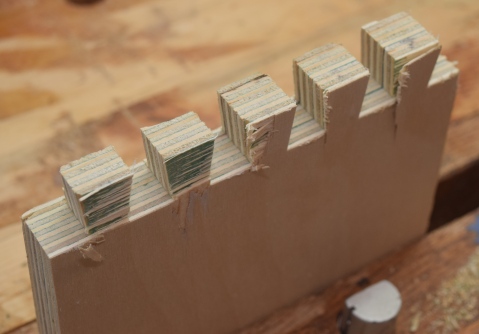
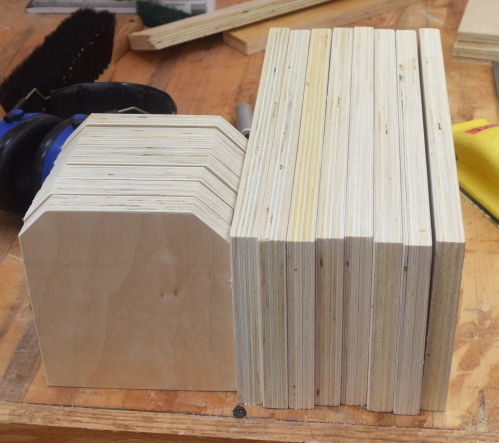
I routed some slots for a set of aluminum t-slot guides that hold the fence in place.  The fence is just two pieces of the same plywood glued back to back.  I cut a dozen of the center inserts.  They all got an undercut chamfer to help keep dust from letting them sit level.  This table is smaller than my last, but I feel it is more functional by far.  It was a good recovery, and ultimately led me to making a better drill press table.

DSC_1407

DSC_1408


Clamp Racks

A year back I modified a set of buckets to hold my 12-24″ clamps.  It worked as a method to keep them in once place, but had some flaws.  They were tucked away, which means out of sight out of mind.  With all the bars going down into the bucket it was really hard to tell the length of the clamp when you wanted one.  I was able to de-clutter some wall space which gave me the opportunity to build wall racks.  One would think that clamp racks are really simple, and that not many mistakes could be made.  You can screw it up, and I did.

I wanted to try out french cleats, and I wanted them to be strong.  I didn’t have much 1″ thick lumber, so I went with 2x4s.  Big beefy cleats right?  This is stash busting at its finest.

Mistake 1

20170326_201149.jpg
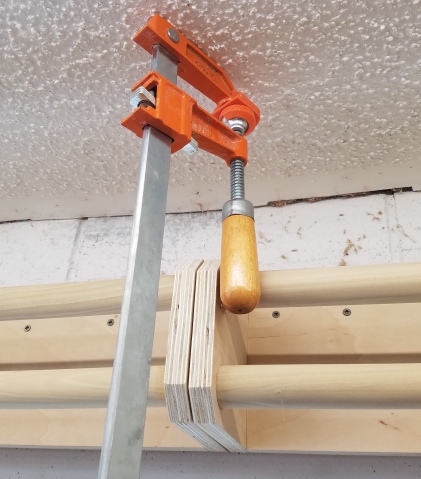
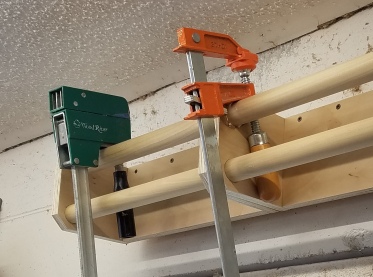
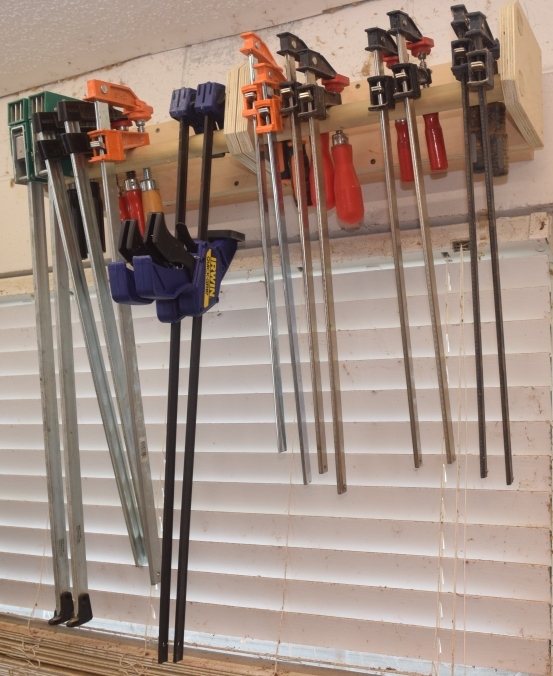
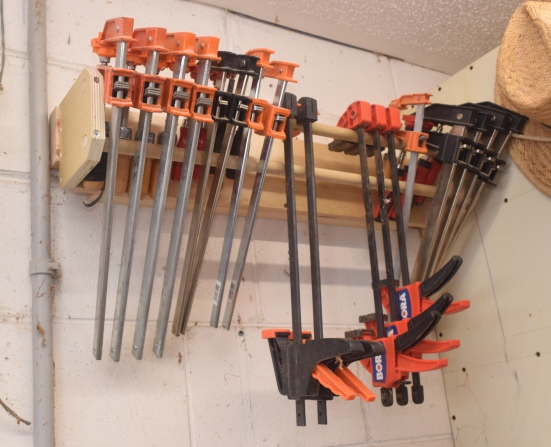
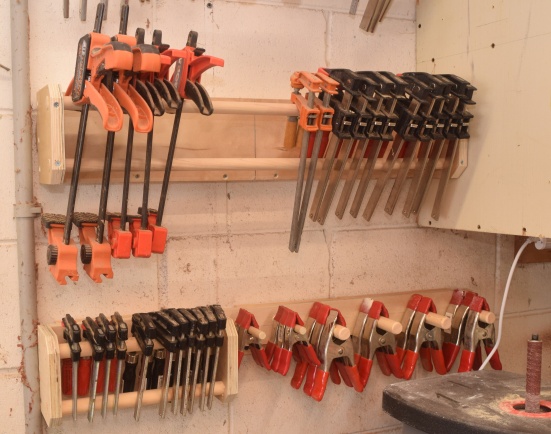
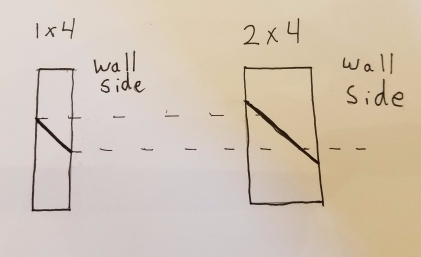
I thought 2x4s would make a great french cleat system.  They aren’t horrible, but they
aren’t great either.  Because of the thickness when you cut them on a 45 degree angle, you don’t get a lot of flat bearing surface left over.  A 1×4 would provide plenty of holding power, is easier to attach to the wall, and has more bearing surface to glue/screw to against the wall and tool holder.  I would also suspect that moving the weight out further from the wall transfers a little more load into trying to pull the screw out instead of shear loading it.  Might not be significant, but not something you want to do.

Mistake 2

I had plenty of cabinet grade 3/4″ plywood around from my temporary counter tops.  Why not break out my old machine cut dovetail jig and go into production?  It was a little overkill for strength, but they would look nice and once I got the jig setup I could make lots.  Turns out plywood doesn’t play well when doing that kind of cutting.  The bit ripped off a lot of layers.  I could have sandwiched the part on both sides, but the novelty and speed of doing a lot of these was quickly evaporating.

DSC_0751

Mistakes 3 & 4

I mounted the cleats up high to maximize space and keep them out of my way when not in use.  I ended up with them too high.  When trying to place a clamp in the rack, it hit the ceiling before going in.

20170324_101943

If I did rotate them to get them in, the double bars didn’t help.  I used that double bar trick on a small clamp rack at the end of my work bench.  Small clamps have a center of gravity that makes them want to rotate badly when hooked like this.  Big ones have enough weight down low that they don’t.  It was a waste of materials.

20170324_102149

To recover I removed the holders, and cut off the top bar.  That is a nice thing about french cleats, you can take them down to adjust or make modifications.  I also added a small bumper at the bottom to help with the loading path.  See mistake 1.

DSC_0749

It took a while, but the two foot long clamp rack was complete.

dsc_0748.jpg

Mistake 5

I had pre-cut material so that I could assemble lots of 14″ clamp sets with dovetails.  When the dovetails failed I started using screw.  That worked out, but the small sizes weren’t needed.  The dowels are plenty strong enough to hold the weight across 28″.  I just caused more work for myself and wasted materials.  I was able to use some of this stuff, but if I had tested the dowels for sag before hand I would have done all of them in one span instead of two.  Test next time.

DSC_0745

Mistake 6

Almost out of the woods.  I made the classic “Measure once, cut twice, and still too short” mistake.  I always have problems when drilling holes for dowels.  I seem to always drill one size too big.  These aren’t 7/8″ poplar, they are 3/4″.  More material wasted, I need a tight fit for the glue joint.

DSC_0750

The next set avoided mistake 4, the second bar was really needed to keep everything from rotating, but got tied up with mistake 3 again.  It was up too high.  I had to remove the cleat and lower it down a few inches to get everything to clear the ceiling.

DSC_0753

From here out it was actually pretty smooth sailing.  I used my limited stock of 1×4 to make more cleats and the racks came together well.  I even managed to dig my spring clamps out of the drawer and give them a nice home.  Bigger parts on the spindle sander might be an issue, but that is attached to a mobile base.  I can always move it out if need be.

DSC_0754

In the end it works wonderfully.  The fact that it took twice as long and 50% more material than it should have is going to be chalked up to learning.  8 years after starting this hobby I still have a lot of learning to do.