Do Floridians Dream Of Electric Flamingos?
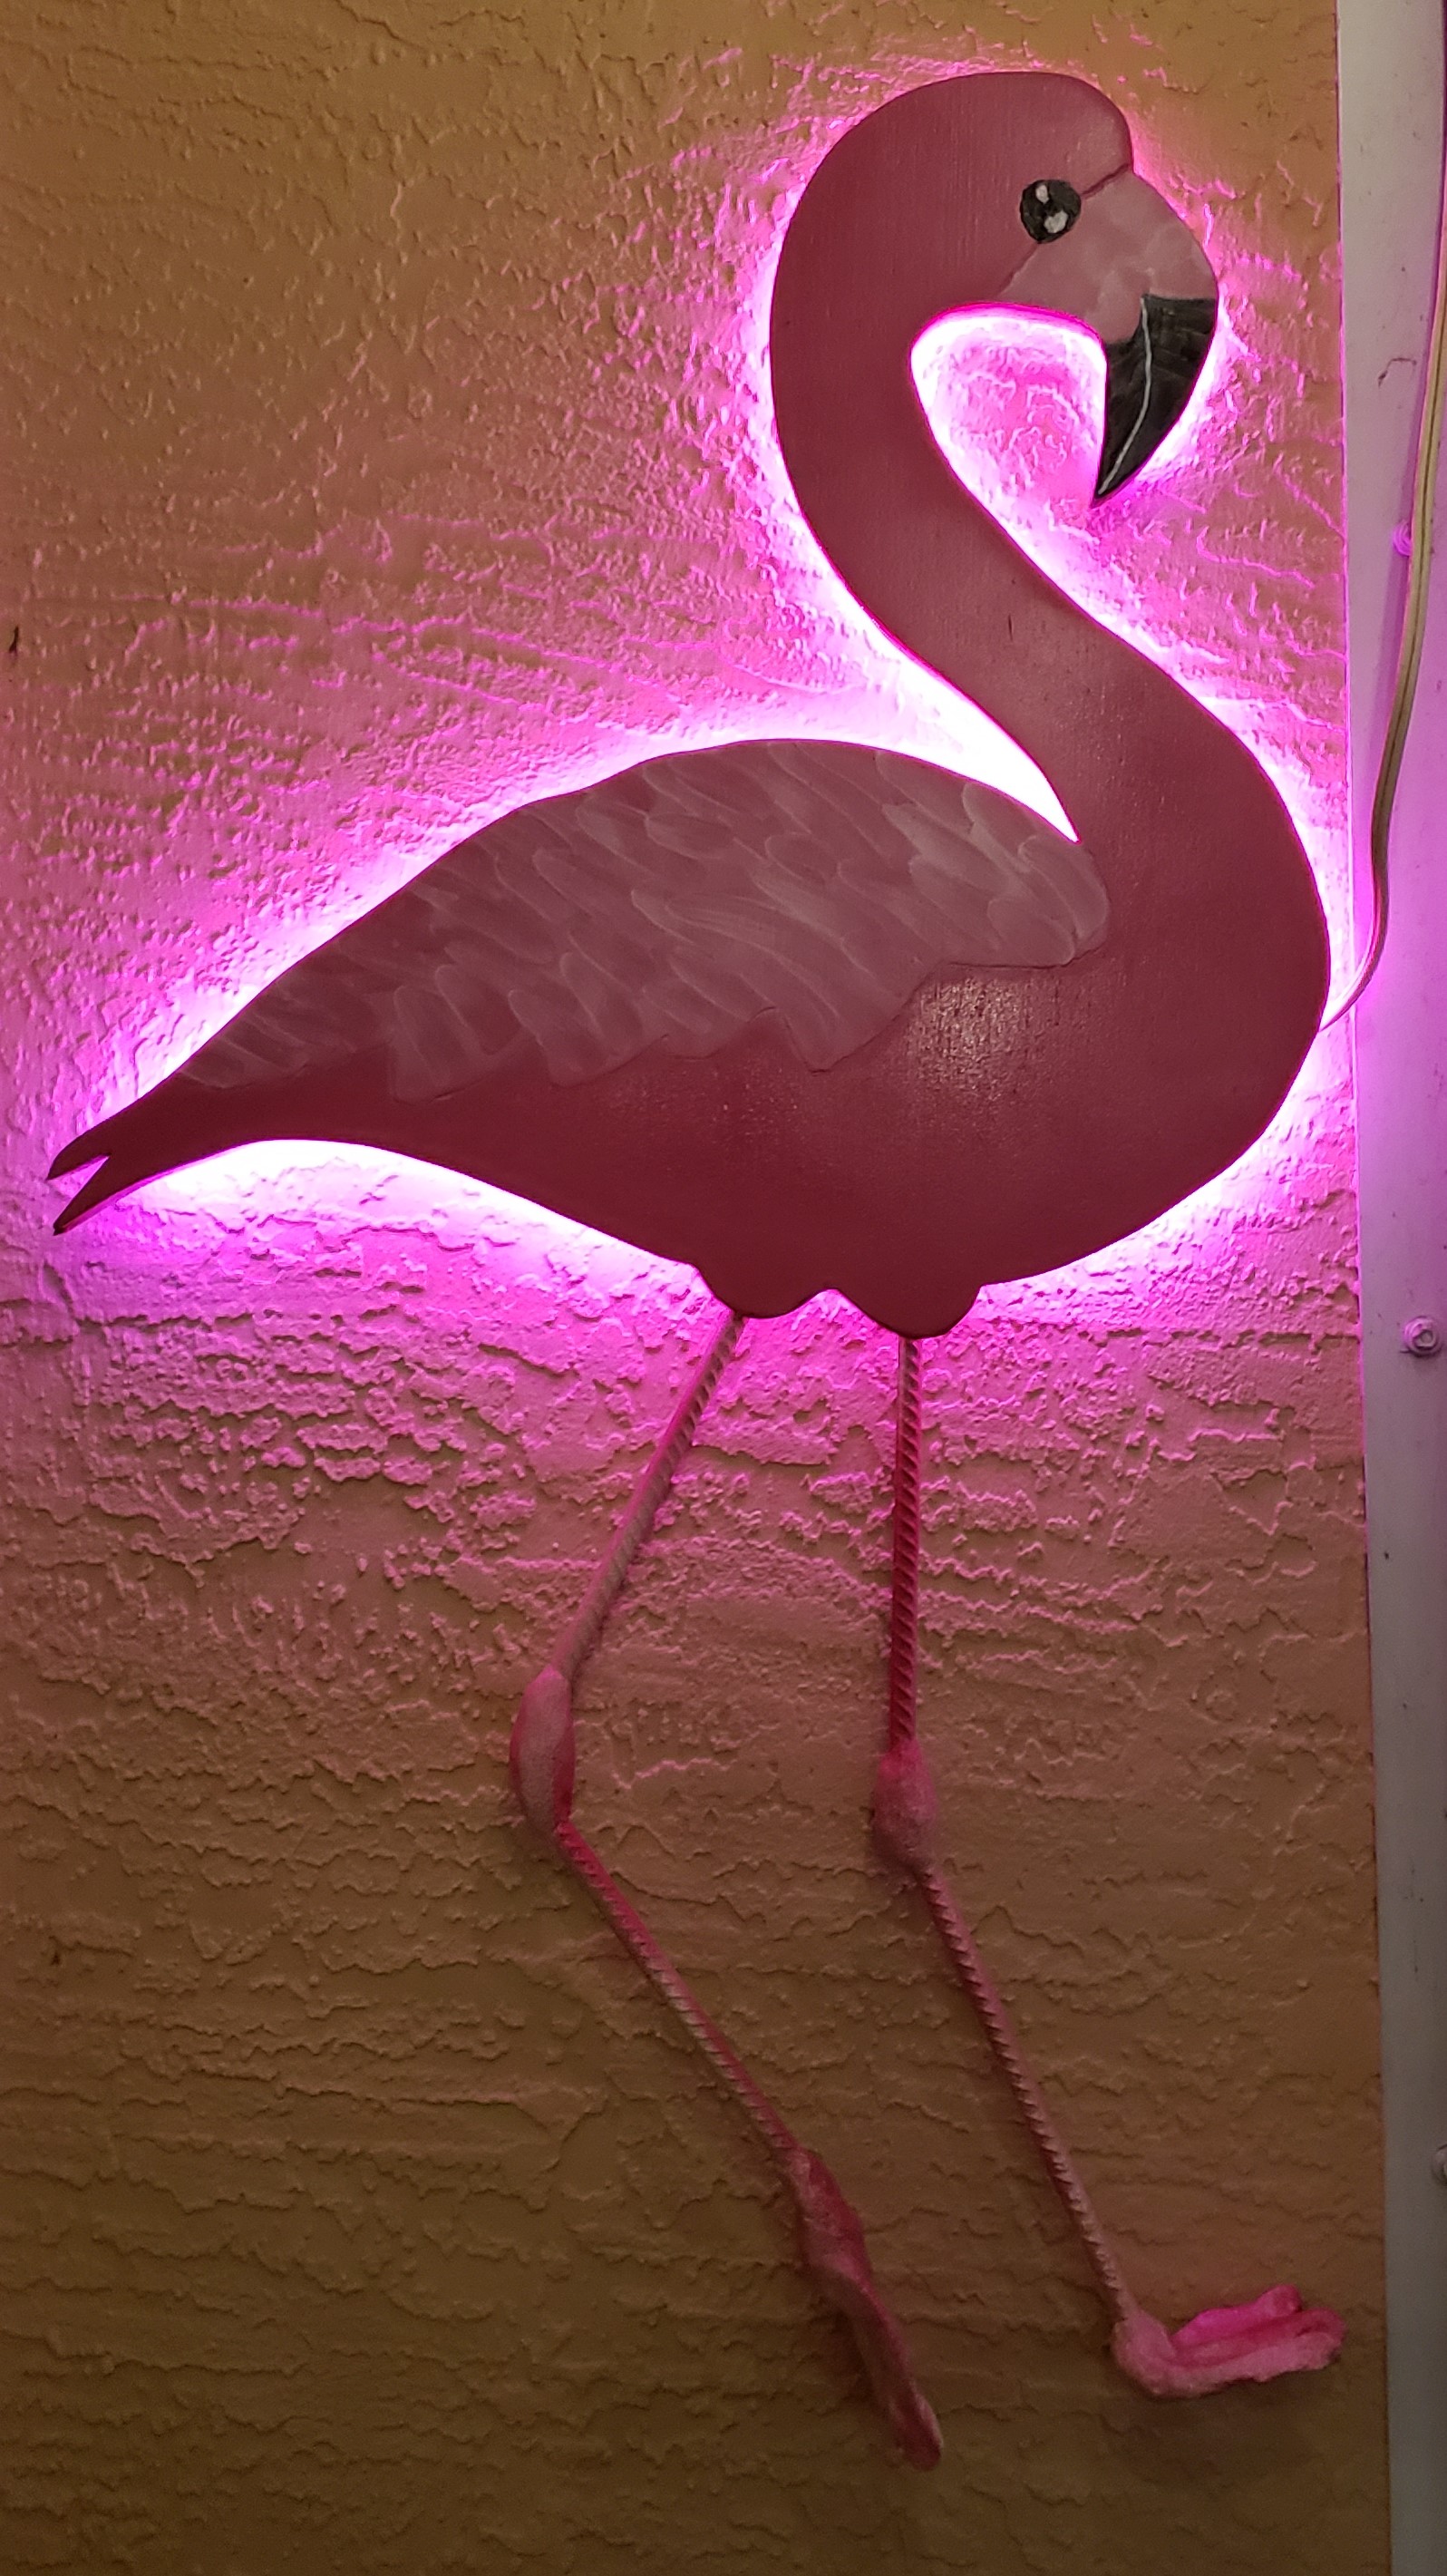
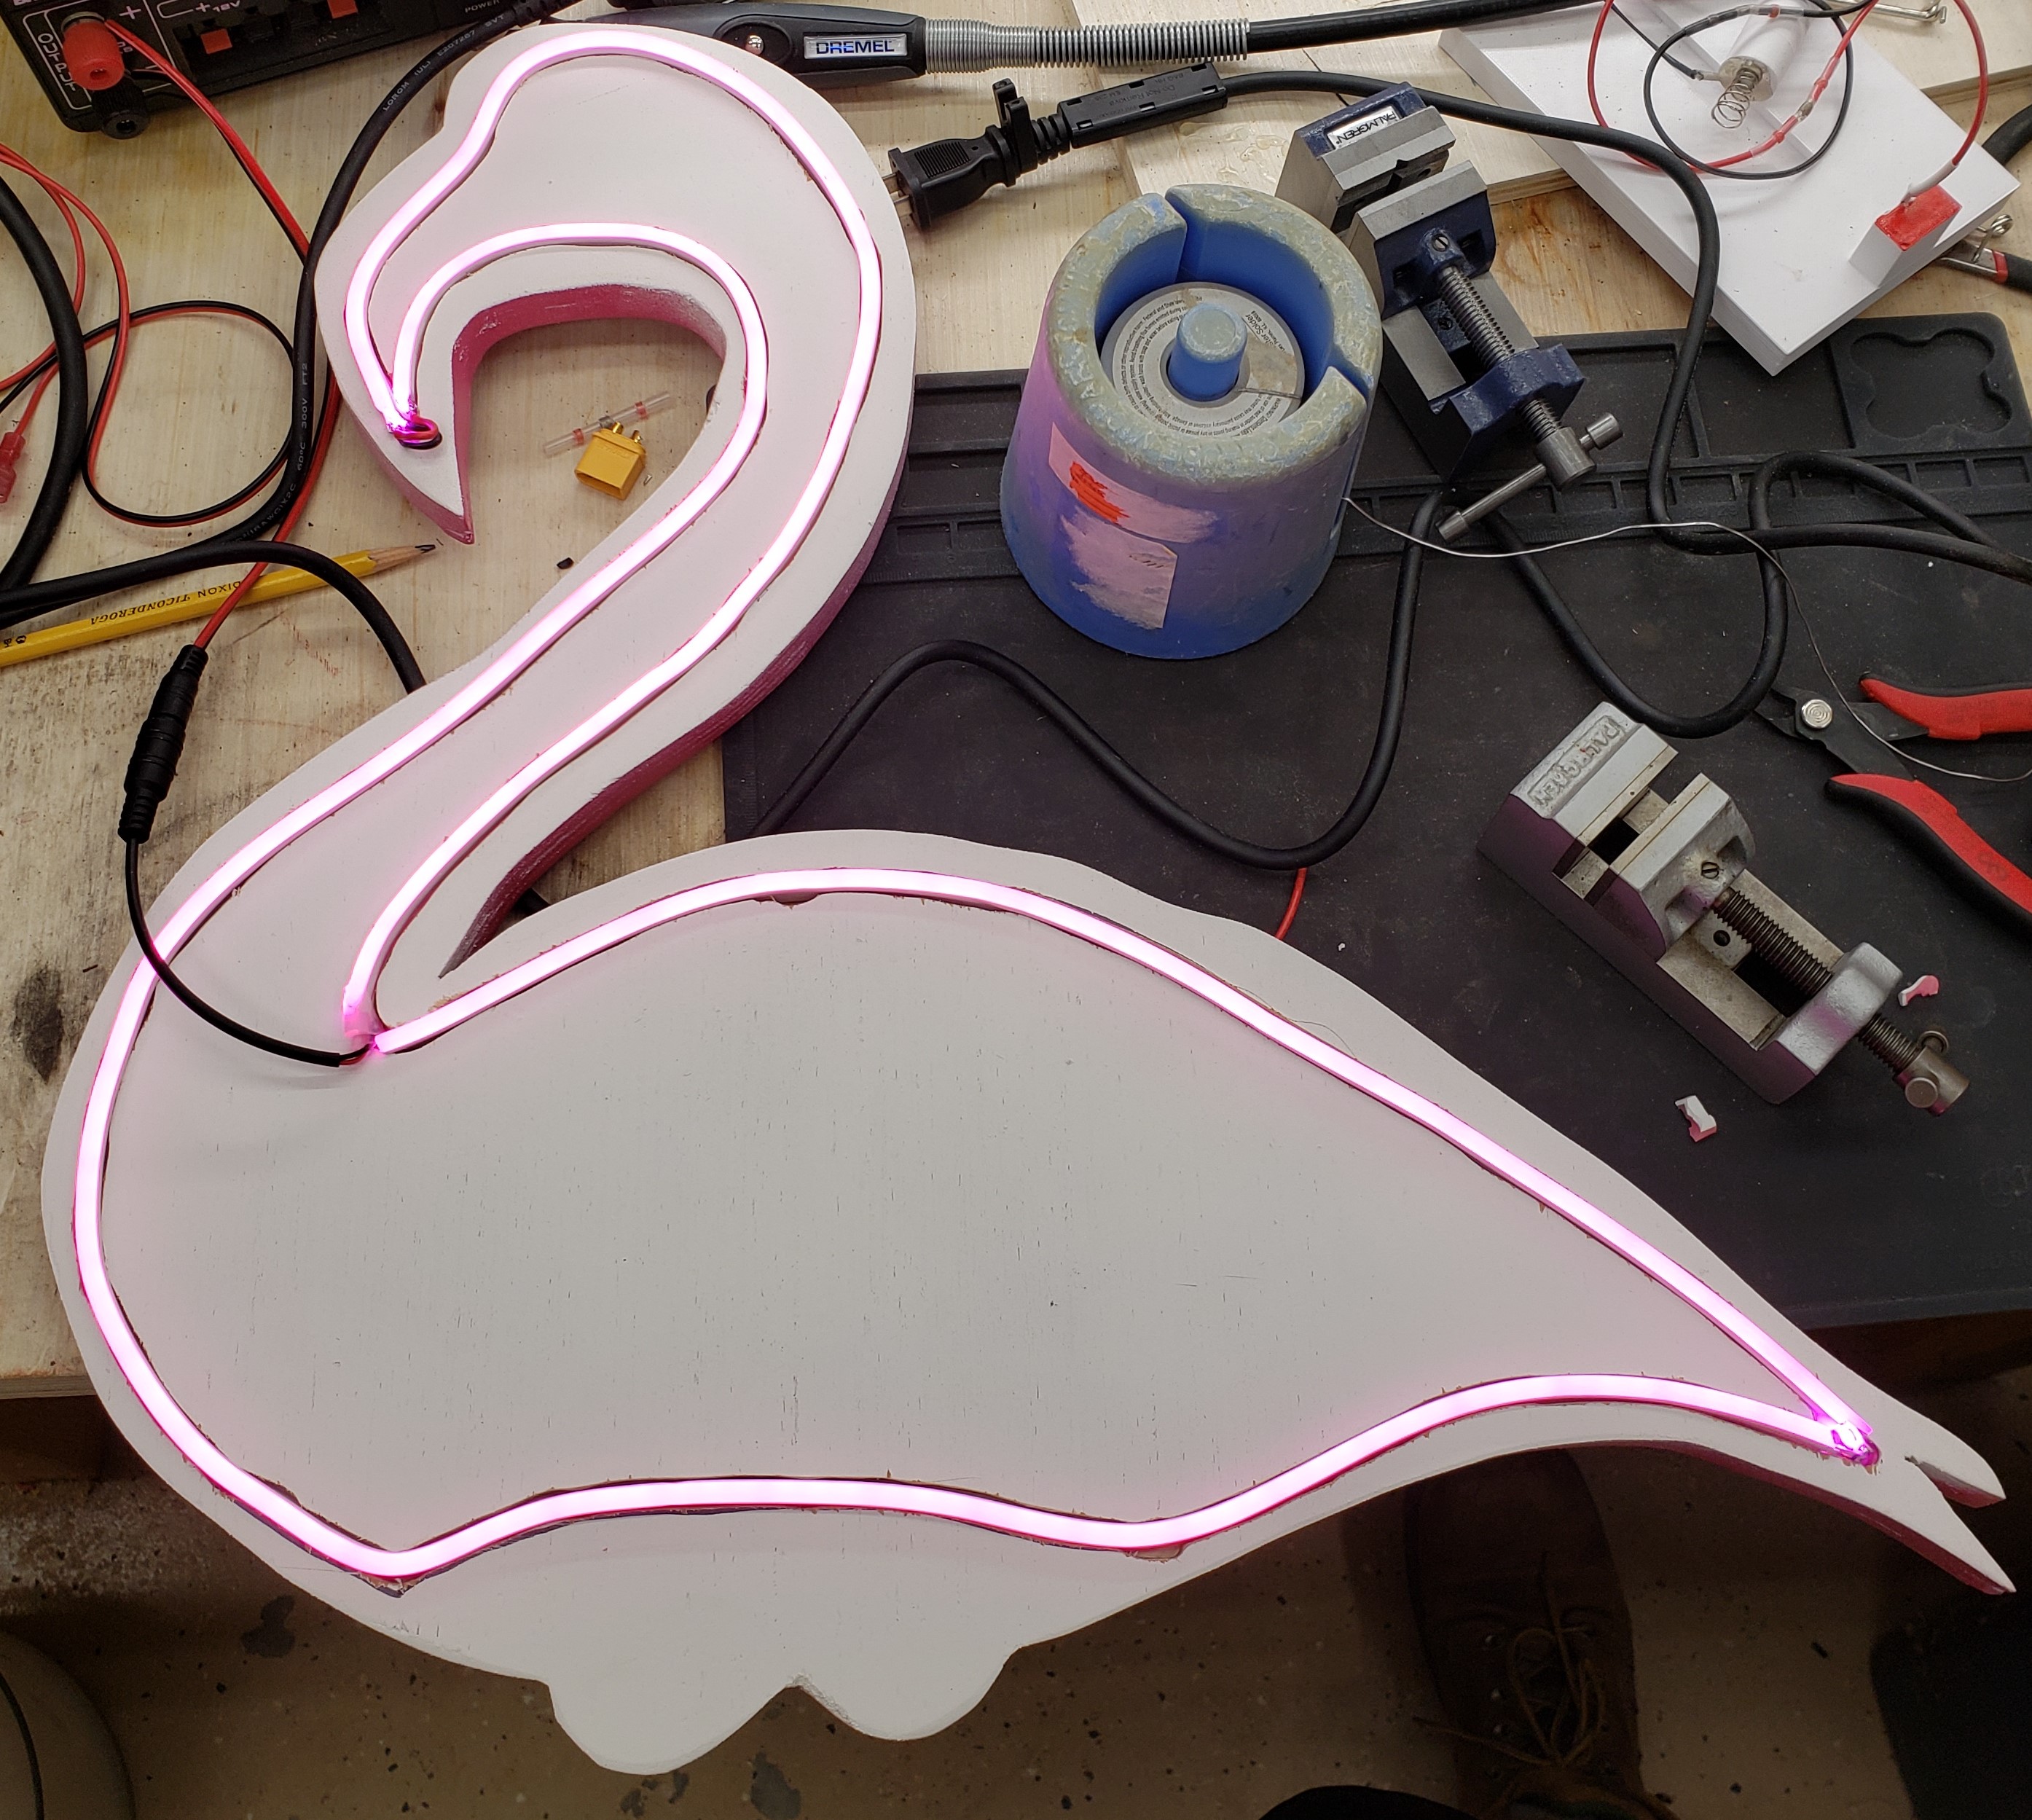
I had this idea for a piece of wall art (using that term loosely) pop into my head. Truth be told it was the legs that first occurred to me. The neon glow didn’t come until later. Here is where we are going. A day and night shot are needed to show its various aspects.
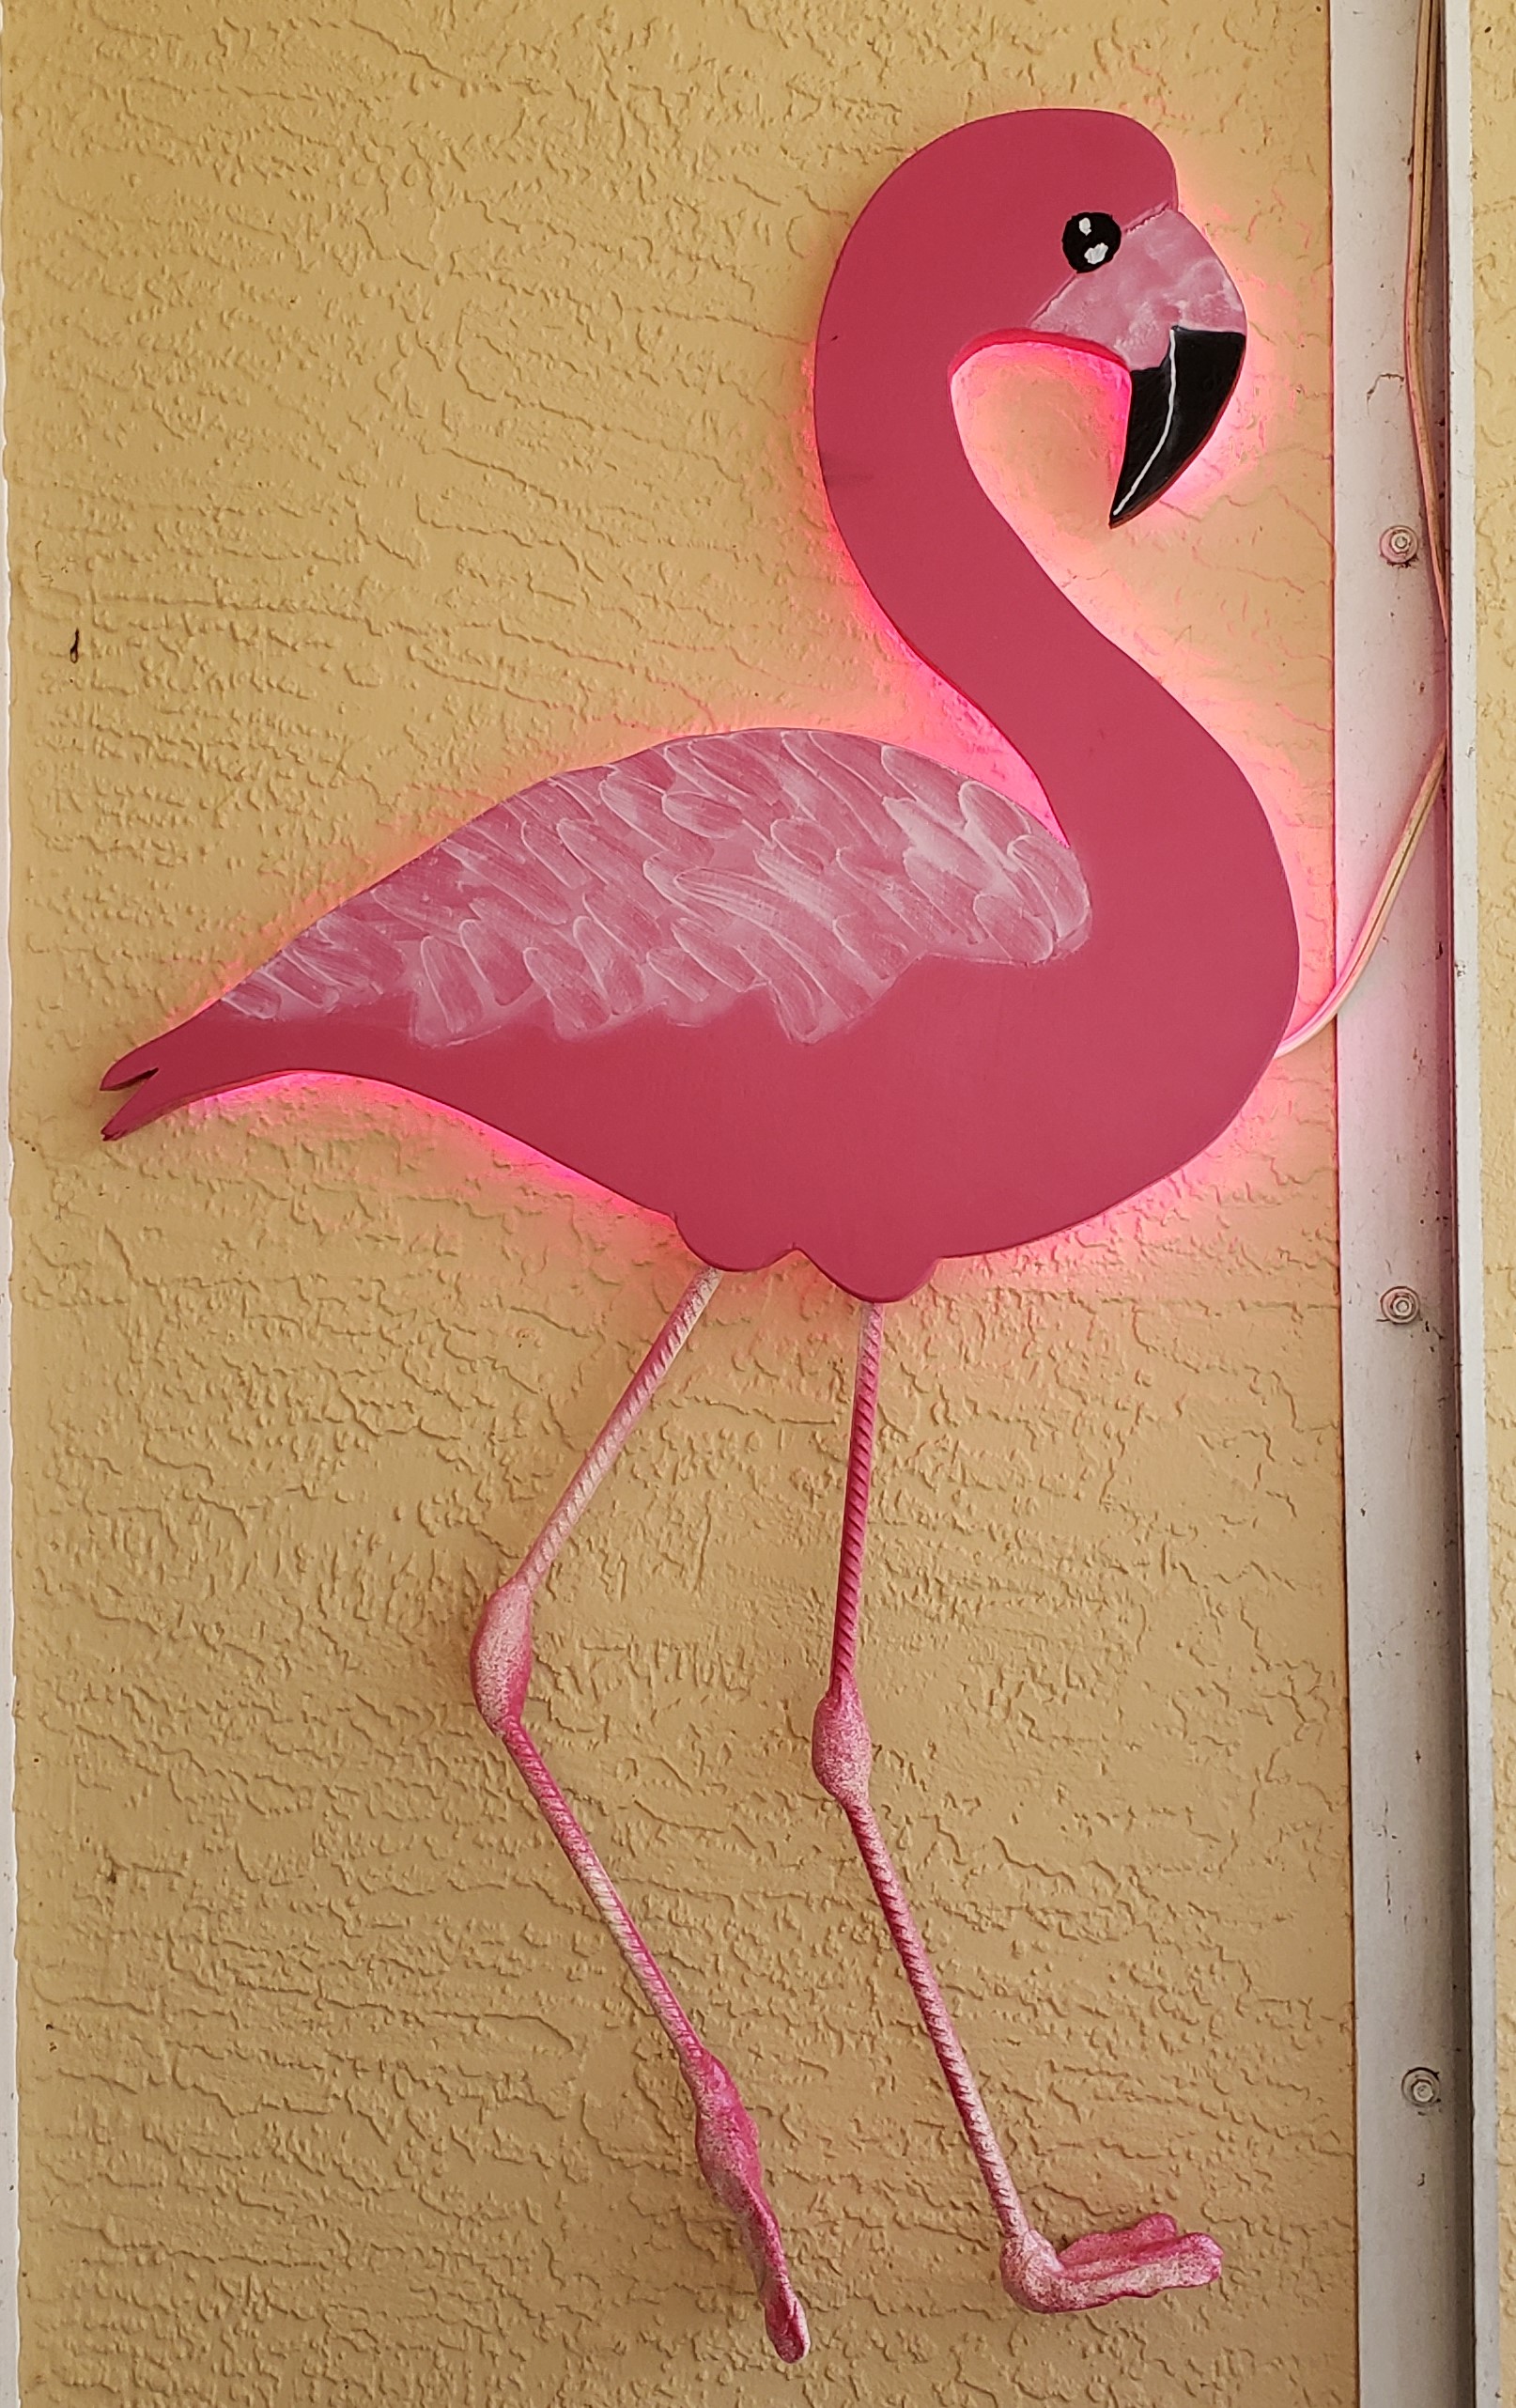
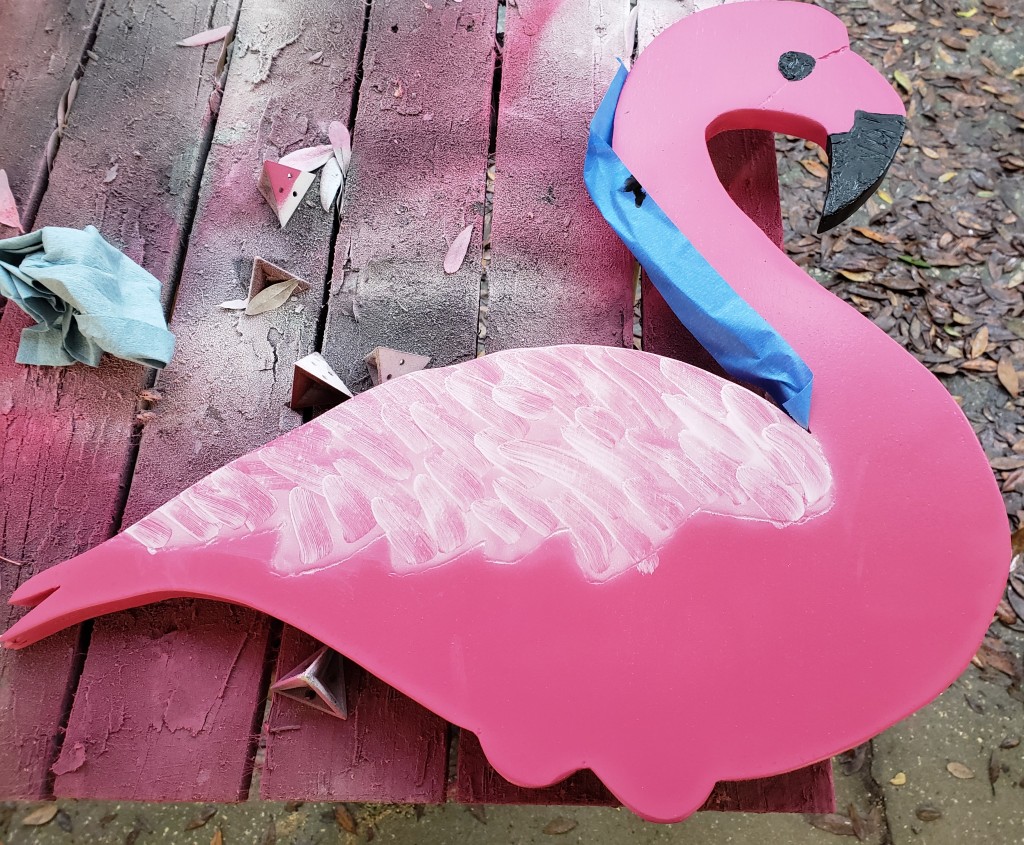
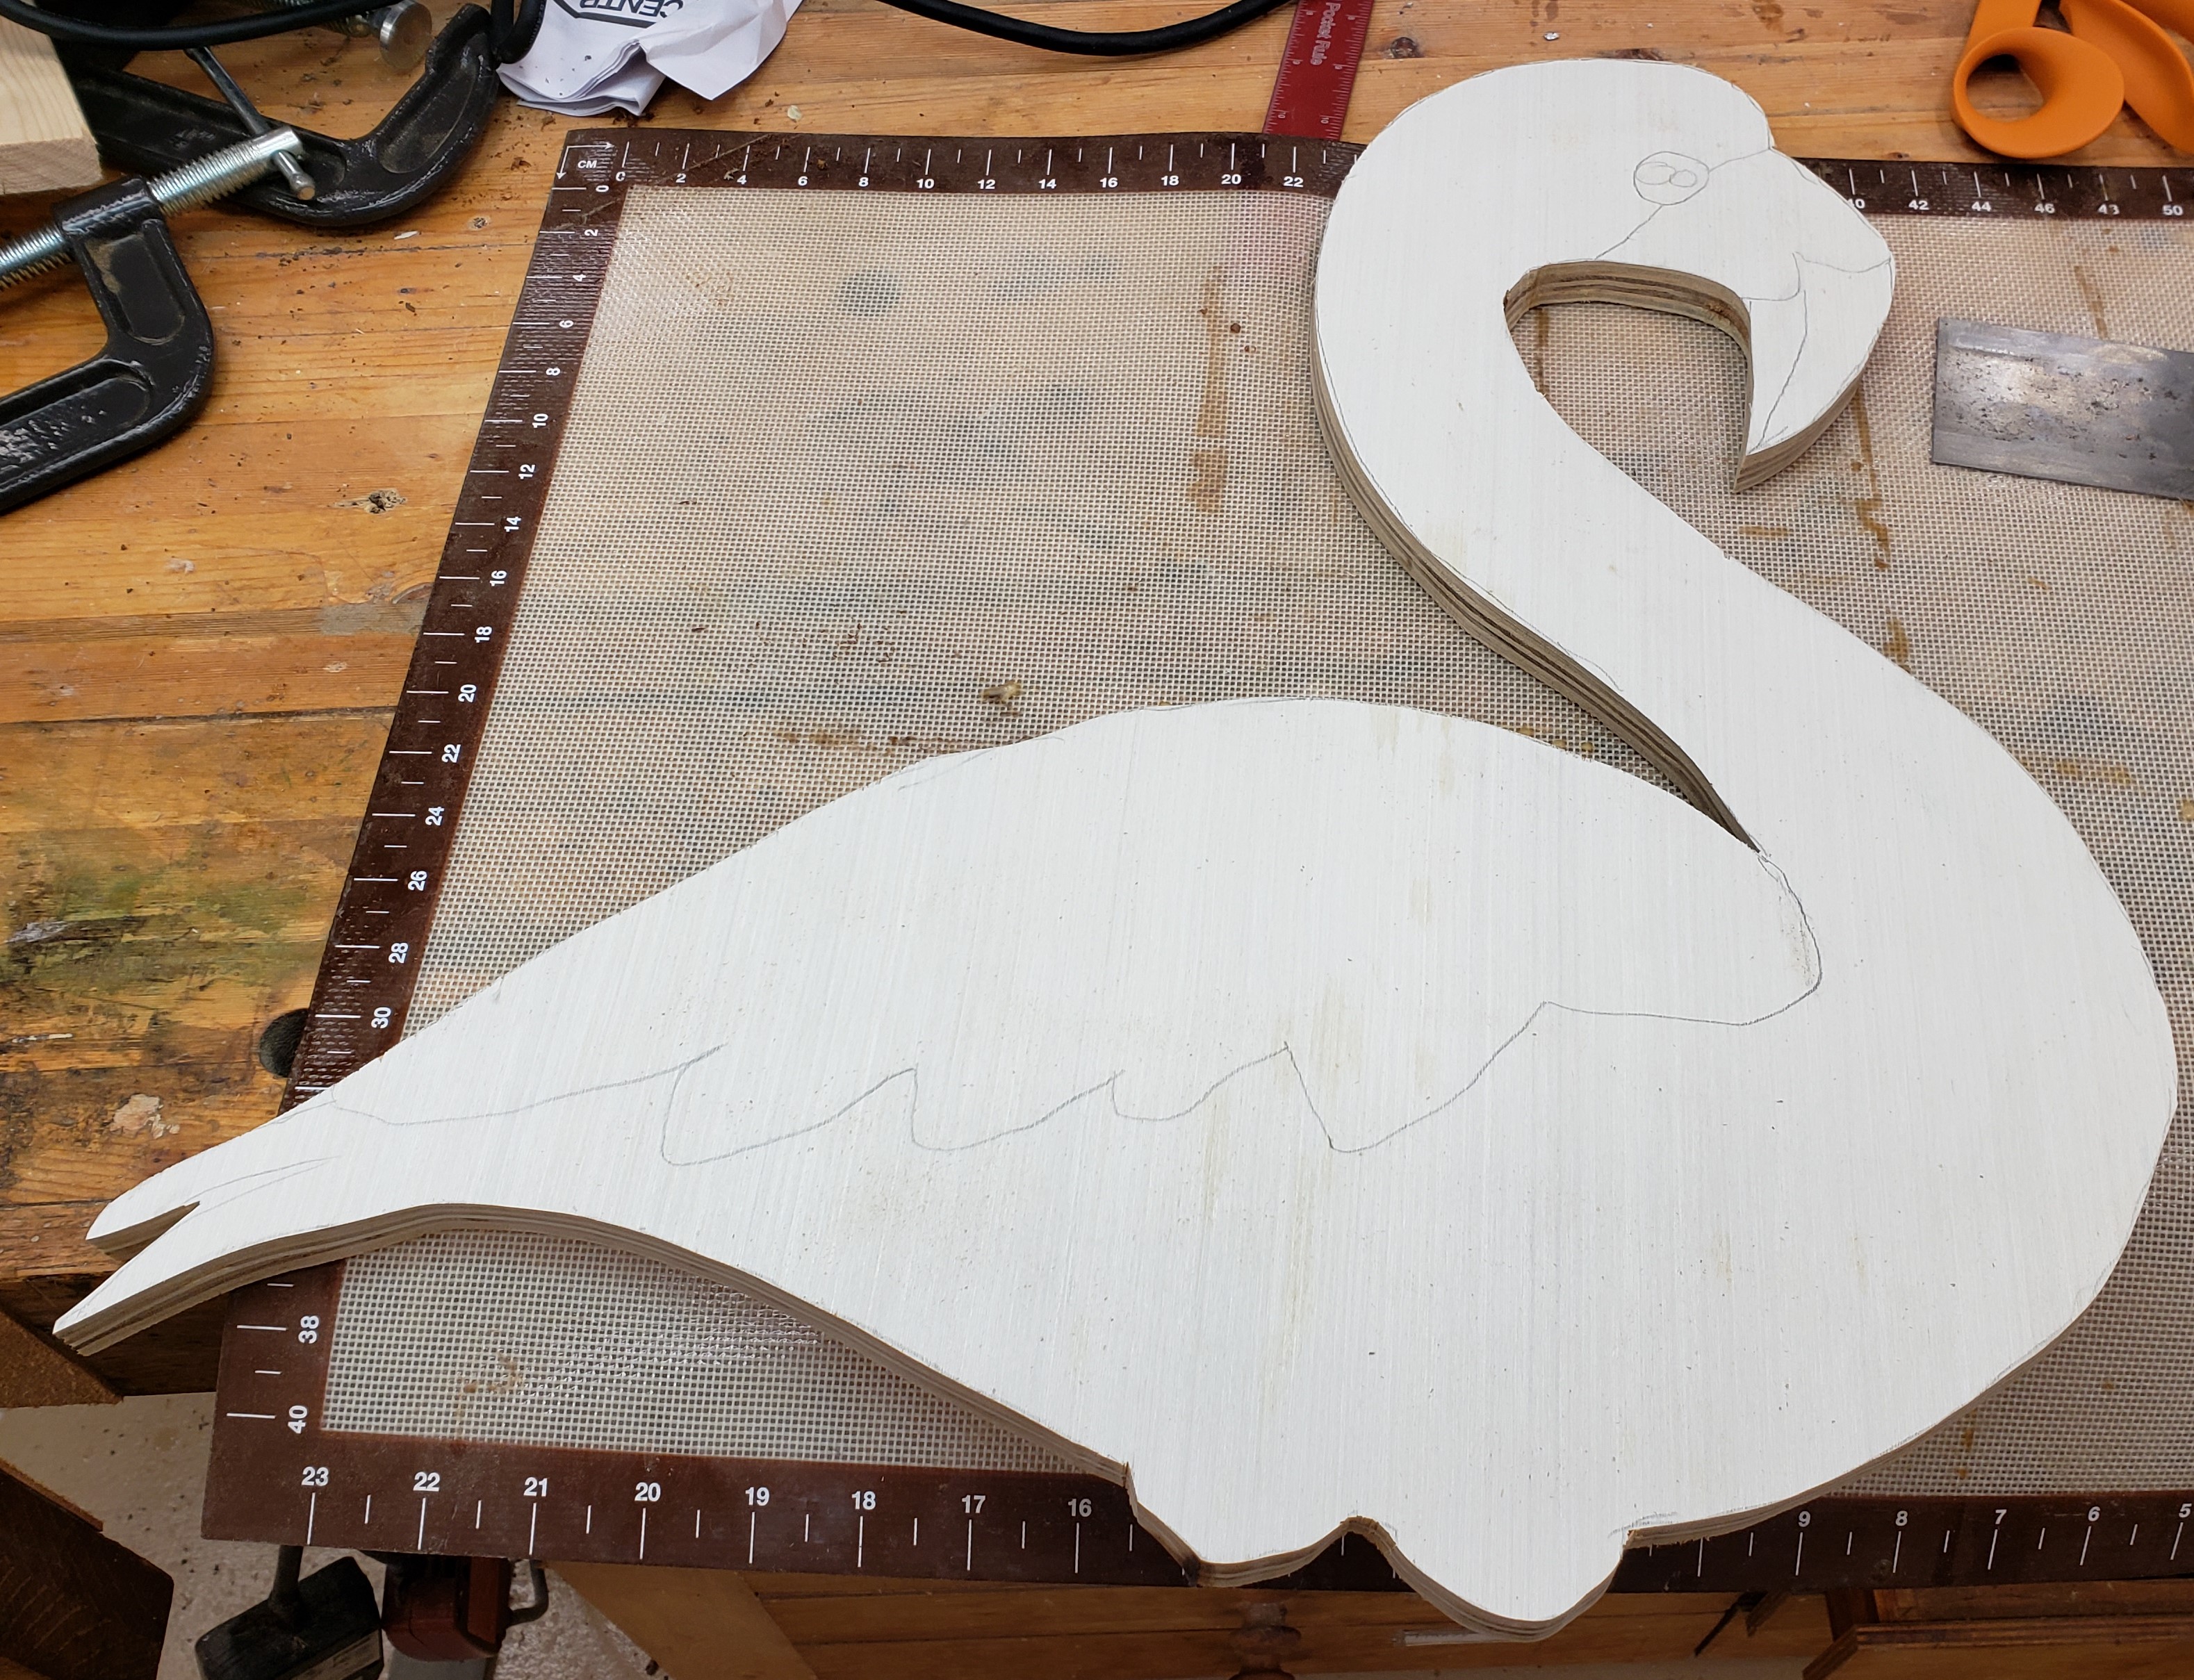
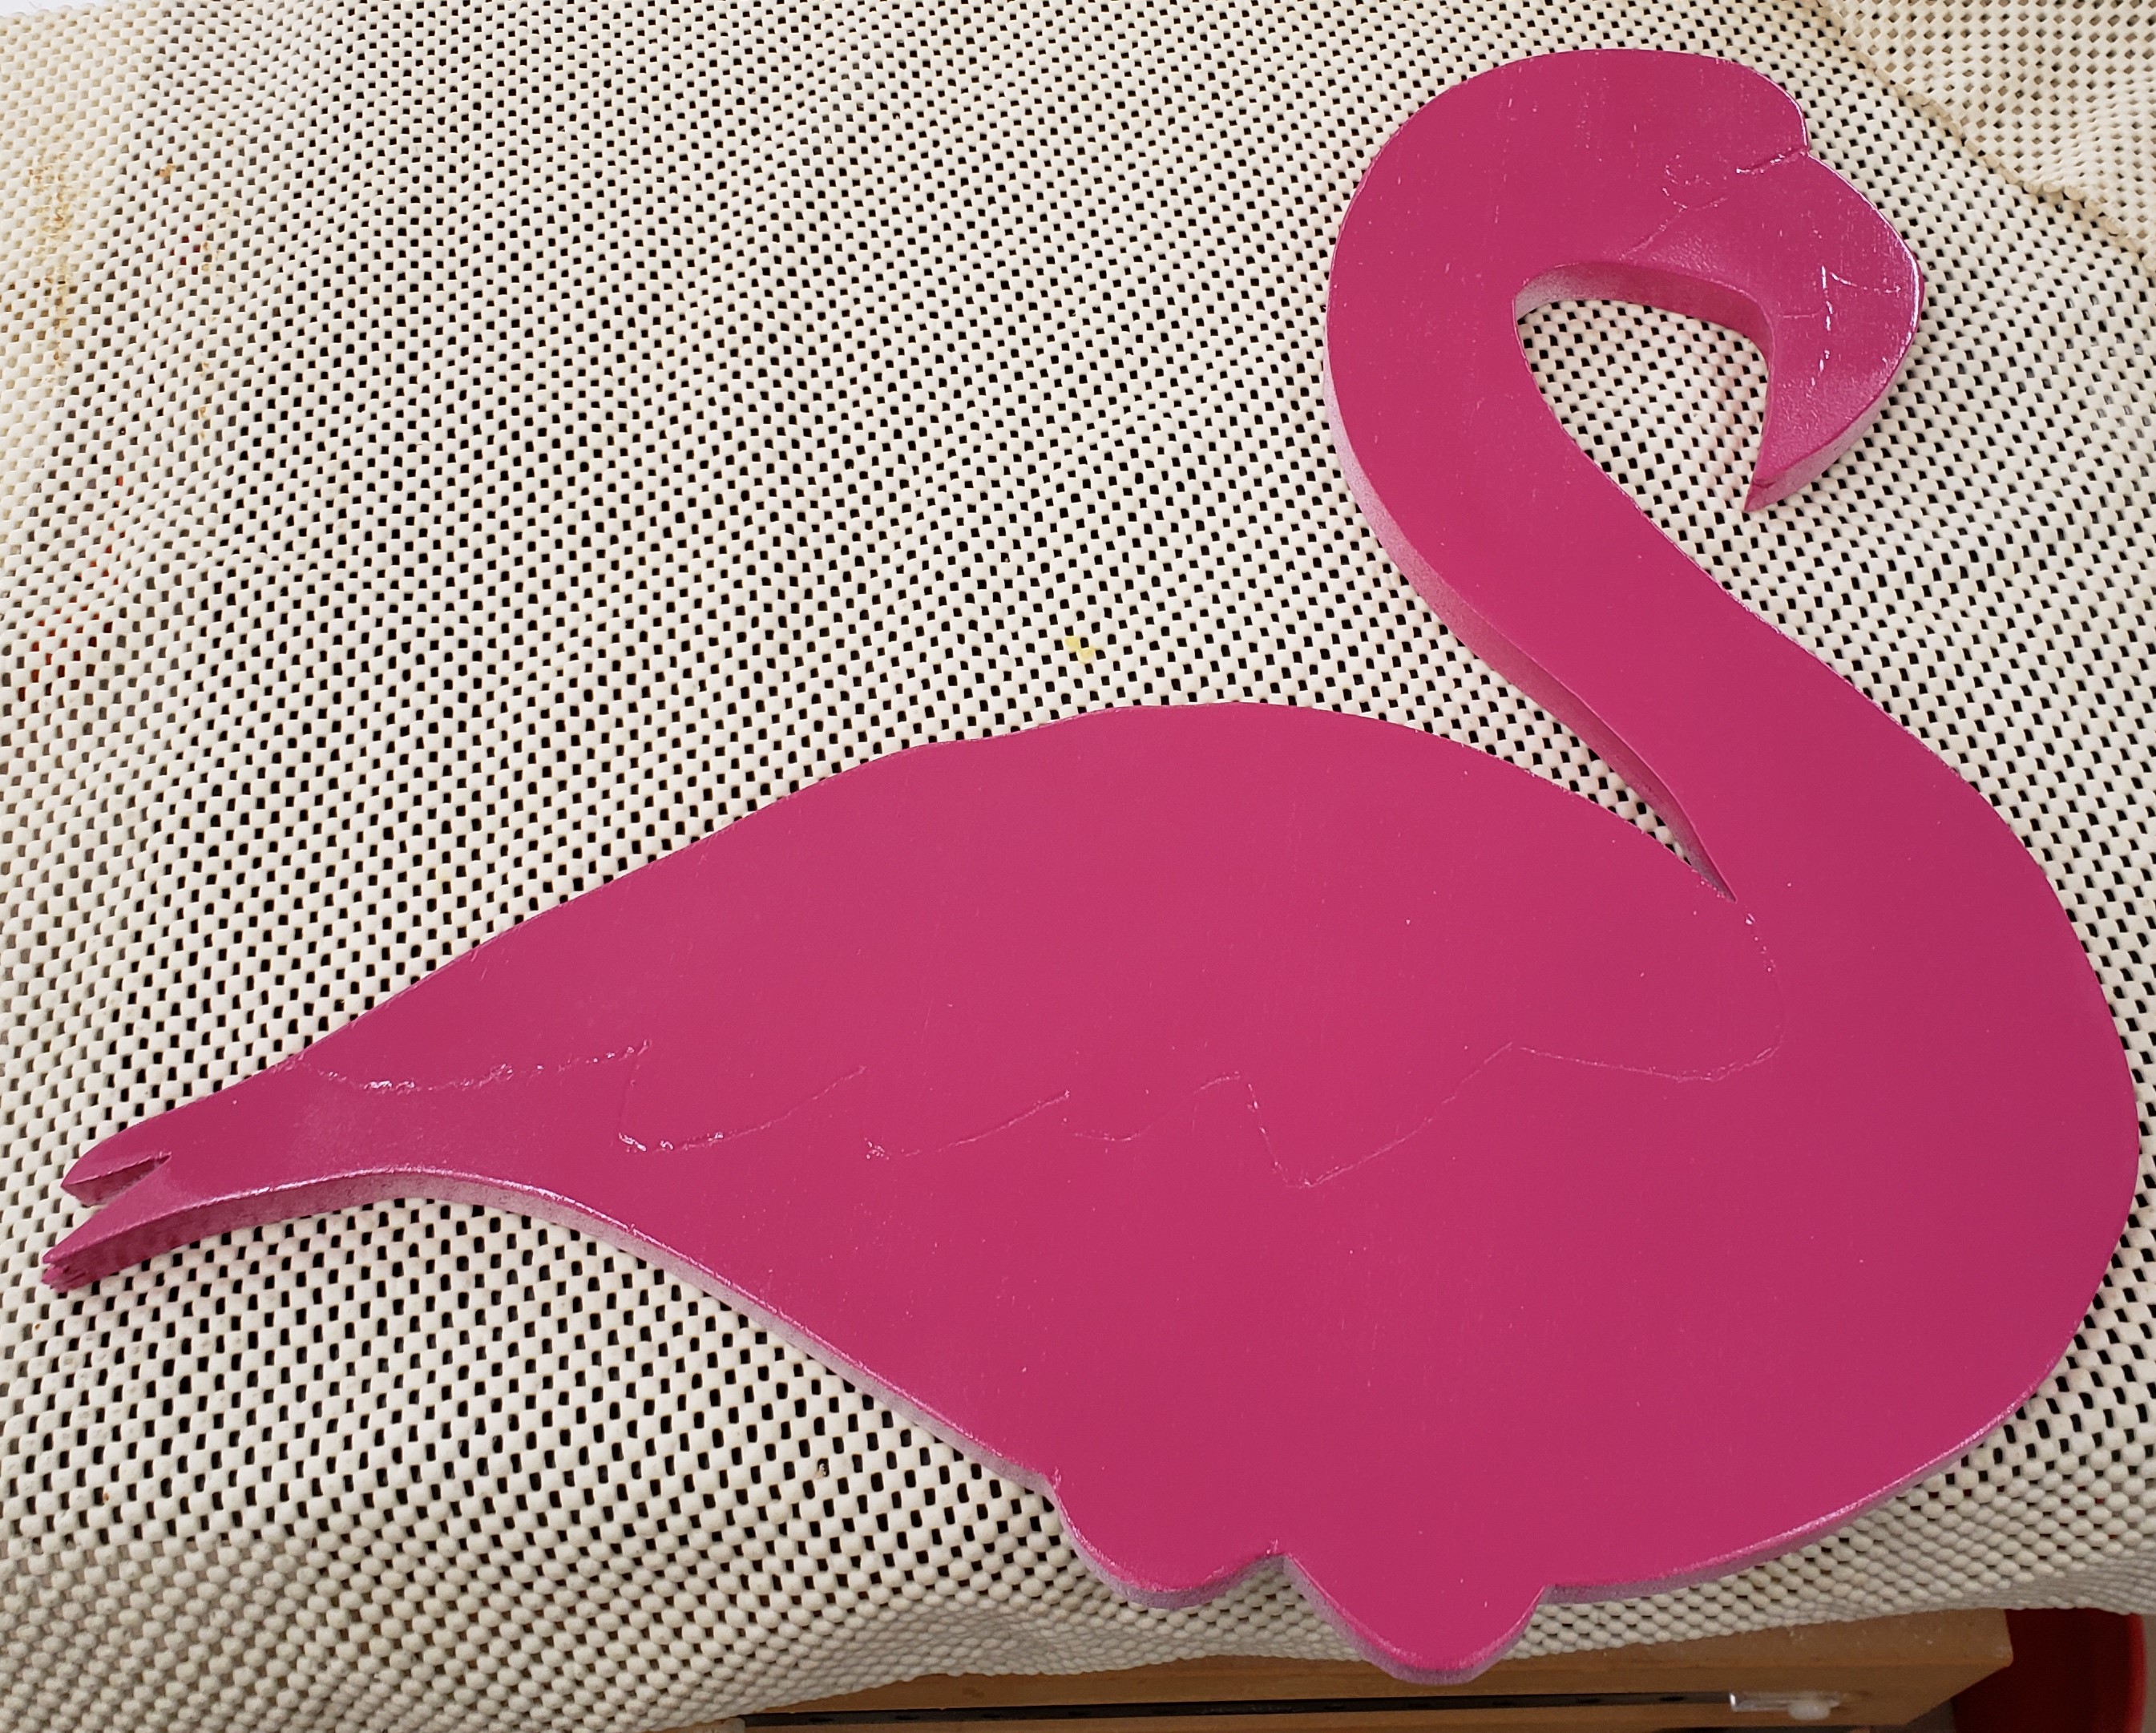
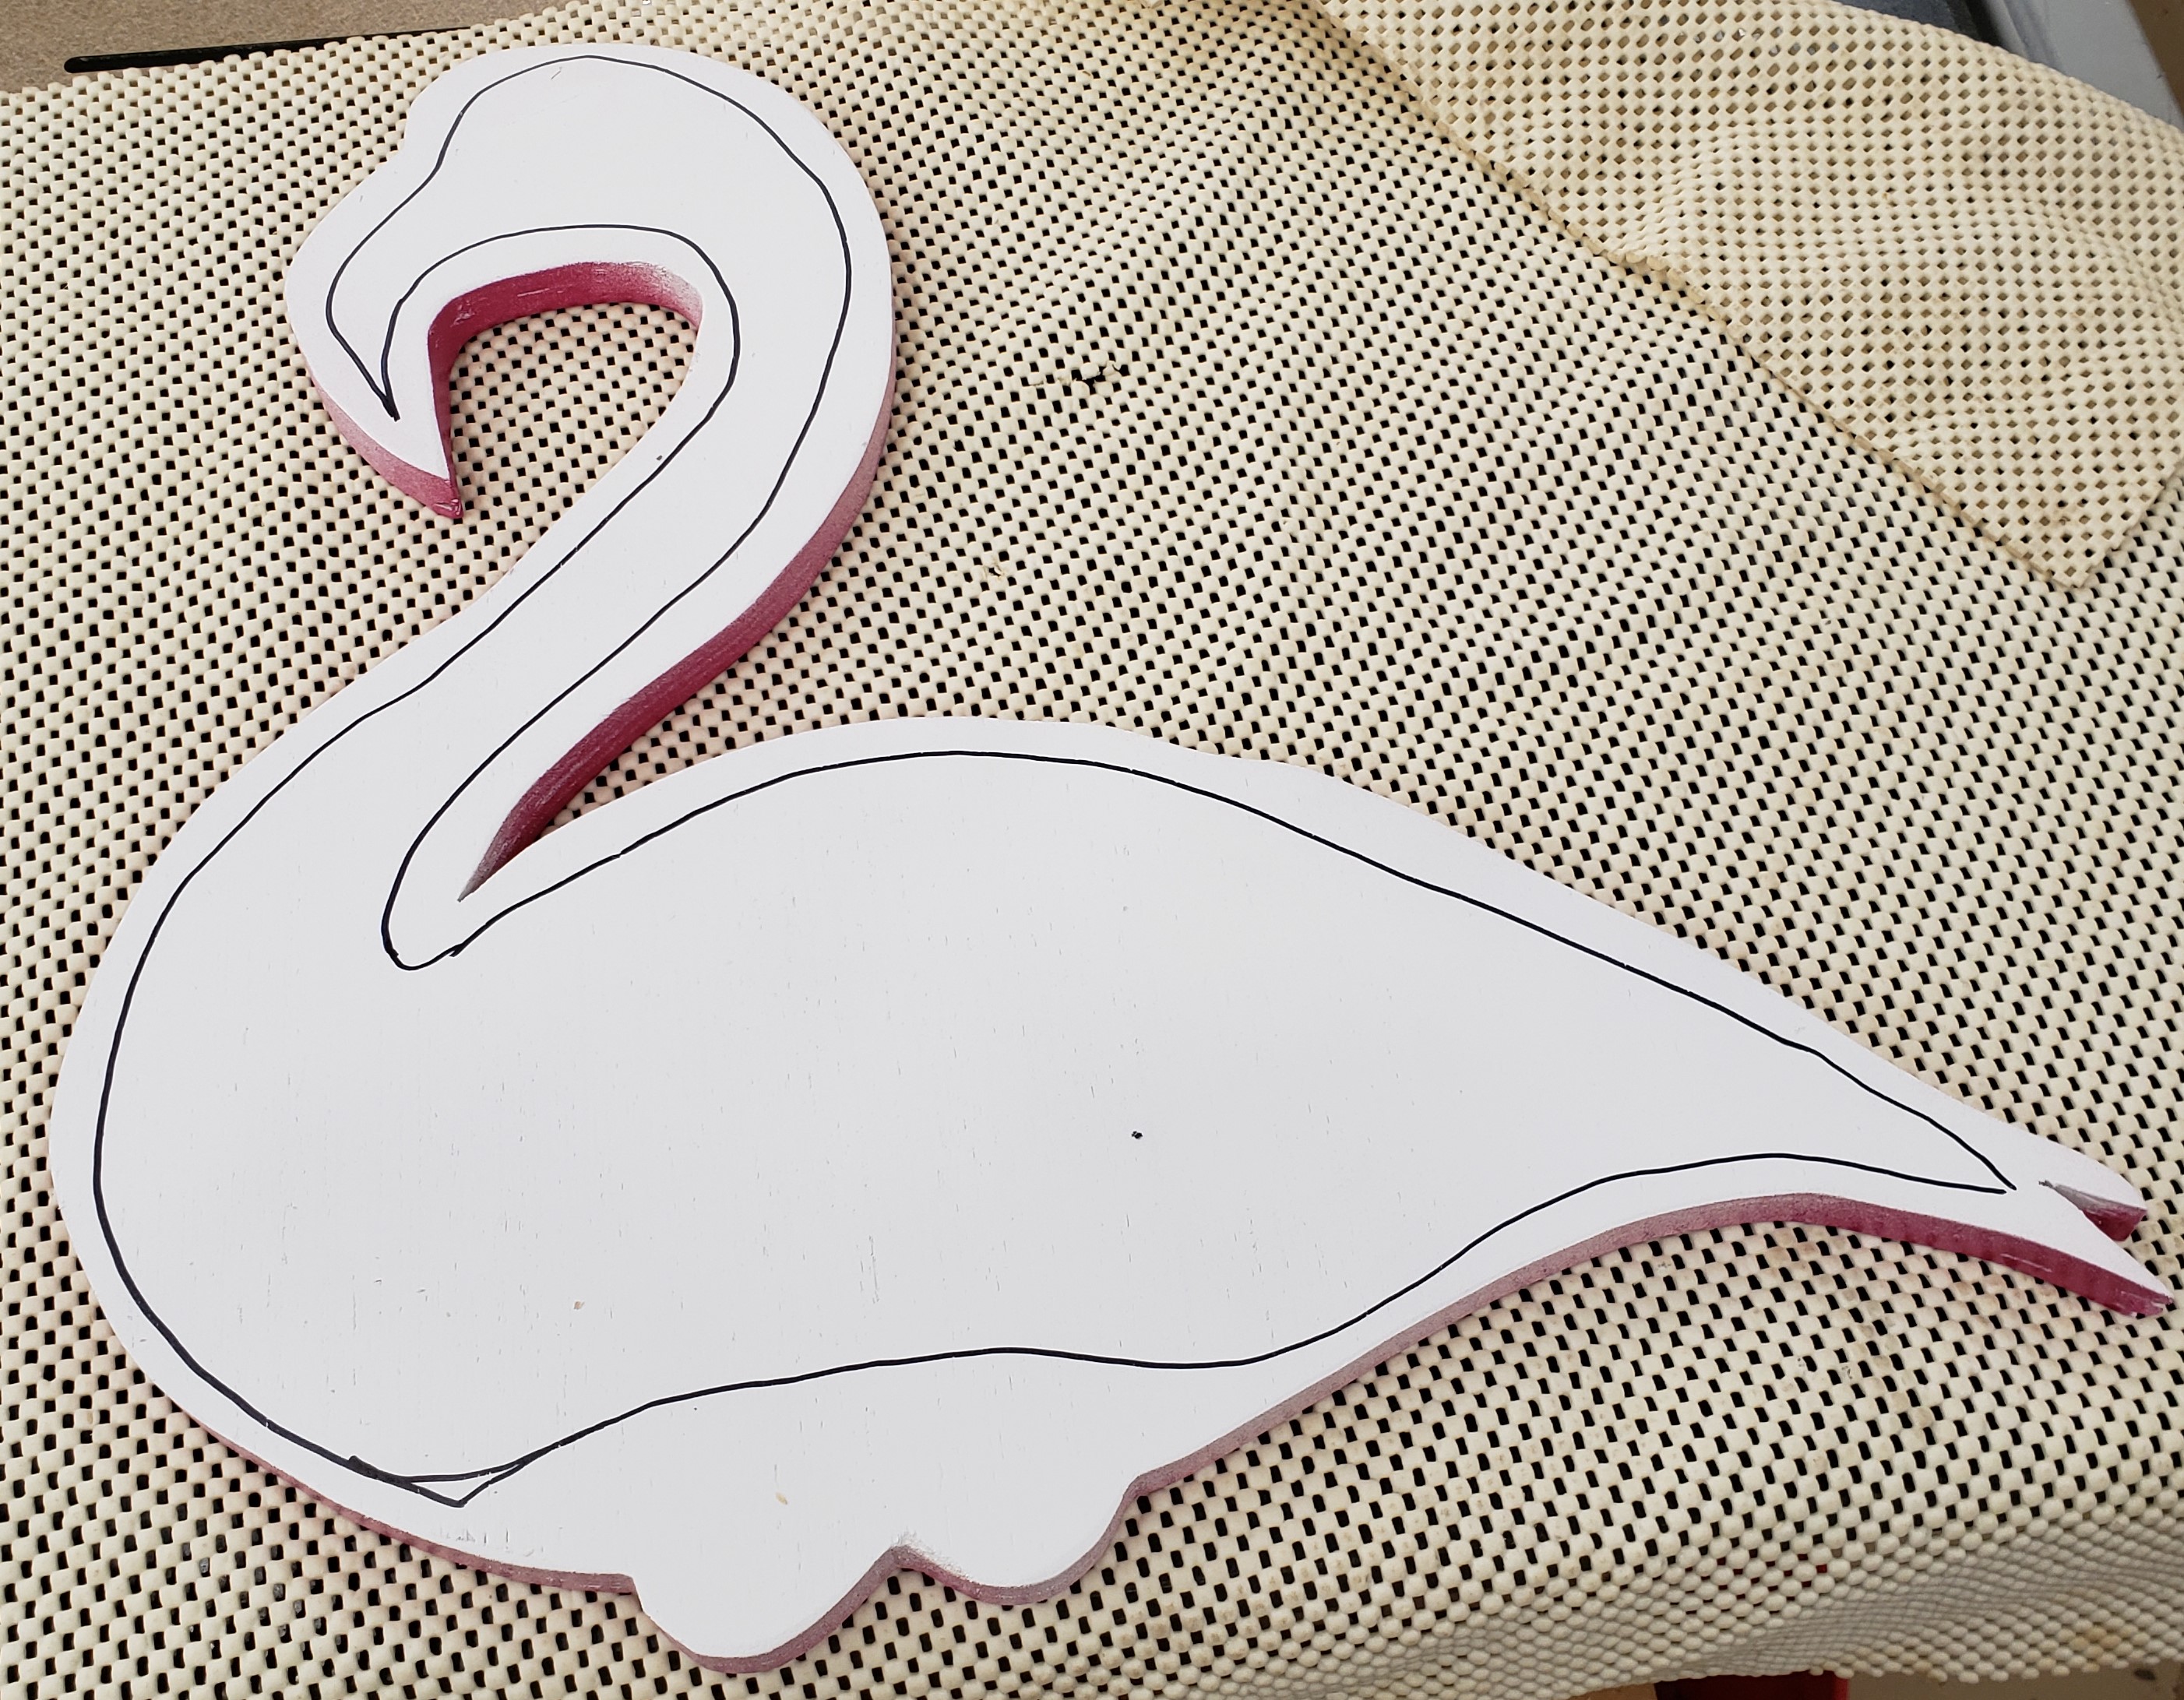
I started by projecting a rough flamingo shape onto a piece of plywood, then tracing it out as I have done in other projects. I used a dremel and a light touch to carve in the lines for other details like the eyes and feather line. I had some hot pink left over from repairing the finish on my lawn flamingos, so I used that as a base coat.
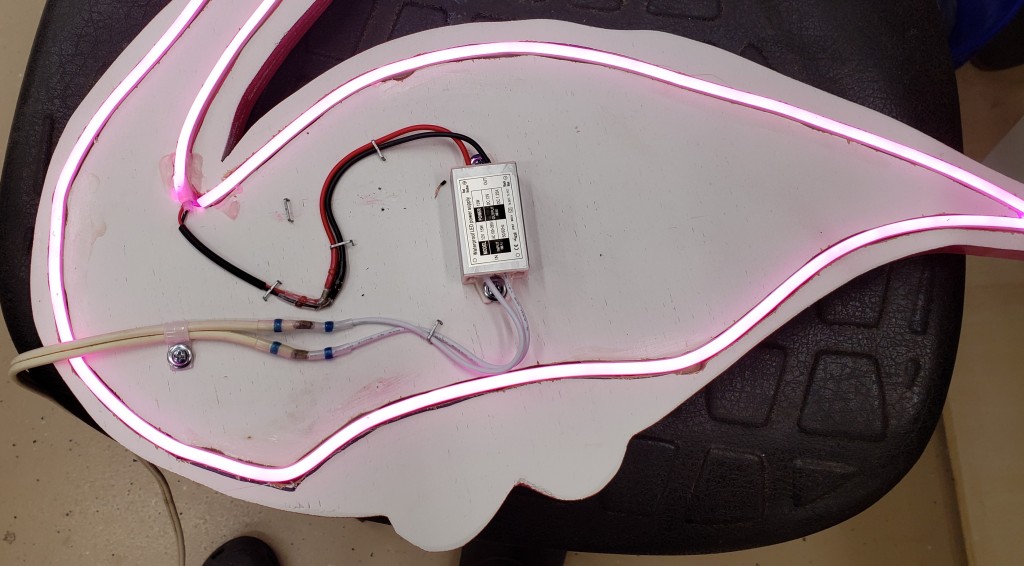
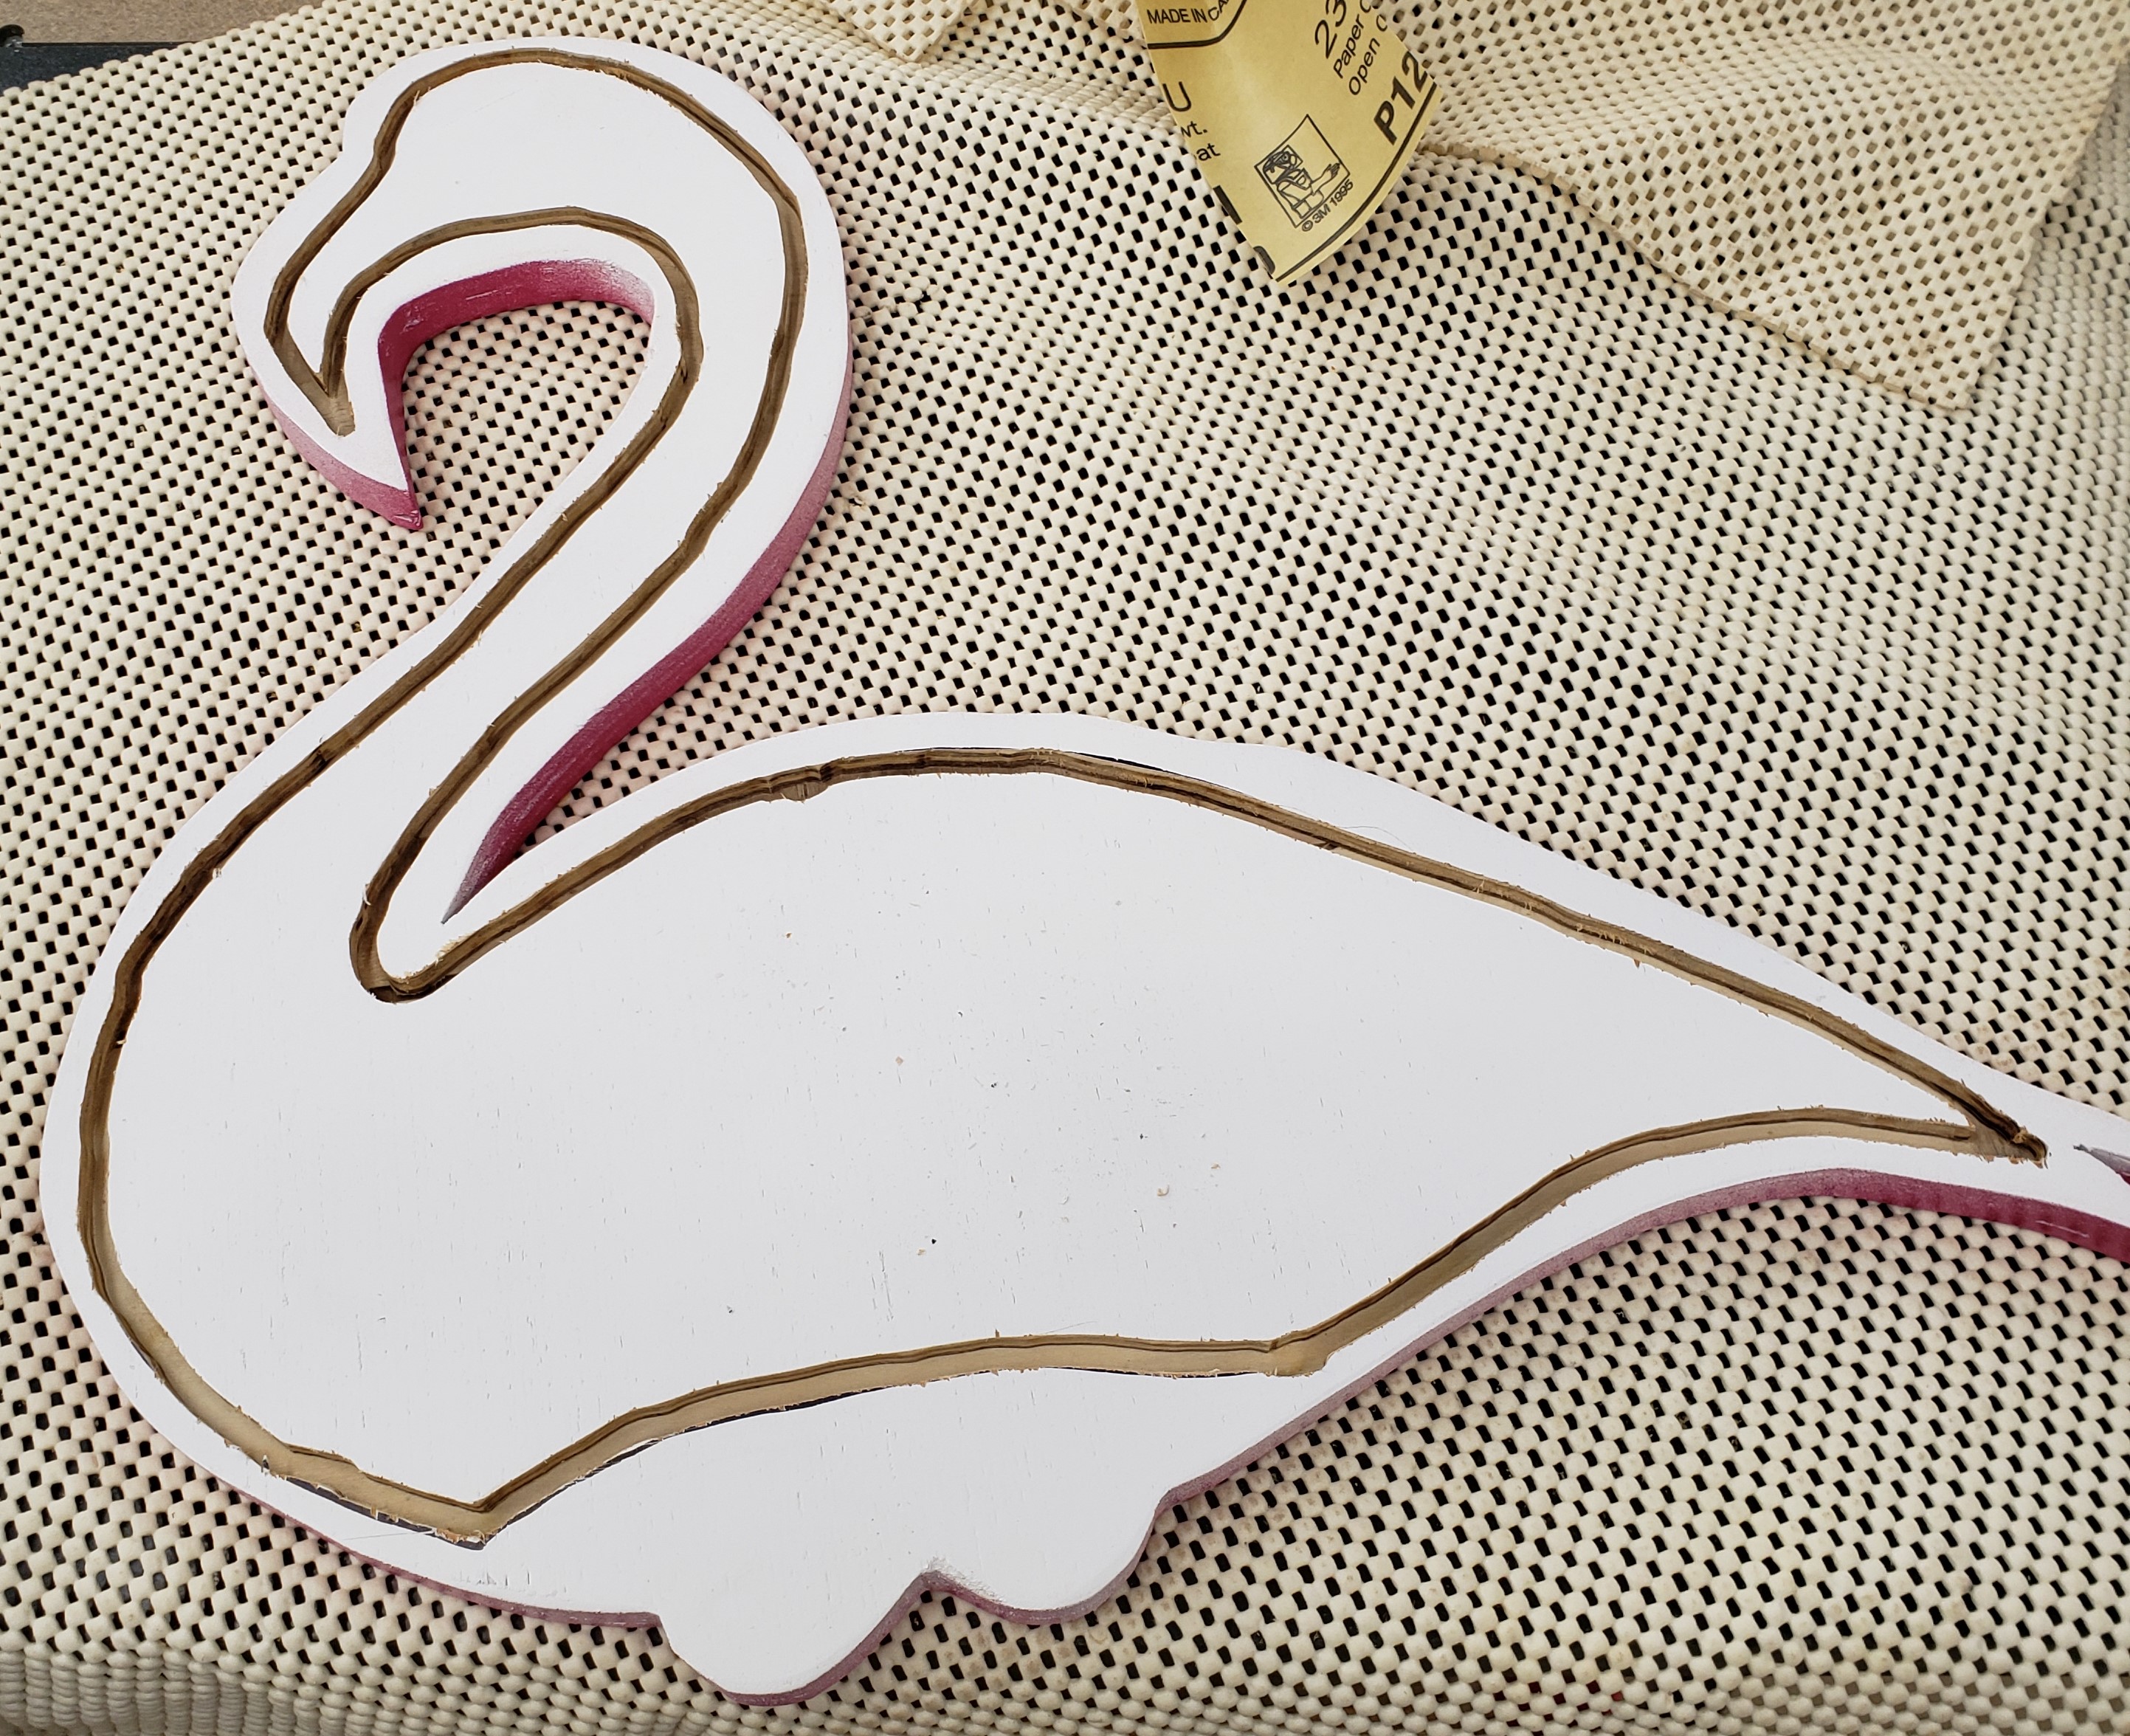
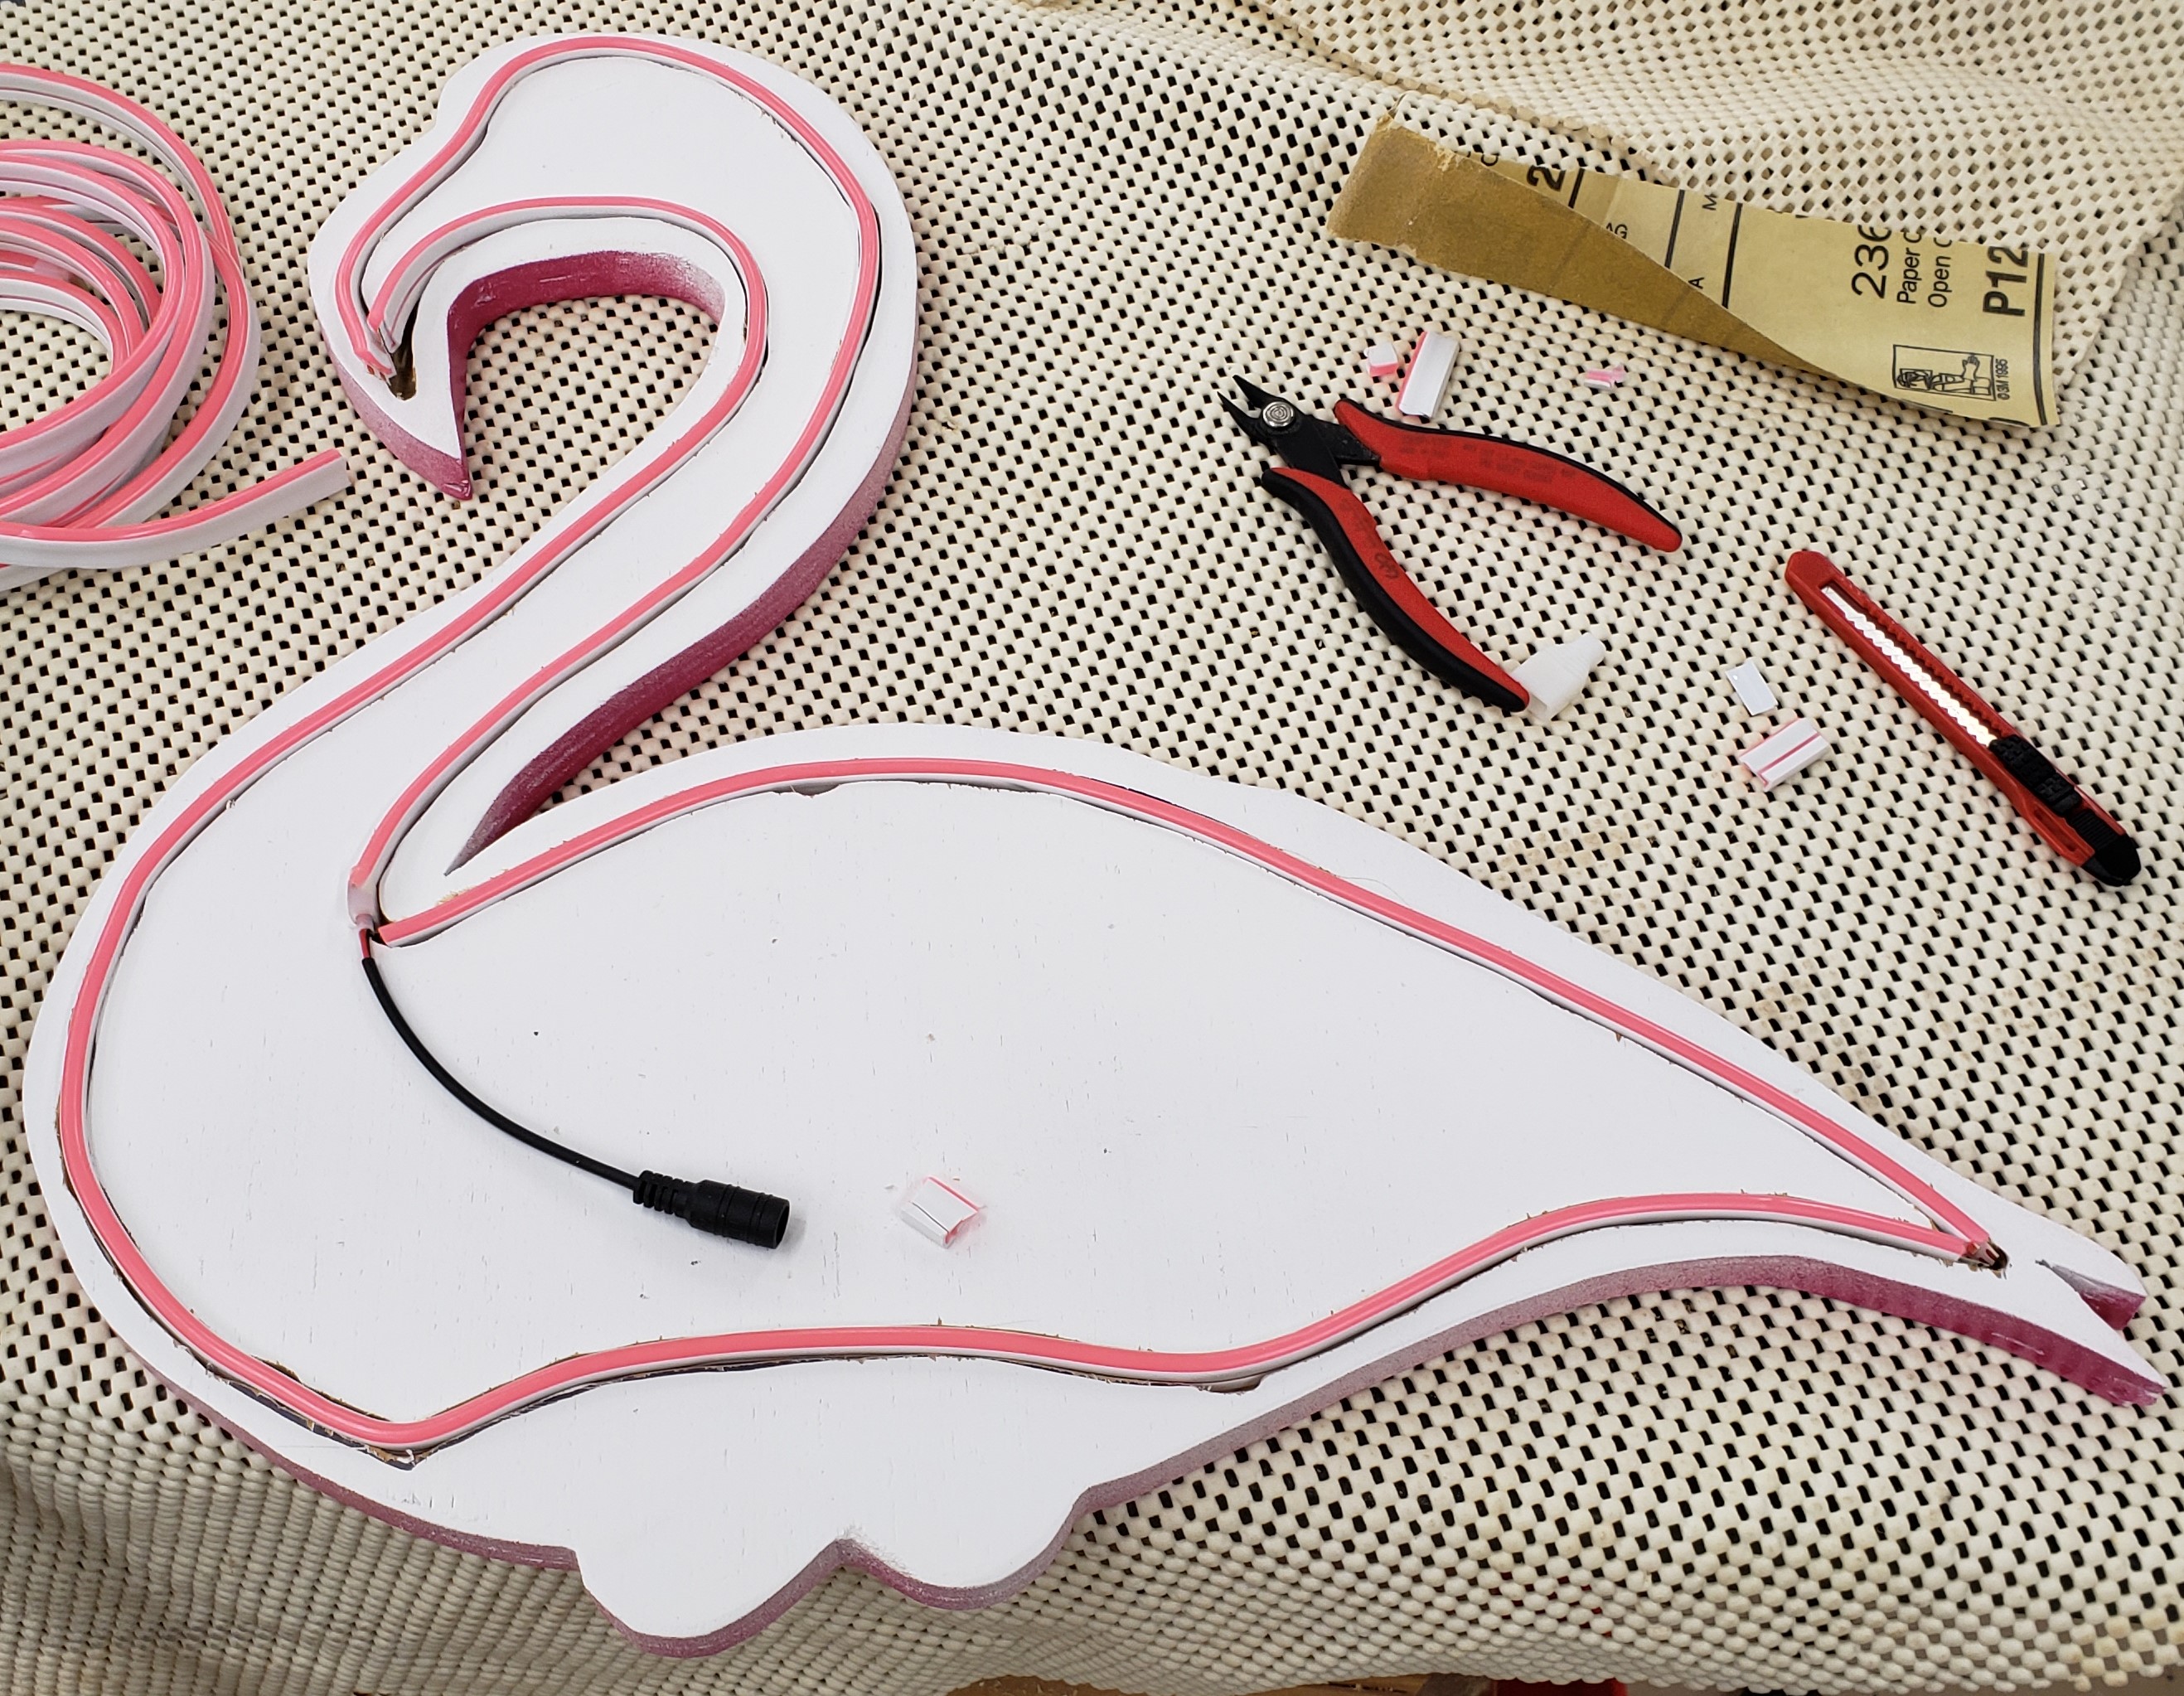
Around this time I saw a video on tested’s website where Norm was using this LED strip that was setup to look like neon sign tubing. It was really gorgeous and I wanted to try it out myself. I found a pink variety that runs on 12v. I free handed an offset from the outside edge of the flamingo and tried to follow it with a 1/4″ router bit. That gave me a good groove to seat the LED strip in. You have to cut at specific locations and solder together the ends to make it a continuous strip.
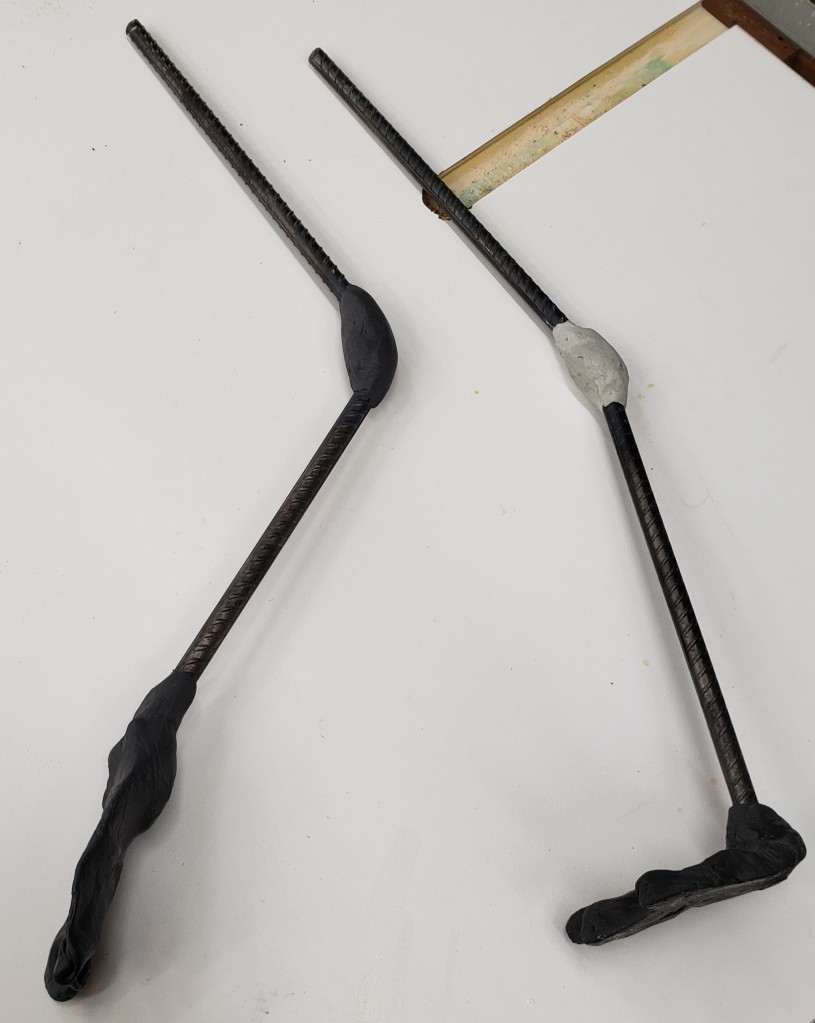
The project started when I had this vision of making flamingo legs using rebar and epoxy putty. Not sure why that came to me, but it did. Sure enough, bending rebar after a bit of torch work and then using epoxy putty to make knees and feet is a good way to make flamingo legs. I am no sculptor, but they came out good enough from a distance. I used a bone color as a base, then did a splotchy overspray of pink to add texture.
To add the rest of the feather color I used my air brush. I was going to try to airbrush a feather texture, but it didn’t really turn out like I wanted. In trying to wipe some of it off, I made a thumb smudge. It looked pretty good. I started from the back and worked my way forward doing air brush areas with finger smudges to make it look like feathers. The lighter area around the beak was airbrushed, but the beak and eyes were done with a normal brush.
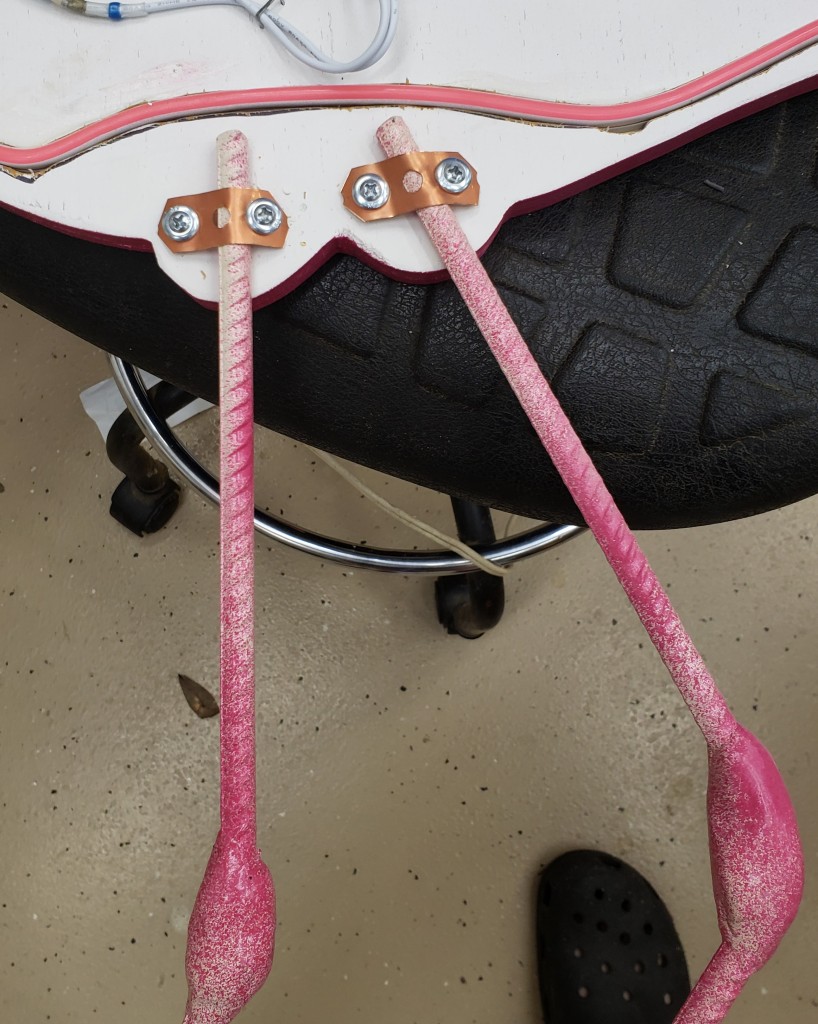
I found an outdoor rated power supply to run the LED strips and soldered it to an extension cord to minimize the space and wiring needed for this. There is a hard wired power cord for my flamingo now. I used metal pipe strap to attach the legs. Overall, it took a few twists and turns, but looks awesome on my porch. I need to do a little better job hiding the power cord against that hurricane track, but otherwise it is great.

