Full Sized Mite Board

I built a small mite board using sticky pest strips a while back.  It worked, but you had to keep buying the strips, and the sample area was small.  The new mite board is bigger and instead of sticky strips uses white coated masonite board and spray oil.

DSC_0241

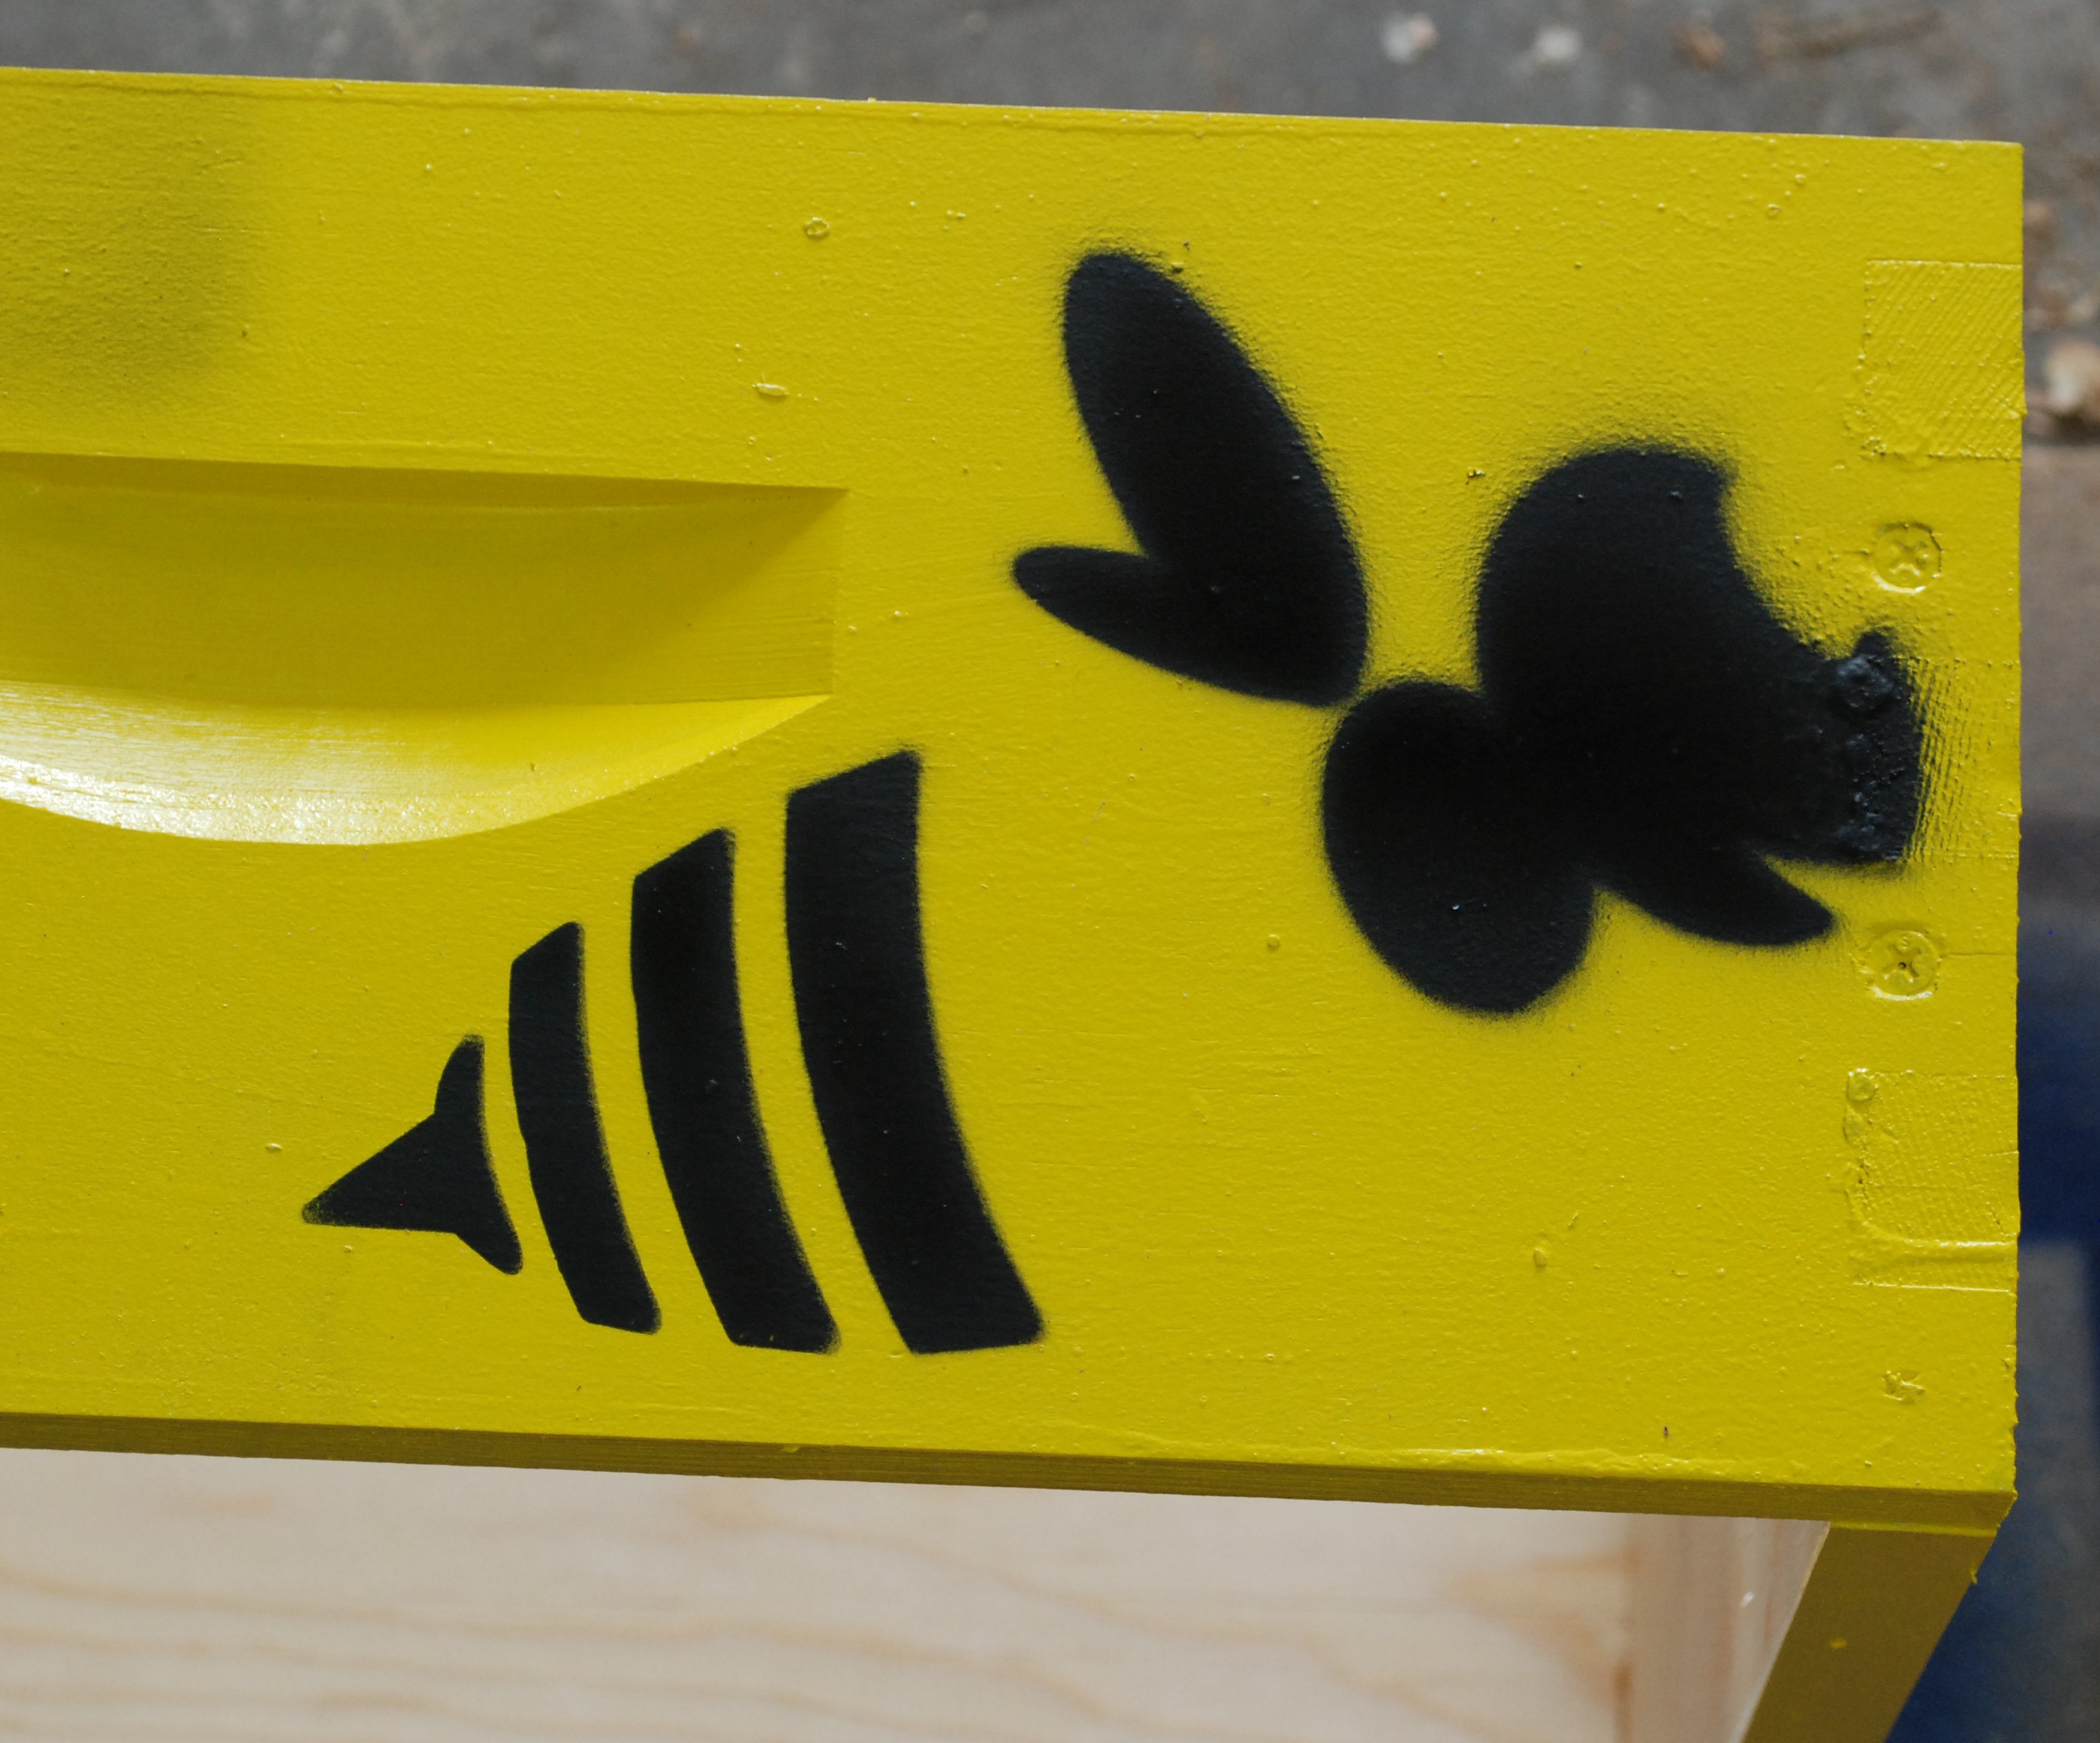
The bottom board (right) is the white coated masonite with a 1×2 cleat attached to the bottom.  Its purpose will be more obvious later.  The top that holds the screening is a 1×2 ripped in half and held together with small angle brackets.  Everything got a coating of bright yellow spray paint as much for ascetics as for environmental reasons.

DSC_0243

Once the paint had cured I put down more of my aluminum 1/8″ screening.  Looks good, but I am starting to wonder if my use of yellow for every bee related article is over doing it…  NAHHHHH!

DSC_0291

Now to put it under the hive.  Before I do, I gave the mite board a heavy spray of cooking oil.  The coated masonite shouldn’t soak anything up, so when I am done I can clean it and use again as many times as I want.

DSC_0292

It looks good under the hive, and the cleat is more obvious now.  Just sit the top on there, and slide it back until you hit the cleat.  It also gives you something substantial to quickly grab and get away.  Trust me, you don’t want to spend a lot of time messing around under there.

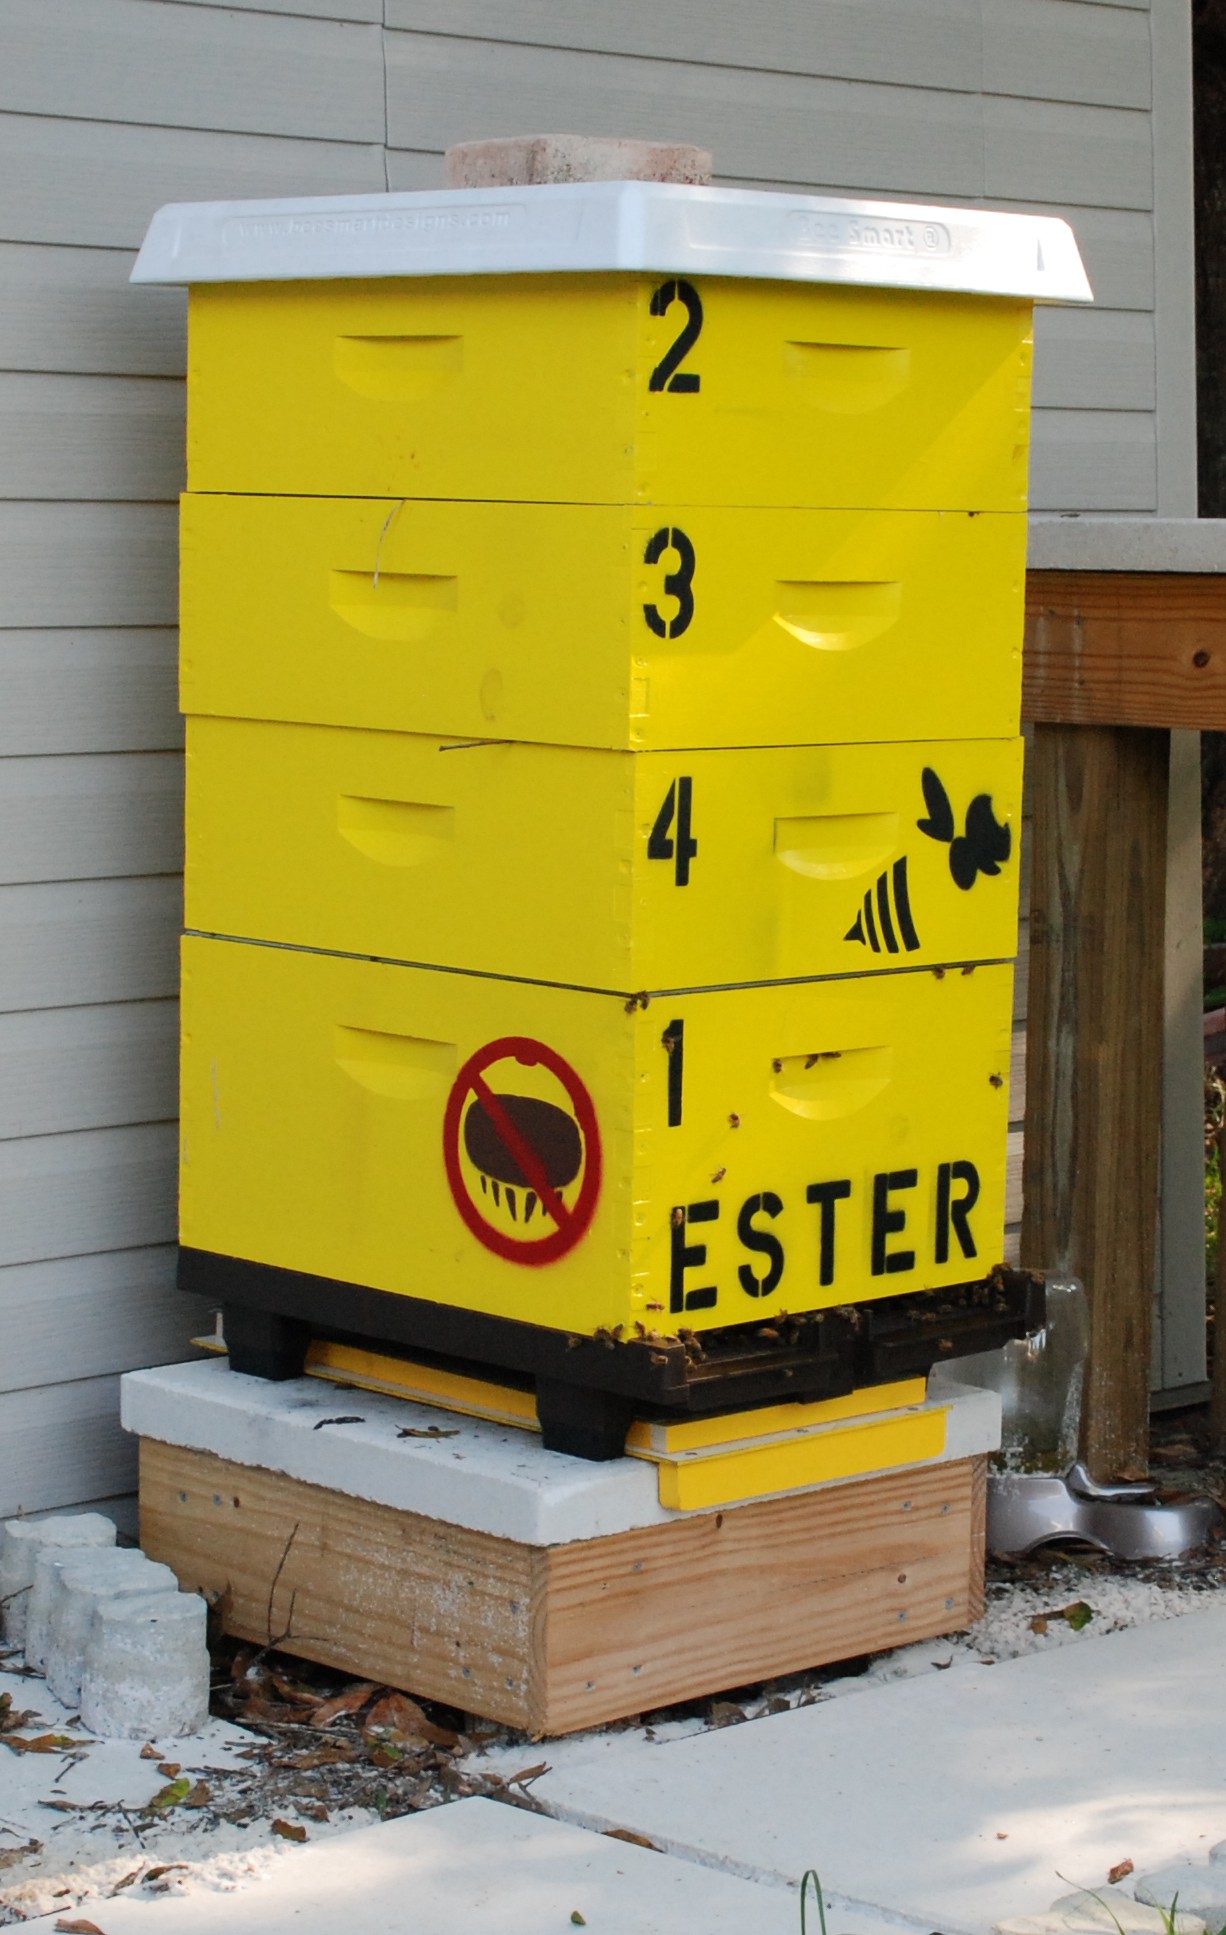
The board works perfectly, I am really happy with this design.  It installed quickly, caught the mites, didn’t cost much, is super reusable, doesn’t trap bees, looks great, and makes it very easy to see mites.  The only problem is that I have a lot of mites.

DSC_0294

It is hard to distinguish in the above picture, but there are dozens from a single day of monitoring.  We are going to have to start doing something immediately.  I have read good things about the powdered sugar treatment.  I still have honey supers on, so I can’t use some of the really aggressive stuff.  A single powdered sugar treatment isn’t highly effective, but done consistently week after week, it can supposedly knock down the population.  Our starting numbers are really high, so hopefully it can only go down from here.  Look at those horrible buggers!

DSC_0296

Mini Test Extraction

There is a lot involved in extracting honey.  You have to get the frames into your house without them being covered in bees, there is the removal of capping, the extraction, filtering and bottling.  Lots of steps with lots of potential for disaster and hang ups if you are new.  We are very new, so I thought a 2 frame mini test extraction would be worth a shot.  The girls are busy filling up the empty frames we added a few weeks ago, so we picked two (mostly) ripe frames to test my home built extraction rig.

This is the spinner portion of the centrifuge extractor.  I built it to go inside 5 gallon buckets so they would be easier to store.  There was an issue though, I didn’t give myself enough room on the bottom set of guides, and it didn’t fit.  So I started cutting and modifying and came up with an even better version that requires fewer parts.

DSC_0262

While modifying I broke the blade off my PVC cutters =(

DSC_0279

Now that I have learned how to properly build the bottom section I will make another and post it with full plans (parts list, lengths to cut, etc.).  Until then, just see what the results are from an extractor that cost less than 50 dollars in parts.


The Extraction

We took a set of full frames, de-capped both sides with an electric hot knife, and gave them both a spin.  The result was a pretty thorough extraction.

Once the honey settled and went through a filter we got some really amazing biscuits and honey.

DSC_0283

One frame was completely packed on both sides.  It lost 2lb 10oz going through the spinner.  The other was a bit lighter to start with and still had some open cells.  That one lost 2lb 1oz in the process.  We were able to bottle about 3.5lb of honey and 1oz of wax.  There is about a pound missing that probably got lost in the filters and side walls.  That will probably happen for extracting 2 frames or 20.

Assuming you do a pile of frames you can expect around 2.5lb of honey per full frame, or 25lb per super.  I have 2 supers full, and a 3rd on the way.  Oh boy, that is a lot of honey.


Wax Refinement

After letting the cappings drain through the filters for a bit I put them in a tub and did a series of rinses and soaks.  After a day of rinse and soak they appeared to be free of honey.

DSC_0284

A jelly strainer bag turned out to be perfect for refining.  It has a fine mesh on it, and you can toss it when done.  Basically dump everything inside, put it in an old pot and set the stove for low.  After a while the wax will all melt out and the junk will be left inside.

There will likely be some water in there from all the rinse cycles.  No bother, it will separate from the wax naturally.  Once you get everything melted, dispose of the bag and pour the pot contents into a form.  I used an old yogurt cup.

The hot wax will separate and float to the top.  Once cooled, break the wax out.  I ended up with a fairly clean chunk of wax weighing just over an ounce.  Bees are the best pets ever, thanks girls!!!

Extended Apiary Area

When I first built our apiary I put down a few 20×20 pavers to serve as a base for the hive and working table.  It worked pretty well, but mowing has been a bit of a pill.  I haven’t gotten stung in a while, but it is always pretty dicy.  They just don’t like it when the mower gets right in front of the hive.  I can’t blame them, it is noisy and vibrates a lot.

My solution was just to roll down a bit of weed screen and extend the area out by another set of pavers.  We have already inspected the hive once with the new setup, and it makes seeing the bees easier in our immediate surroundings.  The first mow went really well too.  Just that little bit of extra space made a big difference in their comfort level.  When planning your apiary, it might do both parties some good to plan a mower buffer zone in front of the hive entrance.

Before

DSC_0186

After

DSC_0255

Building Beekeeper Community

I have had the bee madness for about 6 months now.  Our hive is going well, the honey is flowing and the girls appear to be relatively healthy.  What more could someone ask for?  Well community would be nice.  Why not start one!

Space Coast Beekeepers

I have no idea how many people keep bees in the area, or if they are worth talking to.  Time for a social adventure!  If anyone reading this happens to live in Brevard county Florida, come on down.

Hive Update

Lots of new things are happening with the hive, and they aren’t all good.  I will start with the great news.  The girls have been packing away around 10 pounds a week lately.  WOW!

Screen Shot 2015-07-12 at 12.04.01 PM

Look at that honey super pack on the pounds.  It has been going so quickly in fact that I didn’t have any supers ready to go.  Luckily I had some time to build them up properly and even do a little extra decorating.

I broke out the mill and carved up a little cartoon bee spray paint stencil.  I kind of want to try something different with the head next time, but for now it looks really good.

DSC_0180

A full honey super weighs about 50 pounds.  I subtract the weight of the box and empty frames, which is why mine appear to top out at 40 pounds in the above graph.  The height of my hive was causing problems, so I ended up chopping down the legs a bit.  It puts the heavy supers at a more comfortable lifting height.  Before and after shots show what I mean.

With the new lowrider setup, the 3rd super is now lower than the 2nd was previously.  It was tons of fun out there sawing away with power tools while a bazillion bees flew around angry that their home was being disturbed.  No stings while doing it, so booya!


Varroa Mites

The bad news is I put another sticky trap under the hive and came back with a pile of varroa mites.  I estimated 12 per day, but it is hard when there are that many.  Previously I had about 1 mite per day.  One big difference was that I had the mite trap in place while we did our inspection.  Between smoking, moving boxes and frames around, and taking everything off to chop down the legs, I probably knocked a lot of mites off.  That is my hope at least.  I will wait a day or two, then reset the trap and try again for only 24 hours.  Doing it for 4-5 days at a time produces way too much debris on the trap.  If the next test again shows a lot of mites, then we will probably institute powdered sugar treatments.  Poor girls.


Improved Mite Measures

After my disastrous attempt at trying to track the mite population in my hive I took a closer look at what I was trying to do.  The bottom board is slotted, but does not have any method of sliding in a sheet or board that will keep the bees out.  I have to build some kind of lid on the trap so that the bees can’t get in.

Online I see a reference to number 8 hardware cloth pretty regularly.  It is a wire mesh that has 8 wires per inch, or ~1/8″ gaps.  The bees can get through 1/4″ mesh.  My hardware stores only sold the 1/4″ in hardware cloth, so I had to fall back to aluminum screening.  It feels sturdy and will not get chewed up by insects.

I went with a similar cheap bottom board as before with a single sticky paper sheet tacked down.  The lid is a simple 1×2 perimeter with the aluminum screening stapled on top.  Nothing pretty, but it fits under the hive and keeps the bees out and the mites in.

I tested it out for a 5 day period under the hive, checking occasionally to make sure no bees were being harmed.  It worked well.  In 5 days of usage I counted 5 mites on the sheet.  My current rate of 1 mite per day will help me keep tabs on what the mite population is doing.  Up down or steady, I should have a decent finger in the wind.

wpid-20150531_100035.jpgI wouldn’t suggest placing this trap out much longer than a week.  A lot of little bugs got in there, and the hive is always dropping debris.  As it was, it took a magnifying glass with light to really make sure I could tell the difference between a dark spec of debris and a mite.

Lastly as a bonus of sorts, when I pulled the thing out it was covered in about a dozen small hive beetles.  Horrible as it is to see them, I was able to carry them away from the hive and smash every one.  I wonder if they are attracted to the pollen and other junk left behind by the bees.  Could this make a good out-of-hive trap for SHB?  Who knows, but I will be sure to observe the hive beetles every time I use this trap.

“No Mites” Stencil

I have been trying to make spray paint stencils with my swivel cutter for a while.  It isn’t going well.  Not sure if there are tricks to clean cutting, or if my setup needs improvement.  Probably both.  Instead I decided to go a different direction and use hardboard (sometimes called masonite) to mill spray stencils instead.  It is cheap, mills well, except for a bit of fuzz at the edges, and holds flat against the spray surface.

Our bees are doing well and they look really healthy.  They are kicking so much butt, in fact, that the hive deserves some decorations.  How about a nice “NO MITES!” sign.  For anyone not familiar with mites and bees, look up varroa mites if you dare.  They are horrible creatures that parasite honey bees.

DSC_0069I ran into a few small stencil problems.  To do the NO cross out, I had to break up the spray job.  You mill out the areas for the paint to go through, and there would be two floating half circles if I did that.  Instead I milled most of the shape, but left some edging to hold it all together.

DSC_0067I thought this was a great solution!  Spray the mite down, spray part of the circle, then just rotate, line everything up, and spray again.  Apparently the cross portion isn’t symmetric.  I must have eye balled it in the software.  When you rotate, not everything lined up perfectly, sooooo I kind of fudged it.

DSC_0070

When you stand back a bit, everything looks pretty good, but I need to work more on my spray technique.  Lets just say I didn’t exactly do a lot of vandalism in my youth.  Does that banksy guy offer classes?  At least the mite turned out reasonably well.

DSC_0066