Pikler Climbing Triangle

The baby goods continue. I saw this one as part of a way to give kids something to help work on standing when young, and an acceptable indoor outlet for climbing urges when they get to be toddlers. It folds up pretty easily, because we wont be using it for a while and I don’t need big furniture taking up space. It has colored rungs, and three ramps that can sit on any rung to make them more or less inclined. One is a slide, one a rock climbing wall with 3D printed climb features, and the other has rungs stuck down to make crawling up easier.

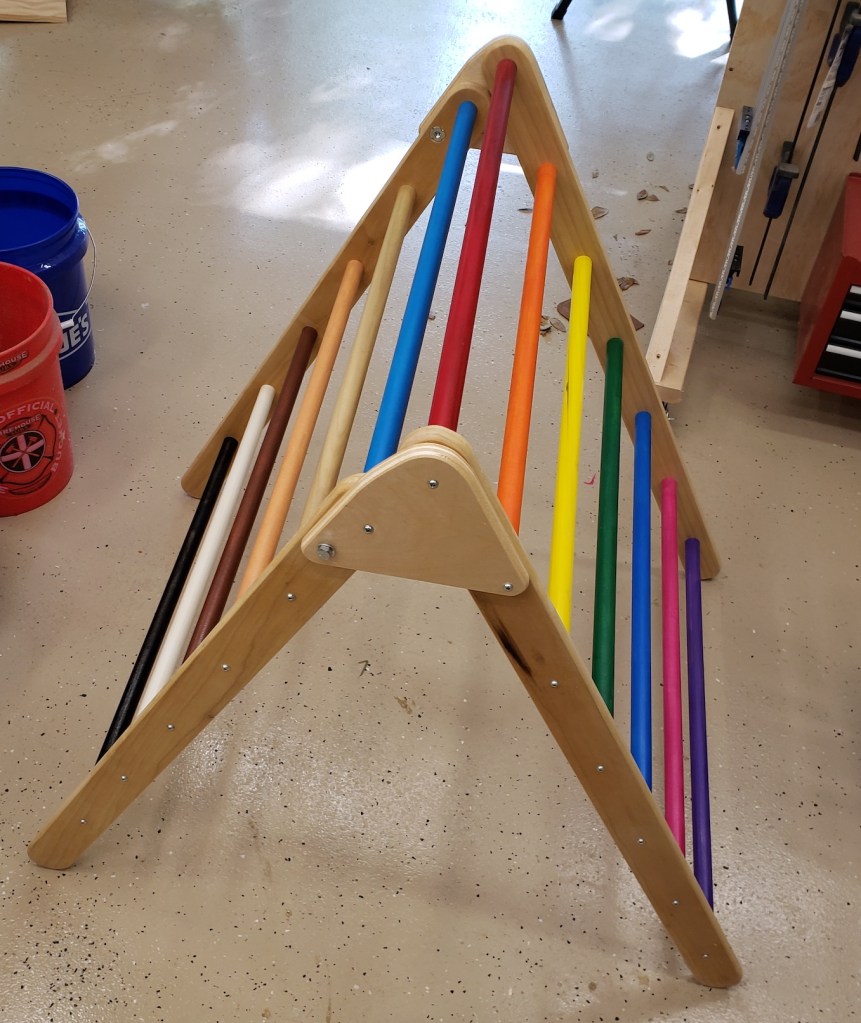
I used poplar for the sides of the climbing structure. I rounded the ends and drilled spots for each rung.

Once again trying to make everything a different color took a lot longer and was more tedious than I had originally thought. Still, every rung is different and it looks great!

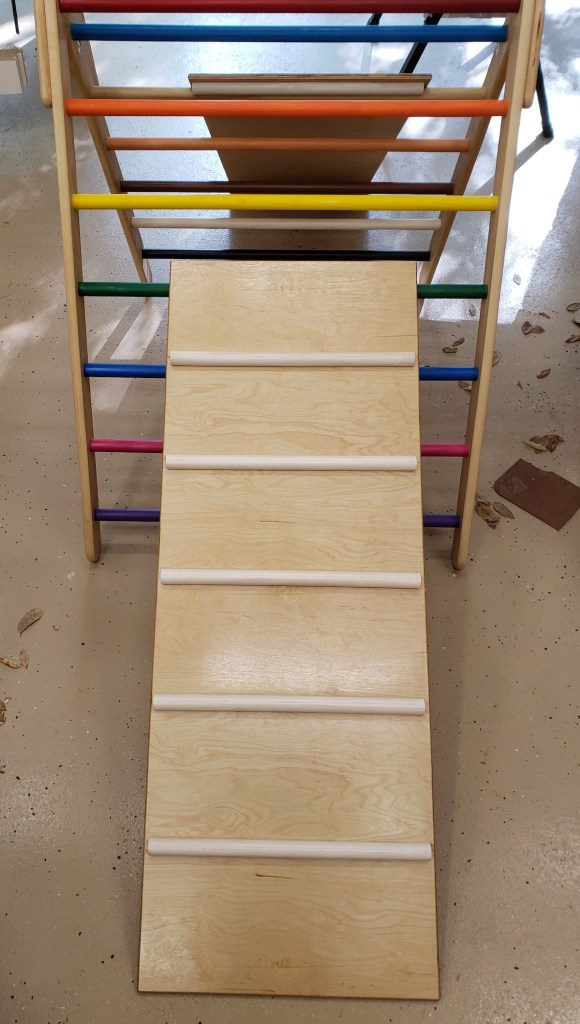
To attach rungs to the climbing ramp front I flattened them by hand. I was going to make some kind of sled to go through the planer, but I would have to adjust the planer multiple times for each rung, and they didn’t get pulled through well. By hand ended up being the easiest. I used a combo square as a depth gauge to know when to stop removing material.

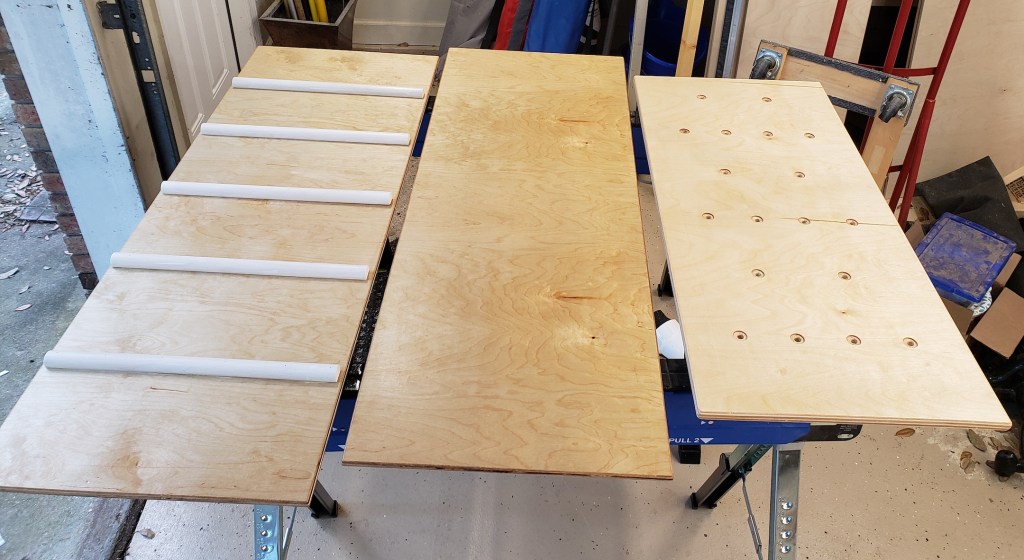
I attached two rungs to the back of each ramp so they would fit around the ones on the climber. They probably won’t do a good job on the highest rungs, but it holds really well on any of the lower ones.

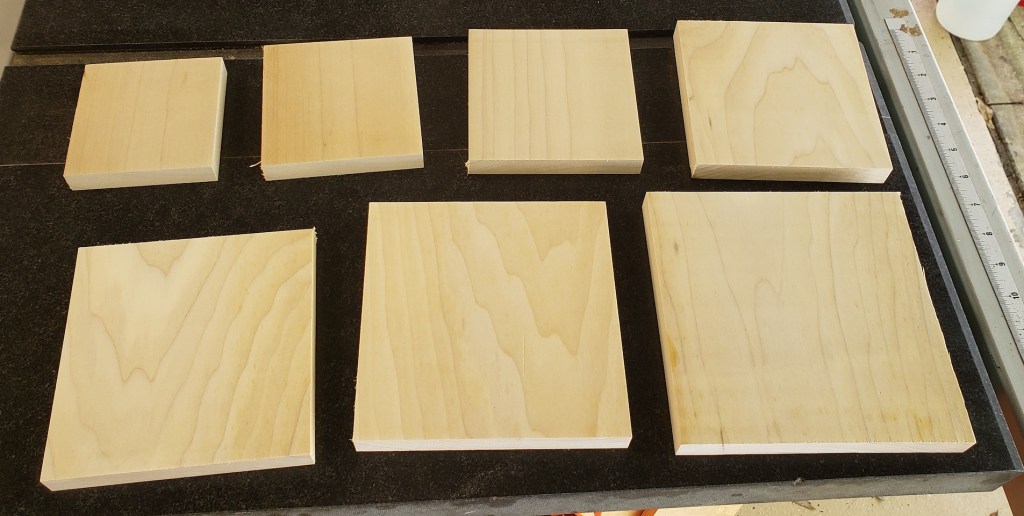
Those two mounting rungs are where I made my only big mistake on this project. While finishing all the ramps I noticed an orientation issue. I used a forstner bit to drill recesses for the t-nuts that all those climbers attach to. The side with all the big holes should be the back, but I put the mounting rungs on the other side. I could rip them off, but it would really tear up the plywood surface. I glued and nailed them down. Instead I just lived with it. The holes are ugly, but sanded well enough to not be a hazard.

I rounded over the edges of the sides, finished them all individually and assembled the two halves. To hold the two segments together I shaped a triangular piece of plywood. It screws fixed to one side while using a set of screws as a hinge on the other. A bolt and t-nut allow it to be locked in the open position. Removed, it pivots around the one set of screws and folds up.
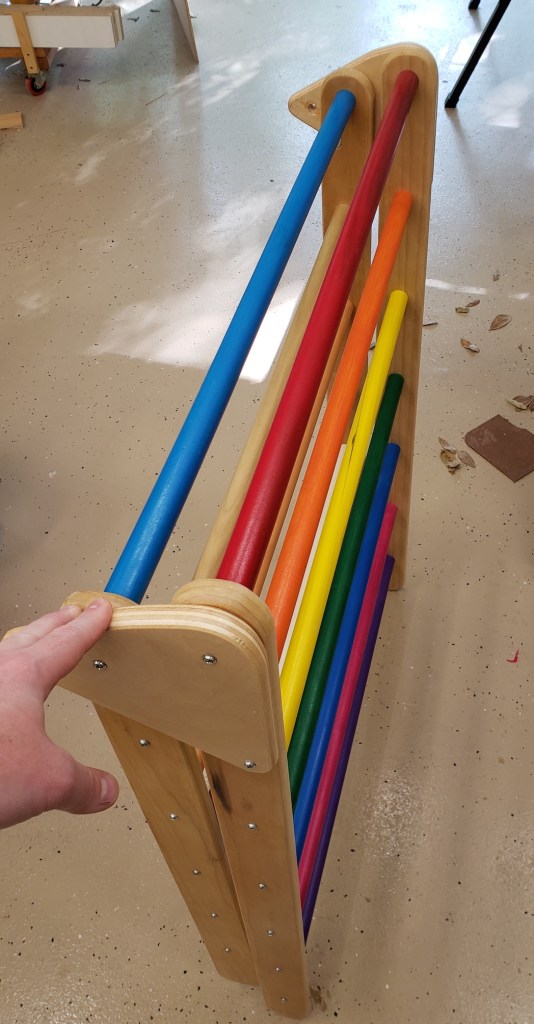
Our little guy will be battle testing this design eventually. Maybe there will be an update in a year or two where he has figured out how to collapse it from jumping or something. Successful designs will have to get a #BabyProof update.

Colored Stacking Blocks

Some big changes are coming to the household. We have a tiny kilt coming soon! He will be born in September, so it is time to start making some toys and baby/toddler furniture. The nature of this blog will probably still mostly focus on my projects, but it might eventually include collaborations between me and the offspring. How old do you have to be to start learning to use power tools? 4 or 5 maybe?

Until then, I have a lot of time in the shop now, due to the pandemic. I won’t once the baby comes, so let’s get started on a bunch of stash busting projects and make some toys and furniture. My first project is something simple. A stacking block game. I found a board of poplar that would suffice. Each block is about 1/2″ smaller than the previous. They get a hole drilled in the center and all the edges rounded over.

I bought a variety of craft paints to make these and other projects more colorful and appealing to kids. Truth be told, this was the hardest part. Painting everything with multiple coats, cleaning the sponges, keeping the paints separated and whatnot.

I wrote a little note on the bottom of the block set base, but the spray coat of shellac I threw on there mostly blurred it away. As it turns out, even the industrial sharpies are susceptible to ethel alcohol. Next time I will have to spray lacquer over any ink-work to preserve it before using shellac. My wonderful wife’s grandfather would always write notes on the things he built, so I am going to take up the tradition. The wood, paint and shellac is all kid friendly and benign should someone start using these as teething devices.

Ham Shack Hutch

My father in law dropped a hint about his birthday/christmas present the last time he was over.  It was in the form of a sticky note drawing of a hutch to complete his new ham shack.  My wife is losing her old room, and he is gaining a shack.  He wanted something simple with light wood that would hold a bit of equipment.  Thankfully my years of having bought ikea furniture came in handy.

It was going to be over 30 inches wide, just under 2 feet tall, and 16 inches deep.  Fitting it inside a car for the long ride to their house would be trick.  Instead of gluing I decided to employ dados and have everything screw together.  Chase style flat pack!

DSC_0428

I took 8″ wide poplar boards and face joined them to make the 16″ depth I was looking for.  Saw benching is so much more peaceful and fun than using a noisy miter saw.

DSC_0429

Once jointed together I used the router to make a 1/4″ dado in the uprights for the middle shelf, and one along the edges of the top shelf.  That one probably wasn’t absolutely needed, but I felt it would help with assembly alignment.

DSC_0445

This was my first poplar project and I like the look of it, but boy is this stuff soft.  Planing without tearout was tricky and any misuse of a tool left gouges and dents in the wood.

I decided to try my new bottle of tung oil out and was not disappointed.  Tung oil is such great stuff.  Finishing was a breeze with everything disassembled and my new screw wax made putting it all together quick and easy.  When they stopped through on their way back home the car was full enough to make carrying an assembled hutch impossible.  No problem, it comes apart.  They could have fit 10 of the flat pack ones in!