Hive Update

Lots of new things are happening with the hive, and they aren’t all good.  I will start with the great news.  The girls have been packing away around 10 pounds a week lately.  WOW!

Screen Shot 2015-07-12 at 12.04.01 PM

Look at that honey super pack on the pounds.  It has been going so quickly in fact that I didn’t have any supers ready to go.  Luckily I had some time to build them up properly and even do a little extra decorating.

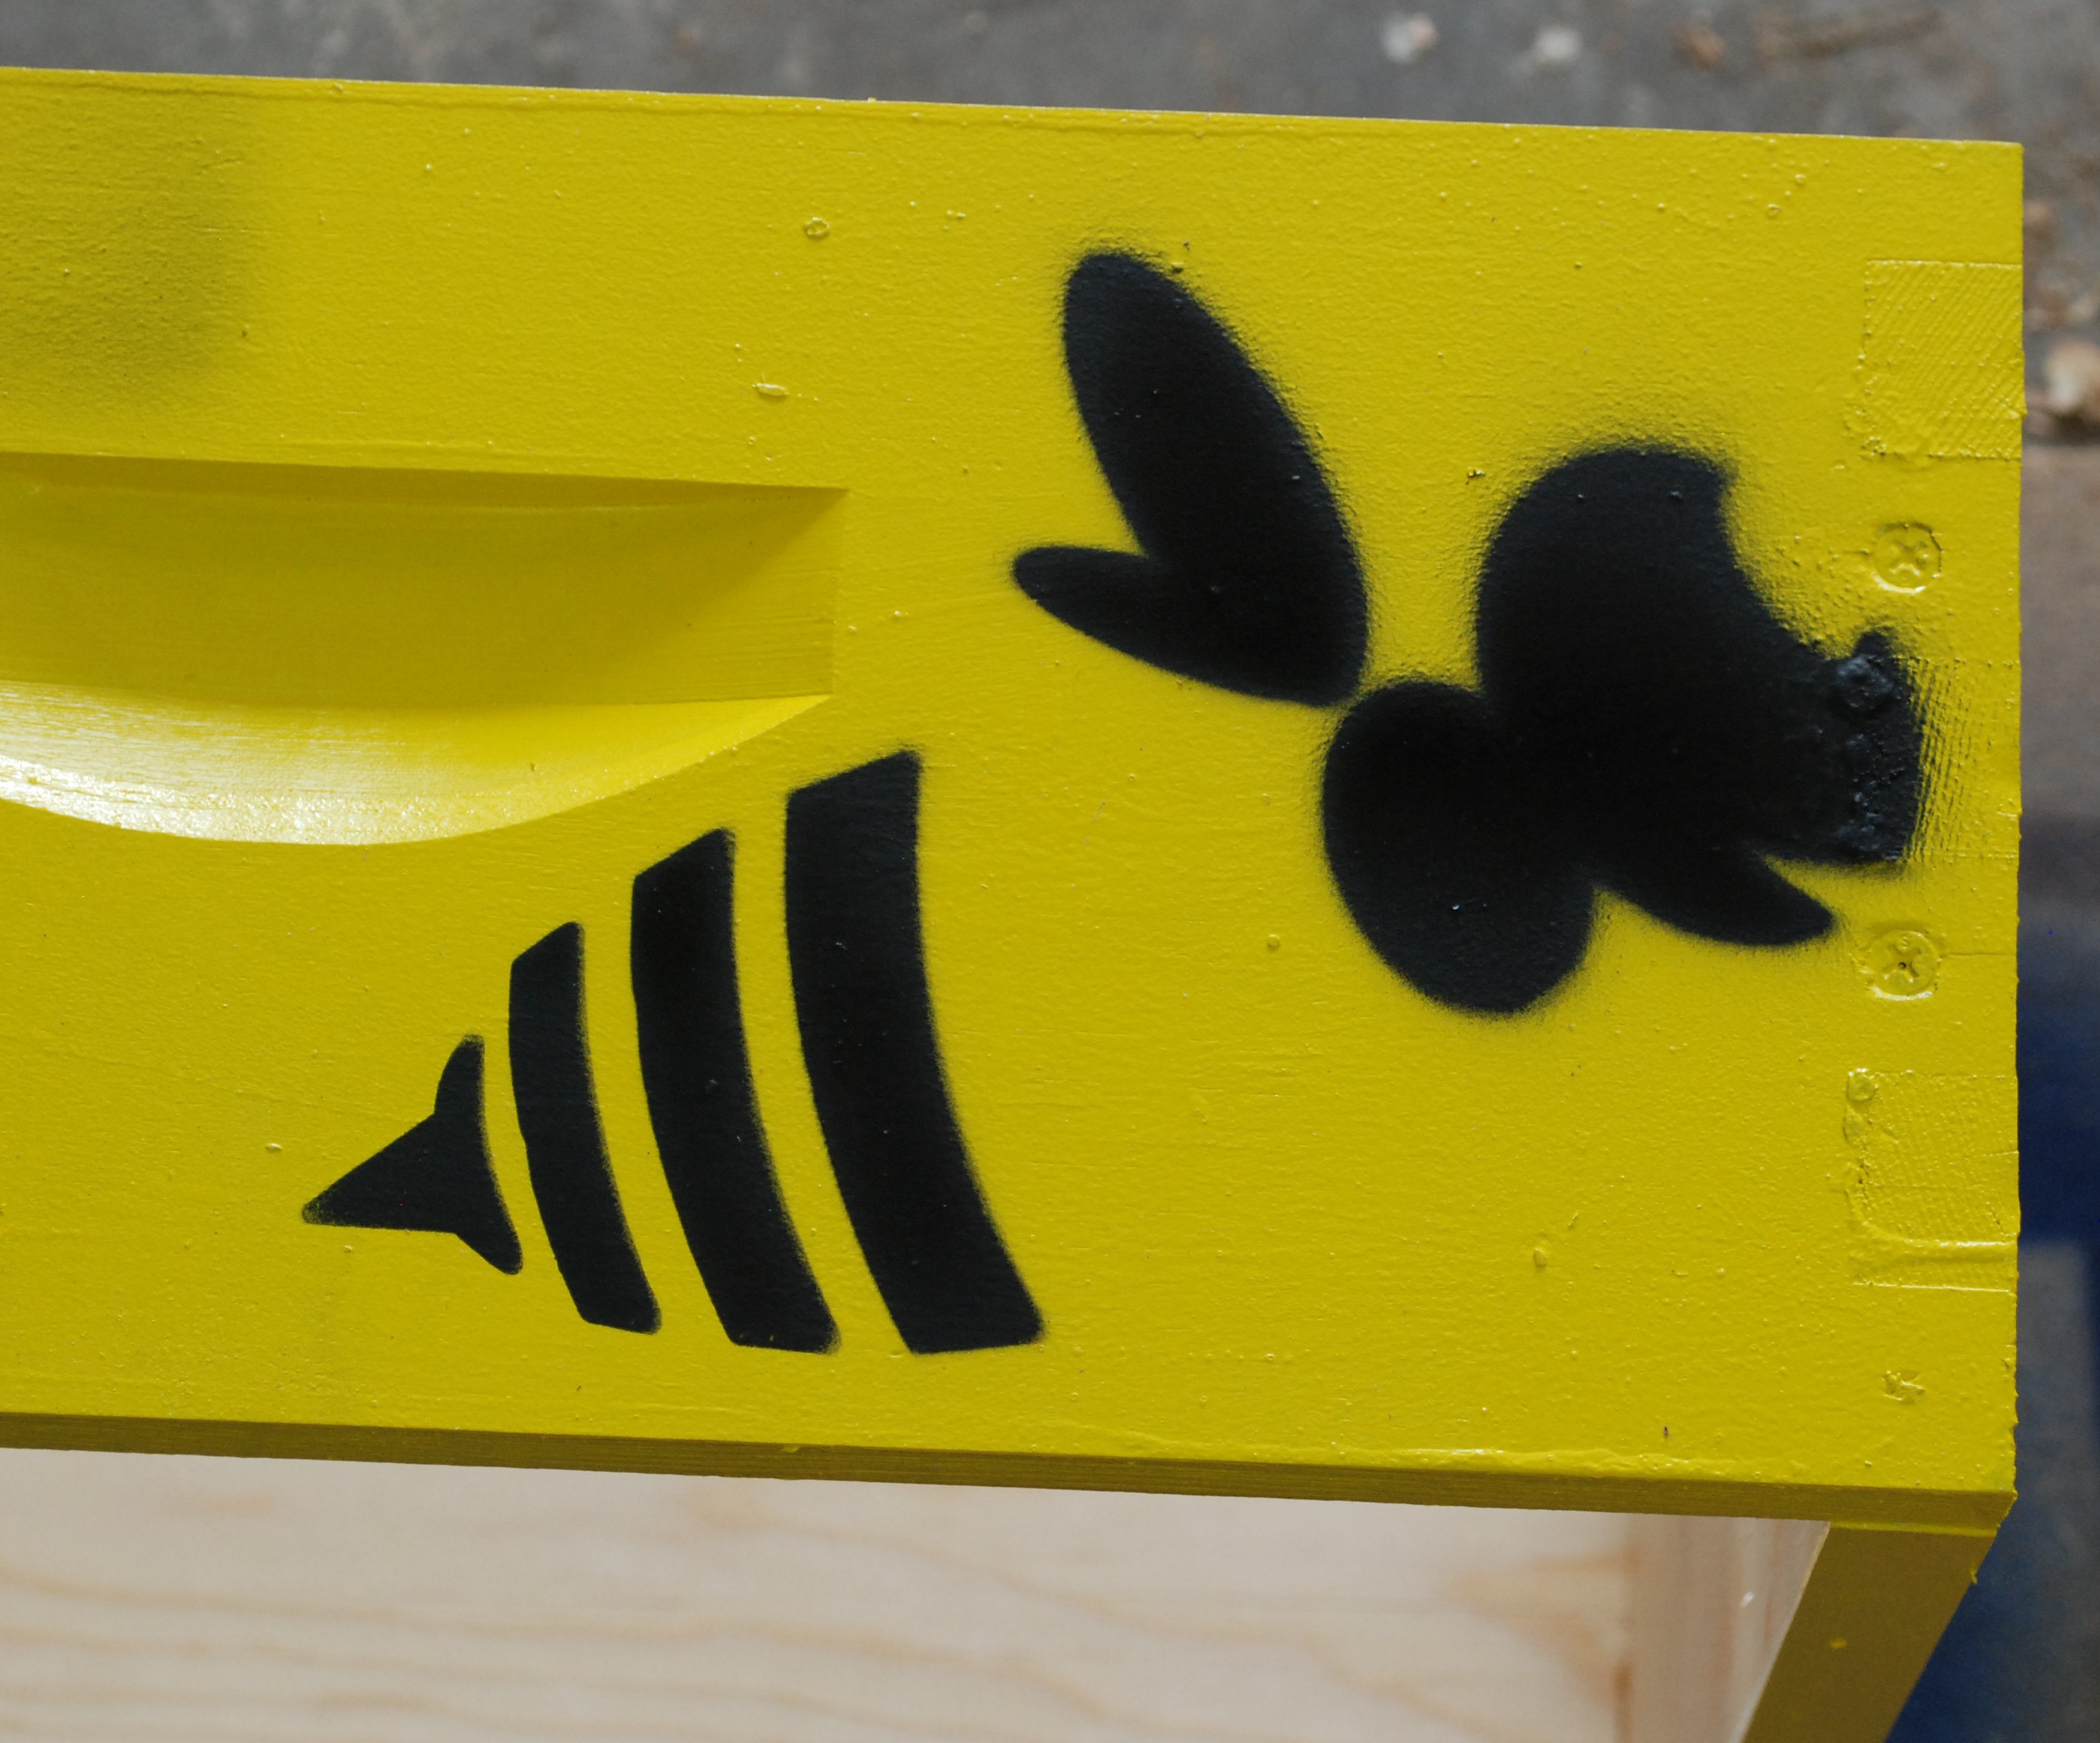
I broke out the mill and carved up a little cartoon bee spray paint stencil.  I kind of want to try something different with the head next time, but for now it looks really good.

DSC_0180

A full honey super weighs about 50 pounds.  I subtract the weight of the box and empty frames, which is why mine appear to top out at 40 pounds in the above graph.  The height of my hive was causing problems, so I ended up chopping down the legs a bit.  It puts the heavy supers at a more comfortable lifting height.  Before and after shots show what I mean.

With the new lowrider setup, the 3rd super is now lower than the 2nd was previously.  It was tons of fun out there sawing away with power tools while a bazillion bees flew around angry that their home was being disturbed.  No stings while doing it, so booya!


Varroa Mites

The bad news is I put another sticky trap under the hive and came back with a pile of varroa mites.  I estimated 12 per day, but it is hard when there are that many.  Previously I had about 1 mite per day.  One big difference was that I had the mite trap in place while we did our inspection.  Between smoking, moving boxes and frames around, and taking everything off to chop down the legs, I probably knocked a lot of mites off.  That is my hope at least.  I will wait a day or two, then reset the trap and try again for only 24 hours.  Doing it for 4-5 days at a time produces way too much debris on the trap.  If the next test again shows a lot of mites, then we will probably institute powdered sugar treatments.  Poor girls.


Sous Vide Chuck Roast

I am still riding high on my sous vide cooker.  I have done piles of pork chicken and steaks.  All of these were cooked in a few hours.  It is time to try an overnight cook.  Behold the chuck roast!

It is cheap and kind of tough which makes it a perfect candidate for a long cook.  I started with a kosher salt and fresh cracked pepper coating.  I then bagged the two together and chucked (haha) them into the sous vide.  My instructions came from Baldwin’s website.  That place has seriously good info on sous vide.

DSC_0190

After around 27 hours at 135F it was dinner time, and the roast was ready to rock!  I pulled it out and dumped the liquids in a measuring glass.  The dark color on the roast was natural from the cooking, no searing needed.  A really nice dark brown on the outside, and a consistent red throughout.  Searing might be a good idea, but I sliced it up without.

DSC_0193

The poured off liquids went into making a really kick butt gravy.  All that pepper that was on the outside of the roast got into the liquid and really carries through the brown gravy.  Mix that nice peppery bite with some honey Sriracha brussel sprouts and you have a seriously good dinner.  Tender and juicy, this is hands down the best roast I have ever made.

DSC_0194

GoPro Time Lapse Endurance

I love time lapse videos.  They can show progress and life in a way that we couldn’t normally comprehend at our human pace.  I have started a few time lapse shots only to have them go sour part of the way through.  Changing lighting conditions are one culprit, but so are dead batteries.  When they only give you 3 little bars to show battery life, it can be hard to tell how much time is available.  I decided to do some time trials with various batteries and capture rates.

All tests performed with a GoPro Hero 3 White, WiFi off


Storage Space

A simple one to test is storage space, or so I thought.  Everything was pretty straight forward until I paid attention to the file sizes.  It turns out the image size varies quite a bit depending on lighting conditions and capture speed.  At 1 second and below, the file size cut way down.  Similarly low lighting conditions will produce smaller files.  Even with a 10 second delay.

  • 0.5 – 1 second delay: 250kb – 750kb
  • 2+ second delay: 1.3mb – 2mb

This mean that mileage may vary by quite a bit.  1 second delay in low light vs bright conditions can be a factor of 3 difference.  This is all a little academic.  Memory is cheap, and often more available than battery life.  The worst case would be a 2 second capture delay in full lighting.  That could theoretically be 3.6gb/hr.  A few of the actual numbers I got are below.  Most were taken in fairly low lighting.

  • 1 second delay, 2 gb/hr
  • 5 second delay, 1 gb/hr
  • 10 second delay, 0.5 gb/hr

In theory 5 seconds could go from 1 to 1.5gb/hr.  Again, probably not going to break the SD card bank.  Take my above file size numbers, multiply by your acquisition rate and figure out how much space you will need.


Internal Battery Endurance

This is what I originally set out to do before I got really side tracked with file size.  I had a hypothesis that the higher acquisition rates would yield shorter battery life.  The idea being that the GoPro would consume less power in the delay cycle vs when capturing.  100% wrong!

It turns out there is no measurable battery life difference.  I tried 1s, 5s and 10s delay.  They all turned out the same on a given battery.  I compared a stock GoPro battery and a Wasabi power battery both with a 5s capture delay.  They came out really close.  That is surprising considering the stated mAh rating is higher on the Wasabi.

  • Wasabi Power Battery (1200mAh): 3hr 45min
  • GoPro Stock Battery (1050mAh): 4 hours

DSC_0142

4 hours isn’t bad, but when you consider there will be setup time, that drops.  An extra battery source is whats needed.  GoPro sells a backpack, but I wanted something cheaper to rig.  How about one of these portable batteries used to charge a phone?


External Battery Endurance

I have an Anker portable battery (3200mAh) and an EasyAcc (10,000 mAh).  Often the stated ratings are not correct.  See Wasabi example above.  Still, they ought to last longer.

  • Anker battery: 8 hours
  • EasyAcc Power Bank: 29+ hours

The power bank was crazy.  I eventually gave up and just stopped it.  There are 4 indicator lights on it, and one was still lit up when I called it quits.  I have no idea exactly how long it would run, but obviously well over a day.  I can’t imagine I will want to do time lapse for that long.

DSC_0182Using a portable pack, you will not be able to seal up the GoPro.  Time lapses done in a rough environment will require an official backpac with new case.  Still, I can think of a lot of places where having all day time lapse without water resistance would be useful.

Wooden Comb

My goatee is getting pretty long and is need of some combing.  I could buy a regular comb for a few bucks, or I could spend hours making my own.  Is it even really a choice?!

Looking at what others have done, the table saw seems to be a popular choice for making the tines.  I figured a 1/8″ mill bit would do a pretty decent job, so lets mill this puppy.

I created a basic low profile pick that fit on some thinner scrap walnut I had available.  I really like how it looks with the lighter sapwood on the one edge.  A relief of half the thickness let me easily inlay some maple.  The grain runs counter to the walnut for strength and is proud a bit to help with holding.  It took a pile of sanding to point the ends of the tines.  A power sander made it pretty quick, but manual sanding is completely possible.  After glue-up and sanding I gave it all a coating of spray lacquer.

So far my goatee is happy with it.  A little oil and a comb post-shower seems to make it lot more manageable.  After all, there is nothing worse than a bad beard day!

DSC_0148


DIY Camera Reflector

I shoot all the photos for the blog on an older nikon DSLR.  The flash I have works great, but is not the typical form factor.  It makes adding a reflector really difficult.  Someone sells a reflector online, but it is more than I am willing to pay.

Although this post is about a photography accessory I felt a video would best explain the whole situation.  In comes Mr. GoPro.  Sadly my D80 does not support video capture.  Maybe someday I will upgrade.

Now that the concept is out there a demonstration is in order.  I find that doing a bounce of the ceiling takes care of 95% of my shots.  Sometimes there is a lot of contrast, or for some reason a bit of fill lighting is required.  That is where the reflector comes in.  As you angle it forward, more of the light is directed forward instead of up.

For whatever reason my kitchen has the worst results with bounce flashes.  Below are 3 shots done with the flash facing forward, up for the bounce, and up with the reflector.  There isn’t a huge difference in the forward and reflector shot.  The contrast isn’t so extreme, and the shadows are nice.  I used a bit of white paper on the reflector.  A grey sheet, or more diffuse surface maybe in order.  It will probably take a lot of experimenting before I am happy.  Still, as a mechanism the reflector works great!

DSC_0132

Forward Flash

DSC_0133

Ceiling Bounce

DSC_0134

With Reflector

Home Built Saw Tools

Saw Jointer

One of the steps of saw sharpening is getting all the tops of the teeth even.  If one tooth is taller than the others, it will catch.  Shorter teeth will not do anything cutting at all.  This job is accomplished by running a file across the tops of the teeth until you have hit them all.  Not too hard to do by hand, but a jig helps.  Many were sold back in the day, but they are pricey now on ebay.  No matter, I will build one.  Here is my file and wood of choice.

DSC_0112

I cut a section off, and carefully cut a wedge shape about 3/8″ into the maple.  The waste was zipped out with a narrow chisel.  Now the file will fit inside nicely leaving room for a wedge to firmly hold it in place.

I had a thin piece of walnut that would work perfectly.  The only trick is that tapering such a small piece will be difficult.  I found that my scrub plane worked really well across the grain.  I held it just a little proud of the vice and slowly carved away till I had the desired shape.

To use, simple wedge the file in gently with the walnut, and then run along the top of the saw teeth.

A perfect scrap creation for an everyday woodworking problem.  Now to buckle down and actually do all that sharpening.  But first


Saw Nut Driver

Most saws use split nuts that standard screwdrivers make a mess of.  The slot is very narrow.  I have seen people convert old spade bits into split nut drivers.  That sounds like a good plan, but requires oodles of grinding and the sacrifice of a bit.  Instead, I took a recently reclaimed piece of saw blade and made a driver bit.  The blade is thin and hard, but too flexible to make a long driver.  Short and stubby should be just fine for this task.

I used a hack saw to cut the part out.  It took two blades to finish.  I would recommend using some kind of cutoff wheel for anyone looking to make something out of saw blades.  At any rate, the bit works like a charm.  Some of these nuts were damaged and difficult to turn even with a good flat ground screwdriver.  The homemade bit works great.

Now it needs a nice handle.  I did a quick run on the lathe and came up with this handle.  The tenon had a slit sawn down the length to help seat the metal bit.  The brass made everything so tight that I couldn’t pound the bit in as far as I had wanted.  Oh well it is very suck now.  Not quite centered either, but nothing I can do about it.

Saw Renovation Wrap-Up

I finished my last round of saw renovations, and have ended up with a serious collection of panel saws.  Some were dropped some where chopped, but most made it through in decent condition.

DSC_0107

In all I did a major restoration on 3 sets of saws for a total of 9.  Some of the ones pictured above were purchased in pretty good shape, and didn’t need any serious restoration work.  Sanding all those saws was messy work and left my fingers stained black.  Luckily I put down a sheet of particle board to protect my bench.  I guess gloves are in order next time.  After 9 saws, the rust remover bath looks like used motor oil.

DSC_0105I like to think that after all the neglect these saws are happy to be back on the job and free of decades of rust.  Look, they have even taken up synchronized swimming!

DSC_0111


The last set of saws came from a really cheap lot purchase.  Any buy from ebay can be a crap shoot.  It is hard to tell quality from the pictures and sellers rarely take a picture down the length of the saw blade to show bends.  Still, for 15 bucks for the three, I am willing to take my chances.

Unfortunately the top most saw, in the left hand picture, was beyond saving.  I couldn’t get past the heavy pitting and bends in the blade.  I disassembled it and will keep the parts for potential future repairs of other saws.  If I could find another medium sized backsaw or two and a good miter box/saw my collection would be complete… yeah right!

Saw Renovations (Part 2)

The Summer Saw Stravaganza continues.  I took another set of three sad looking saws and gave them a run through the bath.

DSC_0094

The saw in the middle is a real mixed bag.  It is very old and has a nicely carved handle.  On the other hand it is badly rusted and pitted in places.  Looking at a close up of the blade you can see two neat features.  First, that carved dip of the handle as it comes around your little finger to meet the plate again.  That is called a lamb’s tongue.  Totally for decoration.  It needed some gluing back together.

DSC_0099

The other is that number 10 near the teeth of the blade (left side of picture).  You can barely see the 1.  They would typically stamp the number of teeth per inch there on the blade.  The trick is it was usually 3/8″ or further from the teeth.  This saw has seen a lot of use and resharpening.

Like last time the saw plate got a bath in Evapo-Rust, the handles got sanded and a coating of boiled linseed oil.  The middle saw needed a little banging on my anvil to straighten out, but it looks quite true now.  The transformation was quite stunning.

DSC_0103

The only thing that has me worried about these saws is the heavy pitting on some.  A saw should be tapered, wider at the bottom than top, and will have the teeth flare out (called set).  This means that only the business end should really be touching the wood.  That having been said, the plate is going to do a lot of sliding in the cut, and a smooth plate will slide better than a pitted one.  I really hope they work out, these saws are gorgeous, even with all the pits and stains.

New Super Acceptance

We placed a new super on the hive back about a month ago.  The second super had been growing rapidly and was beginning to look full.  Two weeks later they had packed another 10 pounds in the first super but had done nothing with the second.  Check out the weight plot from then.

Bee Hive Weight

The naming might be a little confusing.  I started numbering the boxes at the beginning.  1 is brood, 2 is the first super, 3 is the second super we put on.  I wanted to keep them all numbered so in case I got a second hive I could track the history of each box.

See, the second super got ignored while the first one went gang busters.  That was until it was full.  Frames 2-9 are packed and capped.  1 and 10 are full on the side facing in, but untouched on the outside face.  They had filled everything with drawn comb, and came to a complete stop.  After a week or two of screwing around we decided checkerboard a little.  I took frames 1 and 10 from the first super and placed them rotated in the second one.

A later check showed a little more activity upstairs.  The state inspector said that sometimes spraying simple syrup on new frames will help them with acceptance.  I tried that on frames 2-6 of the top super.  A week later the results were in.  Though they hadn’t started storing honey they were finally drawing out a ton of comb.  The unsprayed frames didn’t have much going on.  I don’t know what the issue was.  The materials for both supers were bought at the same time.  They took to the first in no time flat while the second one was chopped liver!

In conclusion, spray all the frames with a 1:1 syrup mixture before introducing them to the hive.

Sous Vide Cooker

I purchased an Anova cooker a few weeks back, on their father’s day sale, and have been sous videing up a storm.  Is that how the verb form works, sous videing?   At any rate the unit is quite impressive.  It can heat up a large quantity of water quickly, and keeps it at a very stable temperature.

Initially it was a few degrees low compared to two different meat thermometers I had.  Luckily there is a straight forward way to alter the calibration.  See the instructions for details.

DSC_0095

One interesting thing is that unlike big professional models, this one is placed in a container of your own choosing.  I have used two different crock pots, and a large polycarbonate container to cook in.  That makes it really flexible for doing either two pork chops, or a pile of food.  I clocked the unit while it was heating up these various amounts of water and came up with a few pre-heating times.  Times will vary depending on container and starting temp of the water.  Around here it is nearly 80º.

  • 3 quarts:  145ºF in 13min, 167ºF in 20min
  • 5 quarts:  145ºF in 25min
  • 8 quarts:  140ºF in 30min

8 quarts is a pretty good amount of water to heat up that quickly.  I was surprised.  In my first run with the full sized polycarbonate bin I filled it to the max.  A good sale at my local market resulted in a pile of chicken and pork chops.  I pre-seared the pork chops and some chicken before they went into the bath.  The rest of the chicken got various marinades.  I was able to fit 10 pounds of chicken (before trimming) and 8 big pork chops in the large container.

In all I have cooked chicken breasts, pork chops, pork tenderloin, buffalo burgers, scrambled eggs, and steaks in the sous vide.  Everything, eggs somewhat excluded, has turned out to be some of the best I have ever made.  I would highly recommend this method to anyone interested in taking the plunge.

This unit is great with the slight exception of their interface.  Setting a temperature is easy enough, but calling the timer setting process convoluted is being generous.  The unit has bluetooth and the app is ok, but thats about it.  Setting times and temp requires a lot of scrolling.  It is a minor annoyance, but I feel like it could have been much better.  Still, for the sale price I love this thing!