A small story to start: I moved into my previous house, and it had a large white enameled kitchen sink. It was really scratched up and always yellowing. I hated it. It took years, but I finally redid the kitchen and got a nice under-mount stainless sink. It was wonderful. Always looks clean, scratches don’t show, easy to take care of. Fast forward to the new house. The kitchen sink is molded as part of the counter. It is a beige off white, is kind of scratched up and always looks dingy. Plus it is a 3 sink unit and not very efficiently laid out. I hate it.

It will be a lot of years before we get around to completely redoing the kitchen, so time to get cutting and install a new sink. There aren’t many options at this width, but I found a company that makes a big double sink large enough to fit inside the opening the old sink will leave behind. A jigsaw, a circ caw, a grinder, and a pile of dust later I had the old stuff removed. I would have taken a picture, but as I was cleaning my little portable vacuum fell through the hole and hit the hot water supply.

Goosh! It made a crazy geyser! That was unexpected. I drilled big holes in the baseboard and set a massive fan going to try and dry it all out. I always keep extra CPVC fittings around for this kind of thing, but my pvc cement was completely gelled. A trip to the hardware store later I got the supply repaired and had the water back on. The rest of the install was pretty straight forward till I got to the garbage disposal.

Really hard to capture in this photo, but there is water dripping from the bottom of the motor housing. I guess my garbage disposal was on the verge of death, and the move pushed it over the edge. OK, time for a new garbage disposal. This whole project was more than I bargained for.


I left it all open for an extra day or two to make sure no new leaks showed up, but by the end of the weekend I was confident everything was working well.
The top looks great, but the toe kick is trashed from where I ripped it out to get everything dry underneath. Lowes has some plastic trim that is finished in a way that matches my cabinets really well. It is molded base board instead of flat toe kick, but you have to get down really far to tell the difference.

With that repaired I turned my attention to the inside of the cabinet. Our previous organizer didn’t quite fit because of the new drain layout. I picked up some PVC trim wood to make a shelving system out of. I clamped the two uprights together and ran a matched pair of dados to align and support the shelves. The shelves were held in with PVC cement like you use on piping and a few exterior grade screws. Very sturdy, and it will never rot!


To finish it off, I 3D printed a number of little cubby boxes designed to hold stuff like sponges, glasstop cleaning stuff, and other common under sink items. I have plenty of room for more storage and everything is easy to get to. Kitchen happiness!


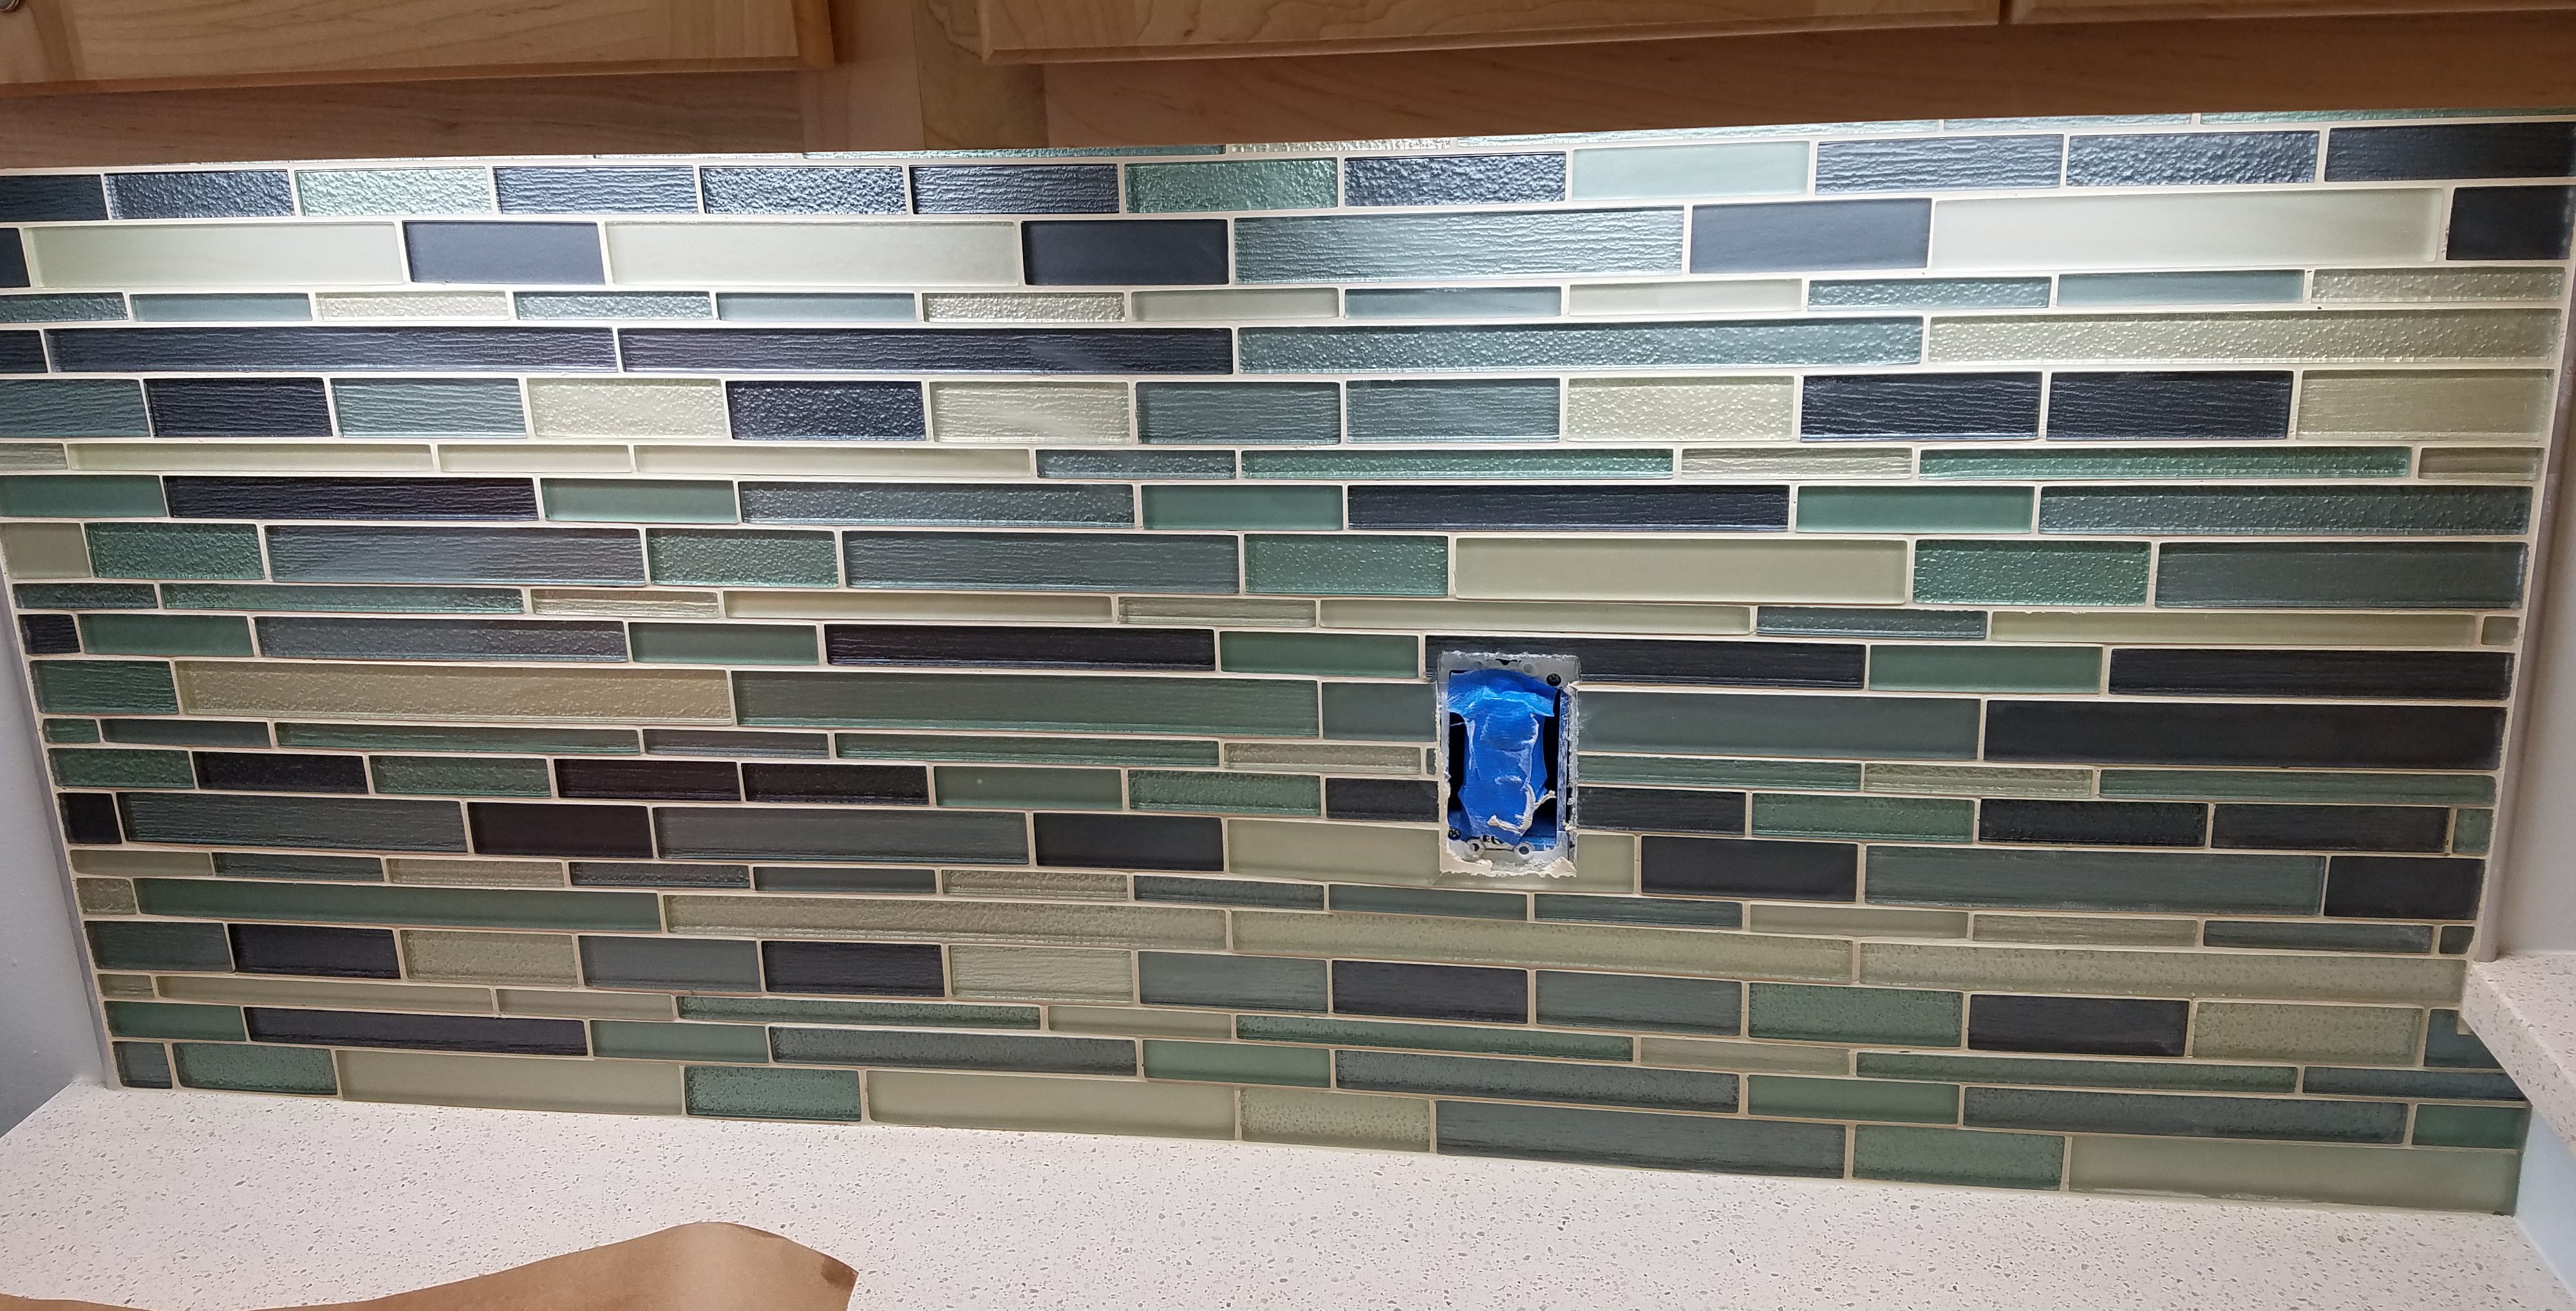
 he gaps between each tile varied between 1/8″ and 1/16″. It made any errors on my part easier to hide, but keeping everything looking right meant I needed a variety of shims. When installing the tile I did my best to keep the gaps clean, but sometimes the mortar squeezed through. It is tough to clean without disturbing the wet tile too much. Instead I waited till it was cured and used a custom little tool to scrape it out. It is a thin putty knife ground down to make a small hook/dovetail shape. I was able to get into the gaps and clean out any stray mortar that even the smallest grout saw couldn’t get to.


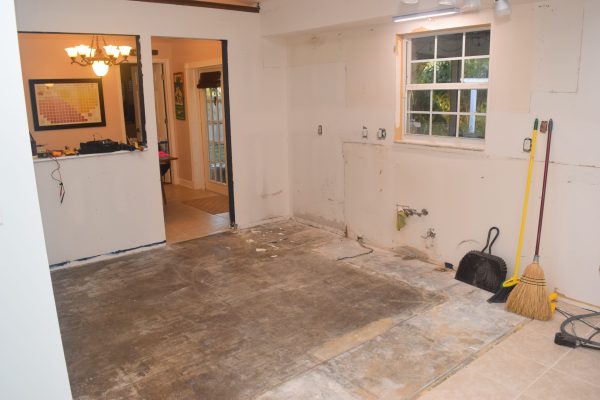


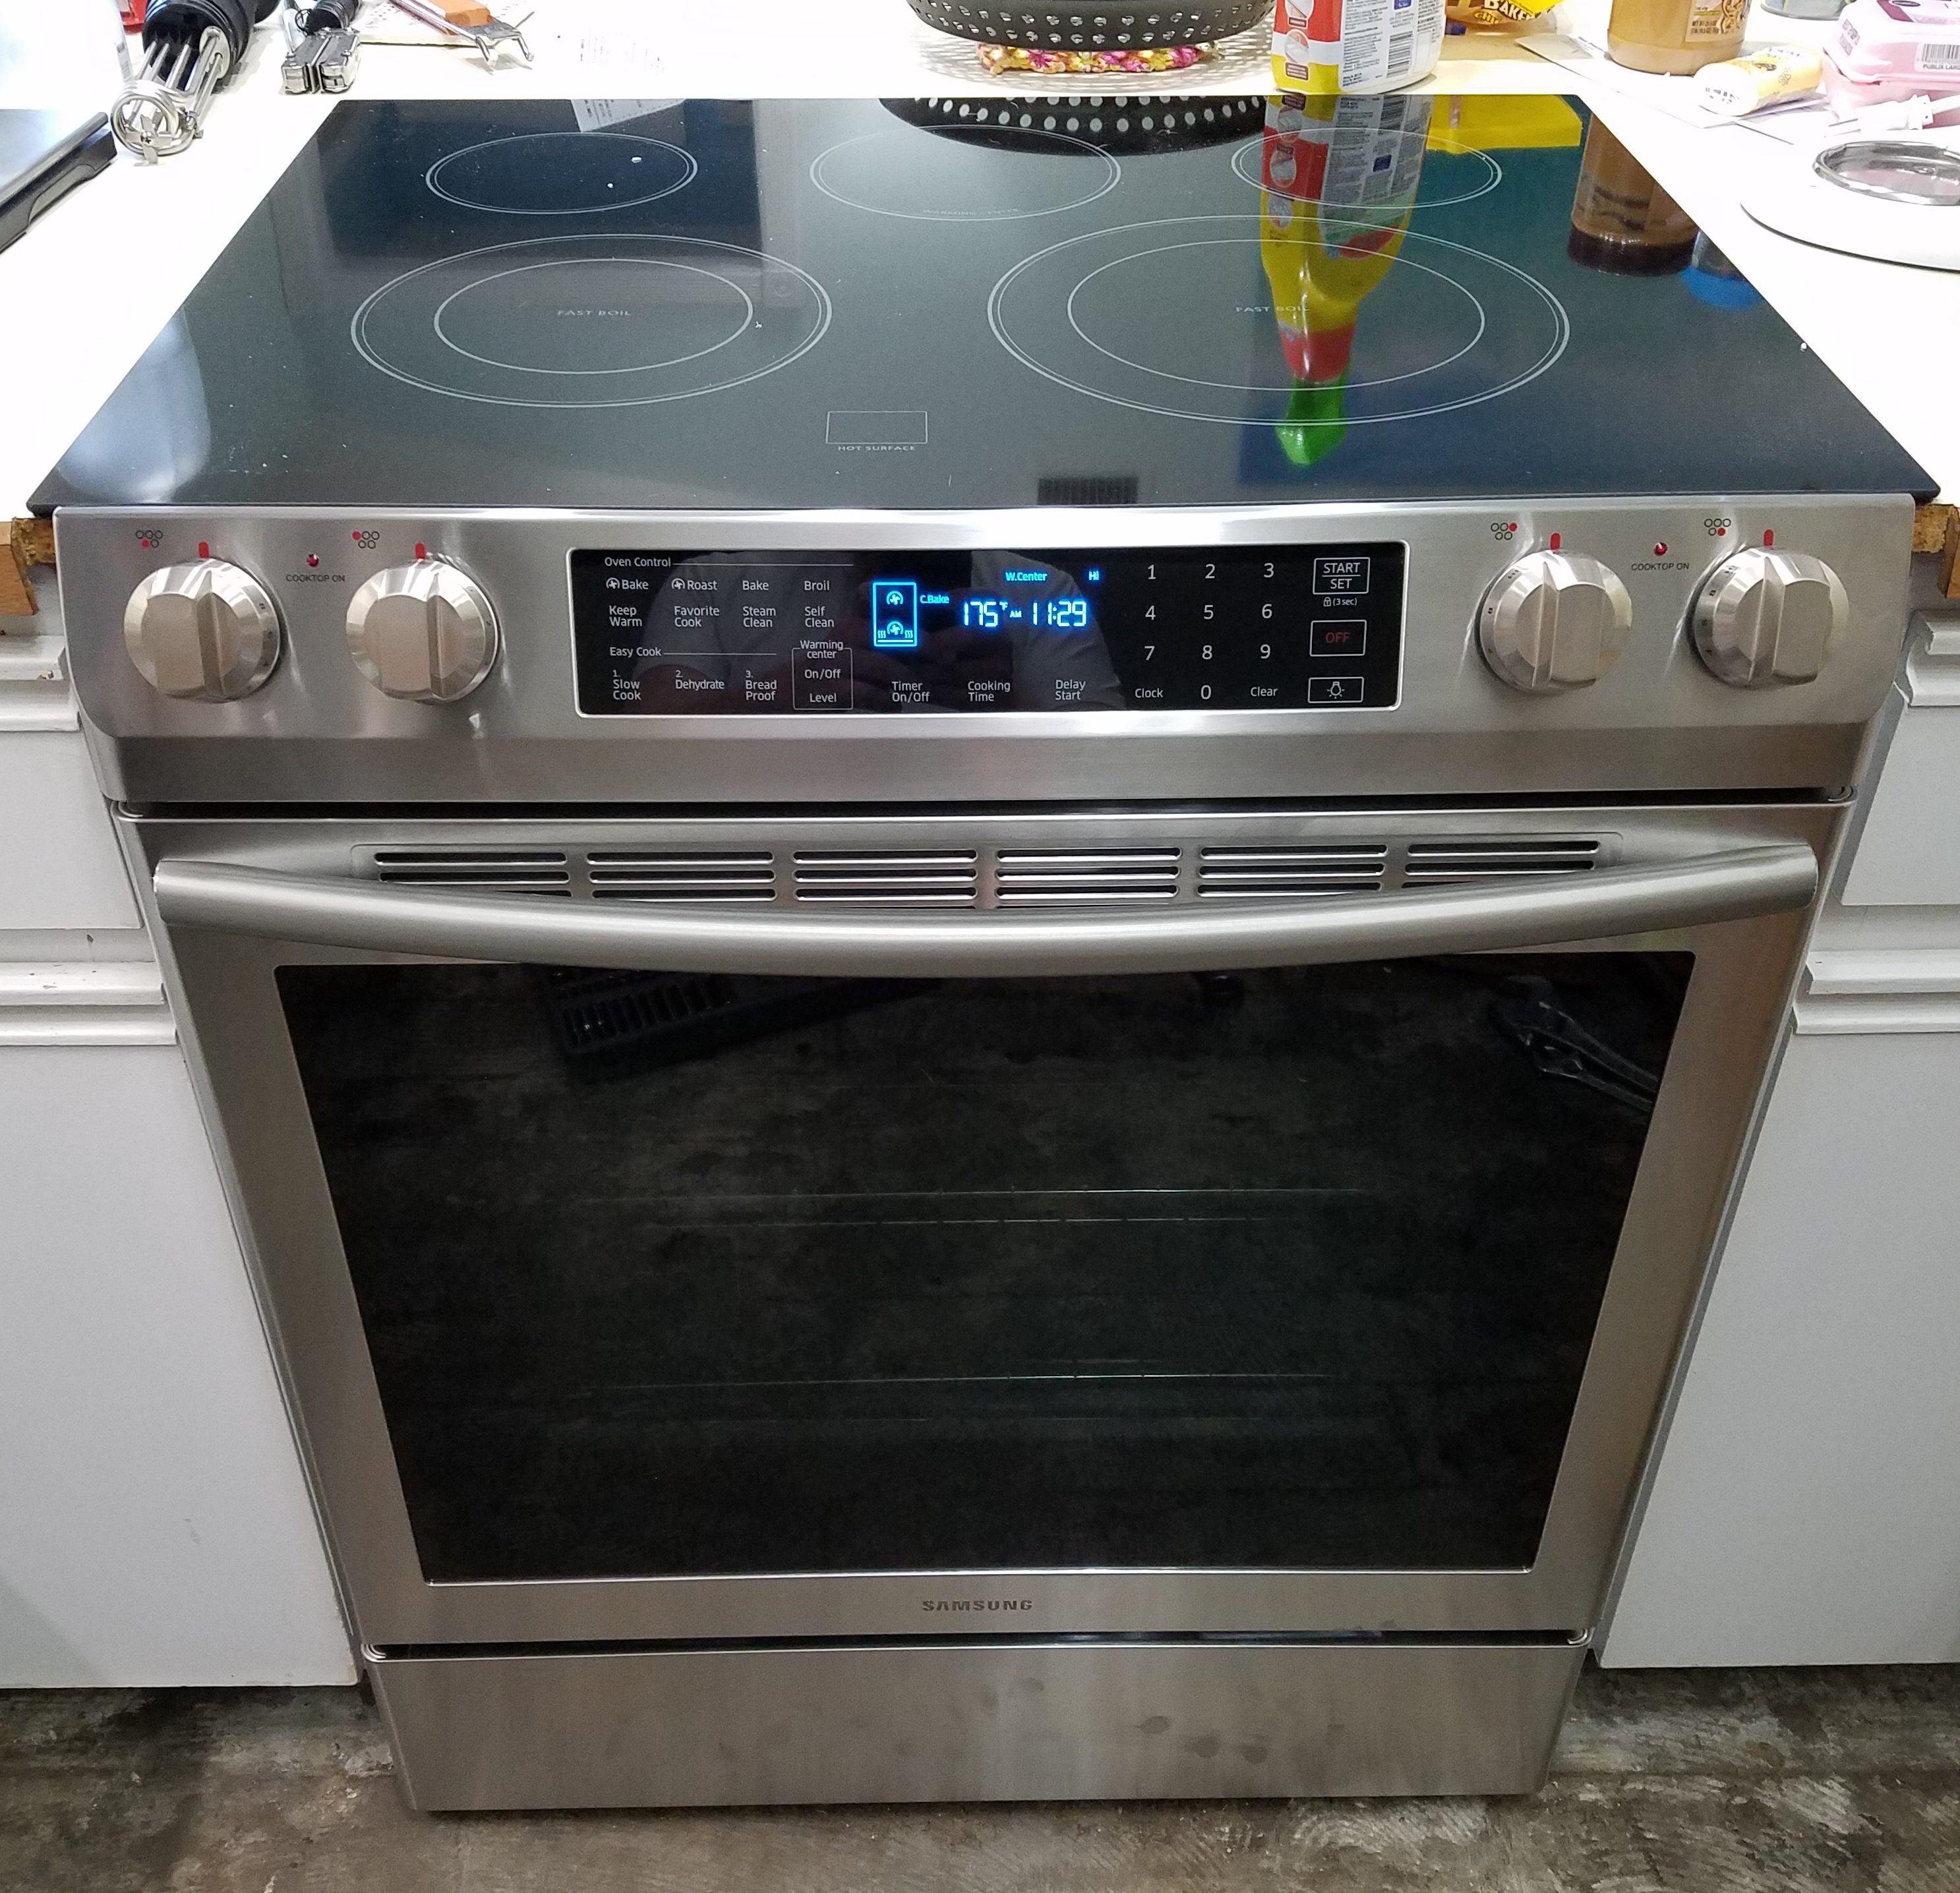
 I could now work on the small pantry without any fear of getting in the way of cabinet installation. It would give us a place to put back some of our boxed junk and help out in minor cooking adventures at Kitchen Base Camp. I went with adjustable wire shelves and wired an under-cabinet light in the top that goes on with the lights over the stove. Some basic molding happened on the inside, but most will wait till I can do everything after the cabinets are complete.