Vegetable Spiralizer

3D Printing isn’t all useless statues and funky alligator clips.  Those are fun, but you can actually make real world useful objects with even a small printer using PLA.  I use an OXO vegetable spiralizer to turn zucchini into spaghetti.  You can sauté it up with garlic, pesto, red sauce, or just eat it plain.  Very good, and an excellent alternative to pasta.  The only trick is, a manual spiralizer takes forever and leaves your wrist in pain afterwards.  Enter my first functional printer invention.

In the video looks a little awkward to use, but I found that if you cut them in half, everything goes smoothly, and 100 times faster than doing it by hand.

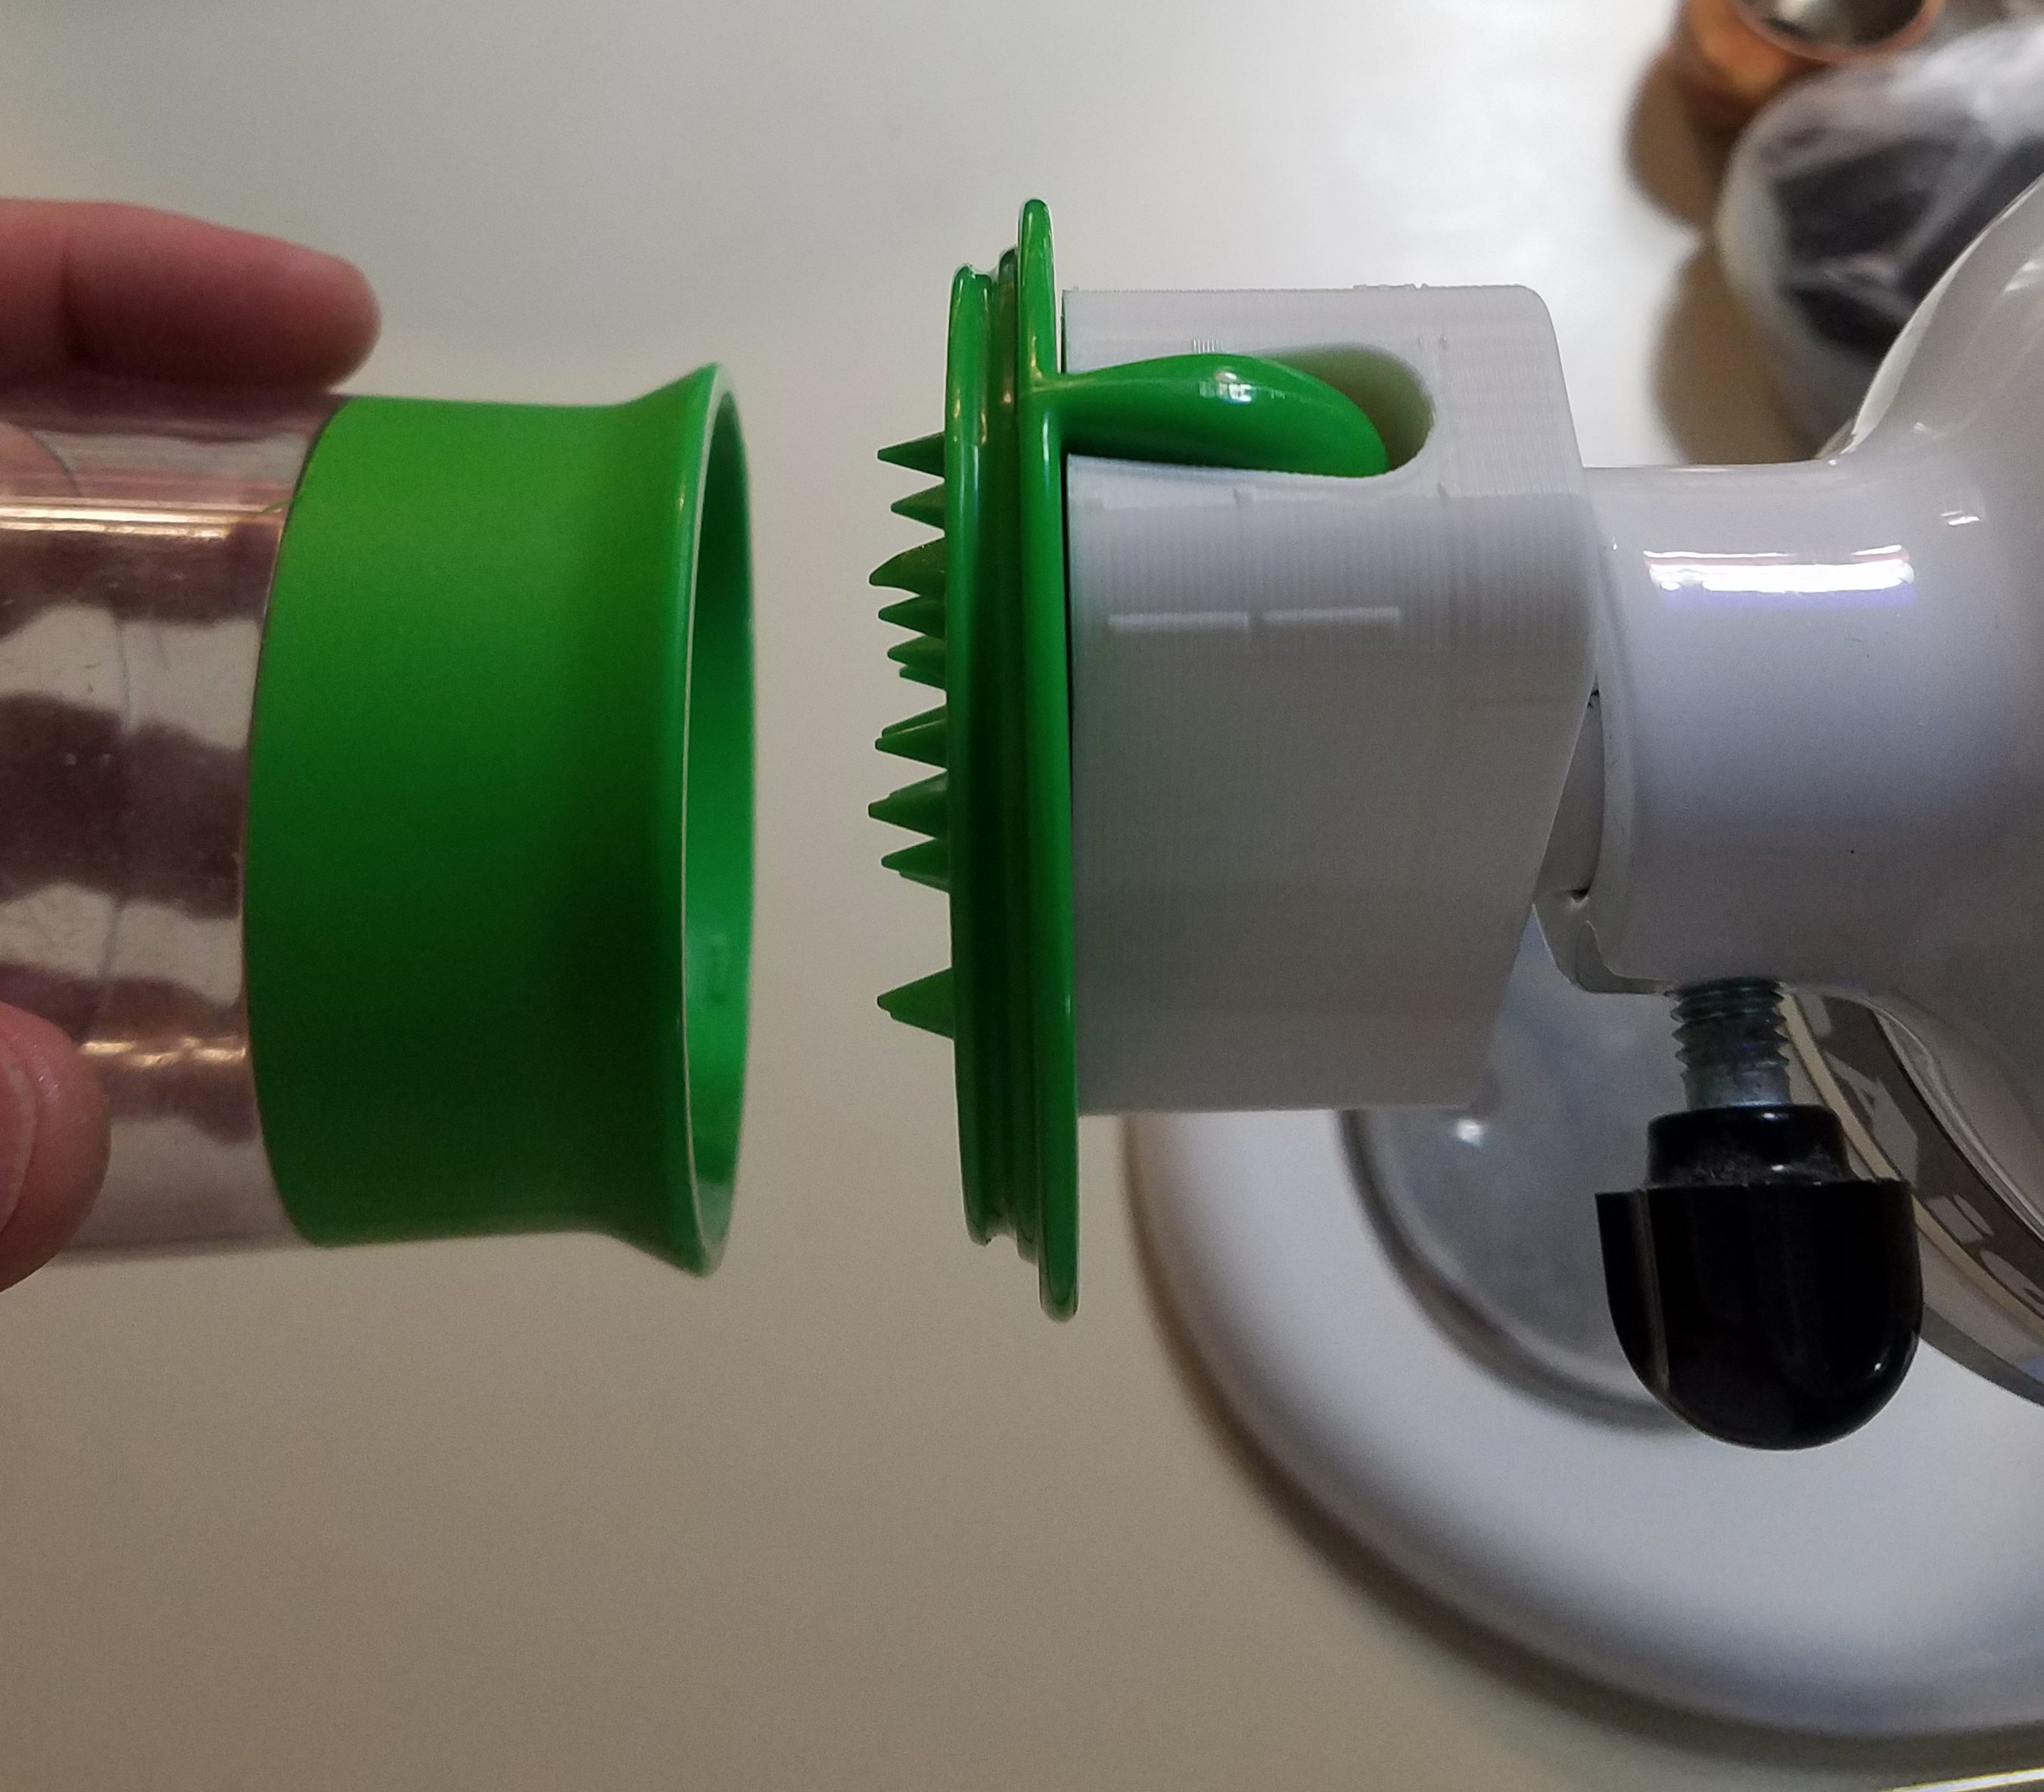
I had to go through a few iterations to get the plug shape right.  It turns out the kitchenaid mixer’s power take off is in a tapered housing.  A straight plug will not cut it!  The good thing about the printer is that all the parts below cost < 2 dollars, so iterating the design is cheap and easy.

DSC_0490

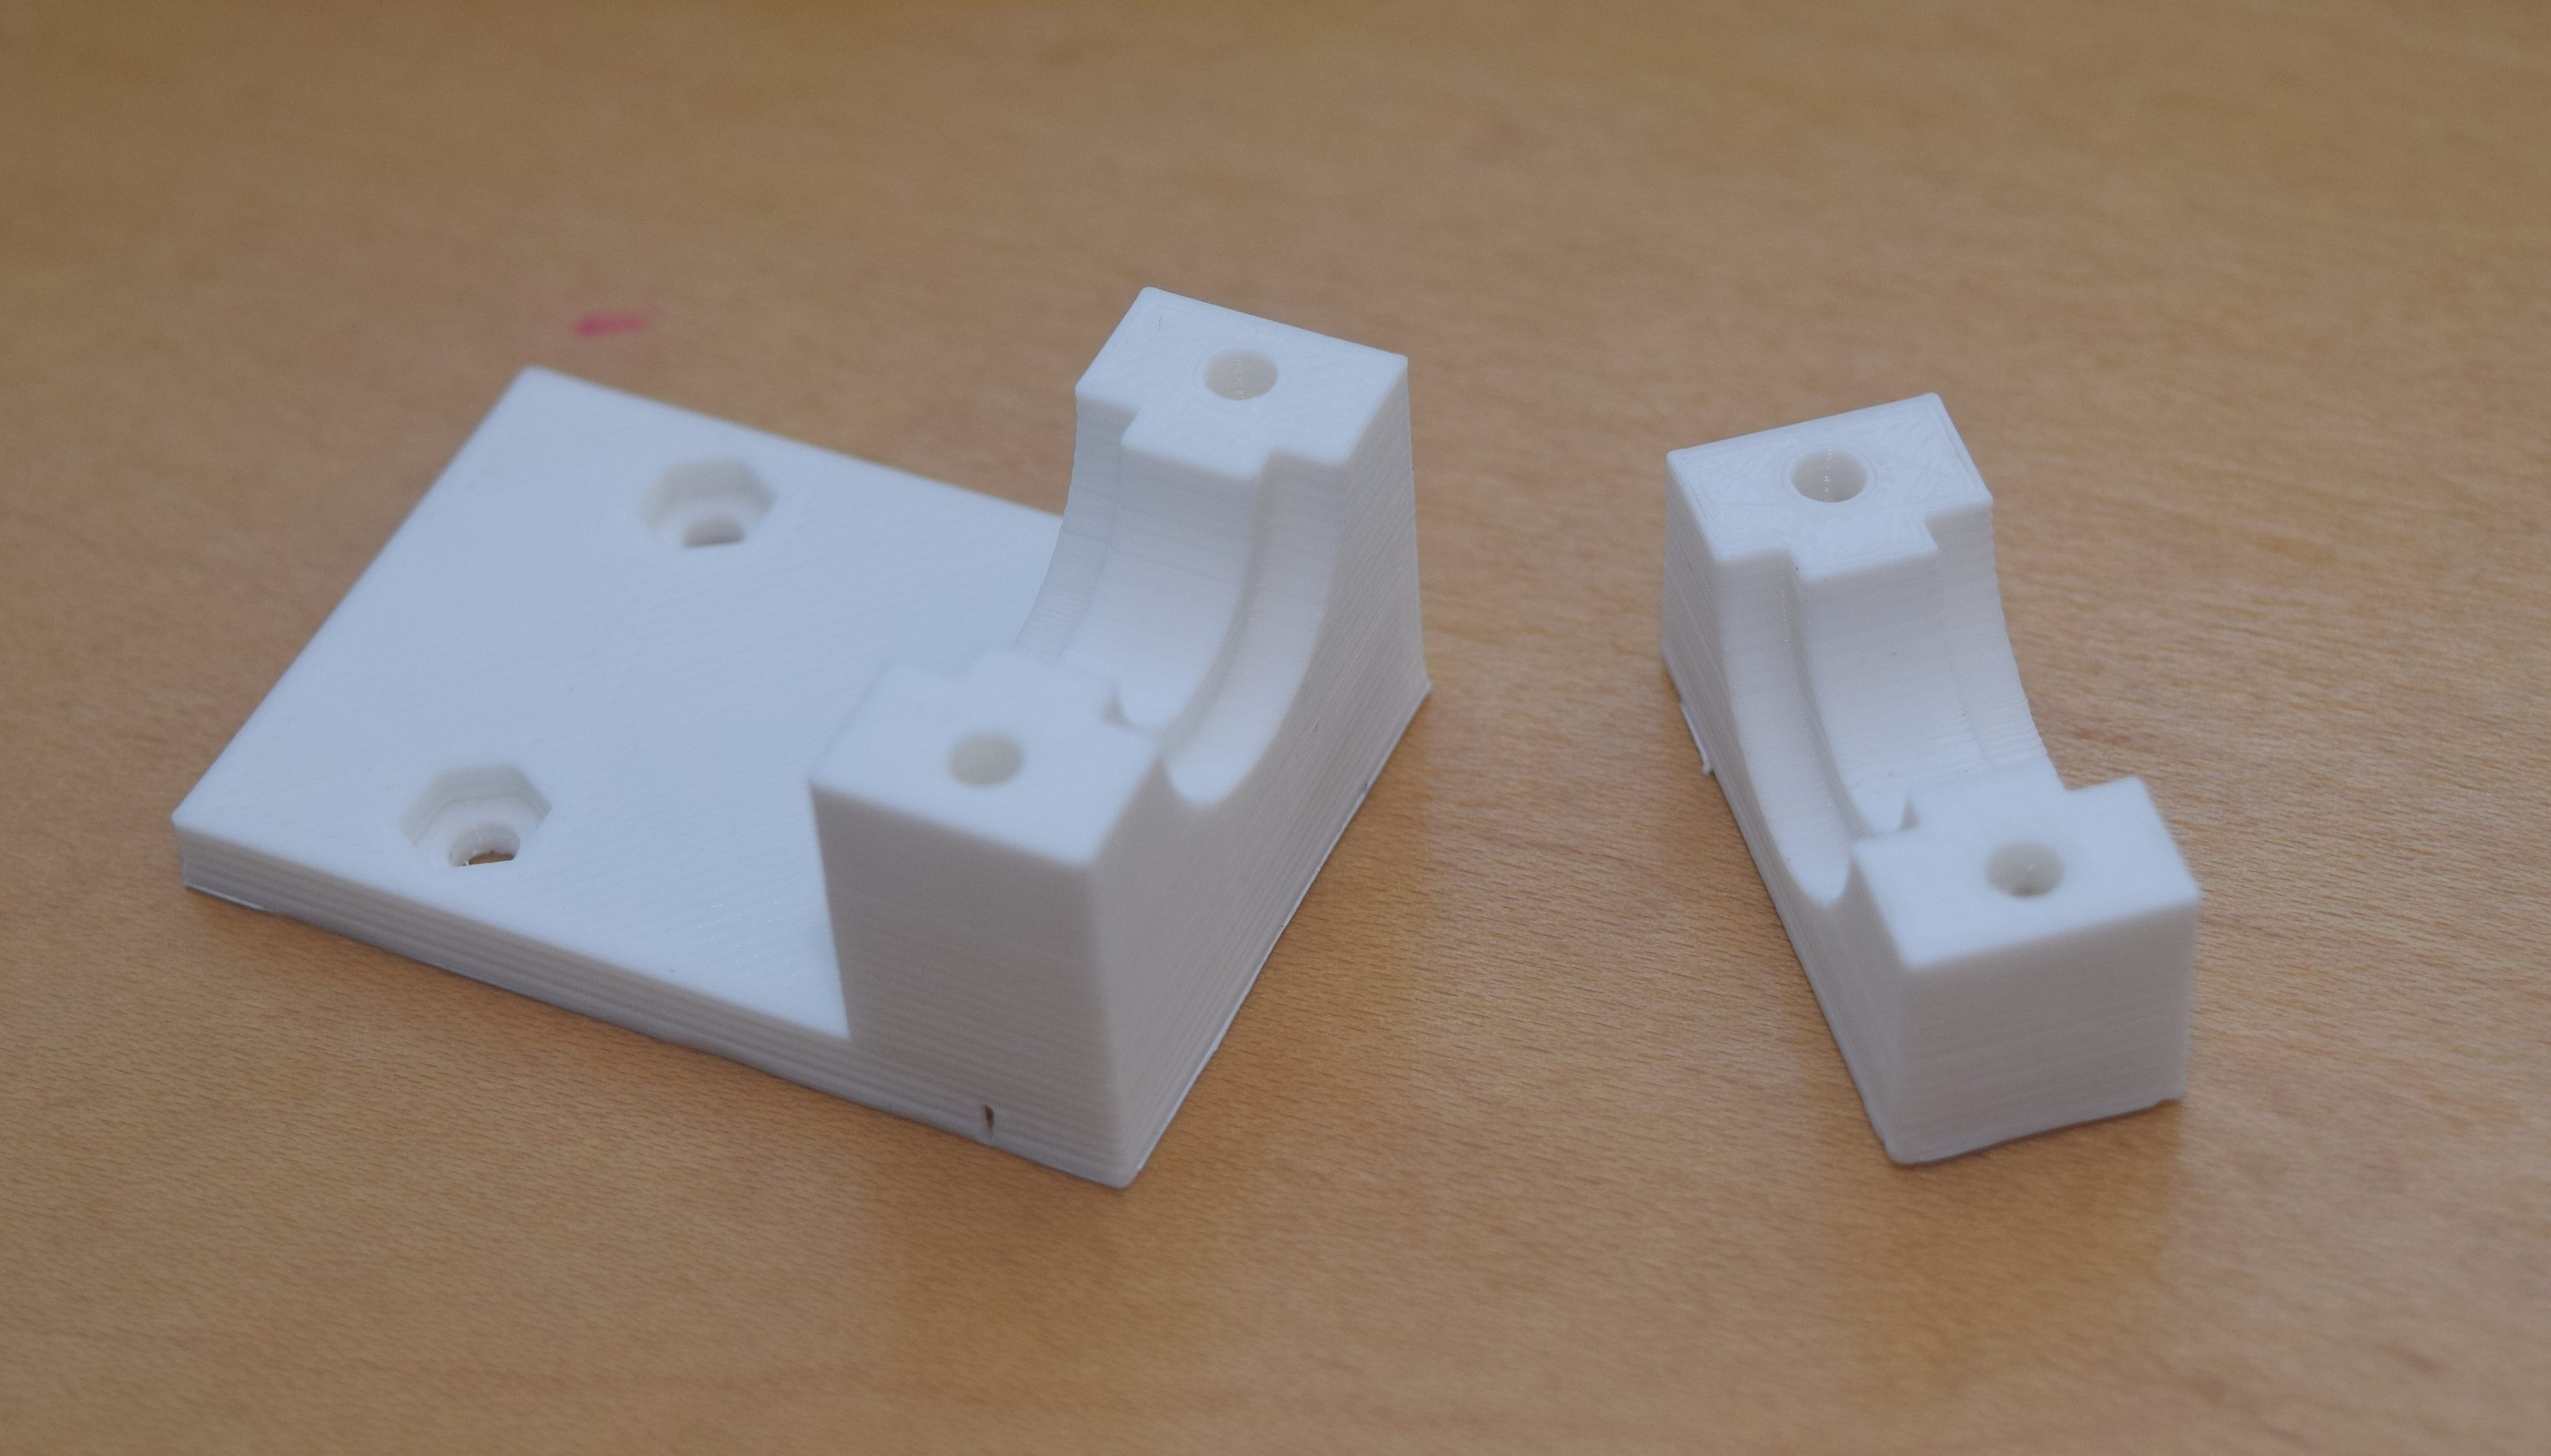
I started with a full run at it on the left.  The plug didn’t fit, and it had a lot of extra material.  The plug in the middle was my attempt at getting the shape right.  It worked, so I went with the final design on the right.  I uploaded it to thingiverse:

http://www.thingiverse.com/thing:1745222

Now that I know how to tie into the kitchenaid I can imagine a whole lineup of normally hand operated gizmos being plugged into my power mixer.  I wonder if it will chop onions?  The future is bright!

wp-1473298747459.jpg


This Is Only A Print Test

To use a printer you must think like a printer!  Or at least know some of the limits.  The supposed resolution of my new mini printer is 0.1mm.  It doesn’t necessairly mean you can print something that size, just that the stepper motors and gearing are able to potentially displace 0.1mm in X Y and Z.  The nozzle diameter is 0.4mm, which would likely mean you can’t make features smaller than 0.4mm, and making anything between 0.8 and 0.4mm might turn out funky because of diameter overlap.  Well lets find out.


Pins and Holes

I made a pin a hole test pattern.  They started at 0.25″, went down by 0.05 till it hit 0.1″, then went down by hundredths till it got to 0.01″.  I then measured the actual results to see what happens.  The pins were quite accurate until it got below 0.05 inches.  Everything below there just came out at the same diameter.  My 0.8mm prediction wasn’t far off, 0.8mm = 0.031in.

The holes had an undersizing problem.  It is consistently 0.01″ narrower until it gives up around 0.02.  I don’t quite know why this happens, but the fancy professional printer we have at work does the same thing below about 0.1″.  I think everything over 0.25″ ought to be ok.


Text

I moved on to raised and lowered text.  Being able to label parts with information is quite useful.  Engraving or having raised text is essentially all the same as far as the printer is concerned.  I suspect the raised text might be faster because of how the walls and support are built and calculated.

Both sets turned out pretty well.  The text is very readable and looks decent down to 0.2″ high text.  The 0.15″ is readable but the inside features of the recessed text is starting to merge with the side walls, and the raised text is starting to mush together.  The 0.1 recess is readable, but looks bad, while the raised text is pretty blobby.  Finally, neither did much for the 0.075″ text.  All text was done with Arial Black text set on Bold.  Different fonts and settings might yield better results, but I doubt they will be much better.


Overhang Test

The printer’s ability to print overhanging structures is amazing.  You can bridge small gaps without too many issues, but that is something that shouldn’t be used much.  Angles on the other hand can be quite common.  How far can it go?  45 degrees?  Further?

A lot further it turns out.  The top surfaces look great, but by the time the printer gets there the surface below is already quite solid.  It is the bottom surface you have to look at.  The 30 and 45 look great.  60 and 70 are a little zitty and wavy, but quite serviceable with a bit of sanding.  Really fine model making might suffer, but when making basic structures, even 70 degree overhangs are not unattainable.


New 3D Printing

I broke down and finally bought a 3D printer.  The monoprice mini at only 200 dollars is basically the best value buy there is.  And here it is sitting on a messy desk full of printed parts and printer tools.  This thing is going to need a custom table soon.DSC_0489

I was so excited when I first fired it up that I shot a little video of its first print.

It worked really well out of the box, though I have been doing my best to monkey with settings and make everything go faster and smoother.  The major learning point has been that buildtak is a great surface to print on, and turning the bed heat down from 60°C to 45 really helped the prints come off without a jackhammer.


Printing for the Printer

The front knob on the tool is really annoying.  It is flush with the surface, and yet you have to spin it a lot.  It gives you bonus moves sometimes, which only makes things more frustrating.  Luckily, there is a print for that!  Some kind soul figured out how to pull the knob off and print an extension.

Getting a spool cracked open is fun, but dealing with an unwinding spool isn’t.  Luckily there are a number of great choices on Thingiverse for filament holding clips.  Why not print a few?  The loose filament goes through the small hole.

The downside to this printer is that it isn’t exactly open source, and they don’t sell replacement parts.  Luckily the 3D printing community is amazing, and they have a bracket you can use to put a COTS replacement on this puppy for the day when the hot end dies.  Better to print that now than be sorry later!

DSC_0488


Once I got the basics down it was time to tackle some of the settings.  I printed a 1 inch cube to check dimensional accuracy, and some benchy models that stress overhang, bridging and other fun 3D printing features.  The course setting did really well, but is kind of rough in places.  No surprise there.  The high quality setting looks awesome on most surfaces, but had some fuzzies on thin surfaces and didn’t handle the bridging as well.  So many settings, so little time.

DSC_0487

Lots more wacky prints to come in the very near future!