
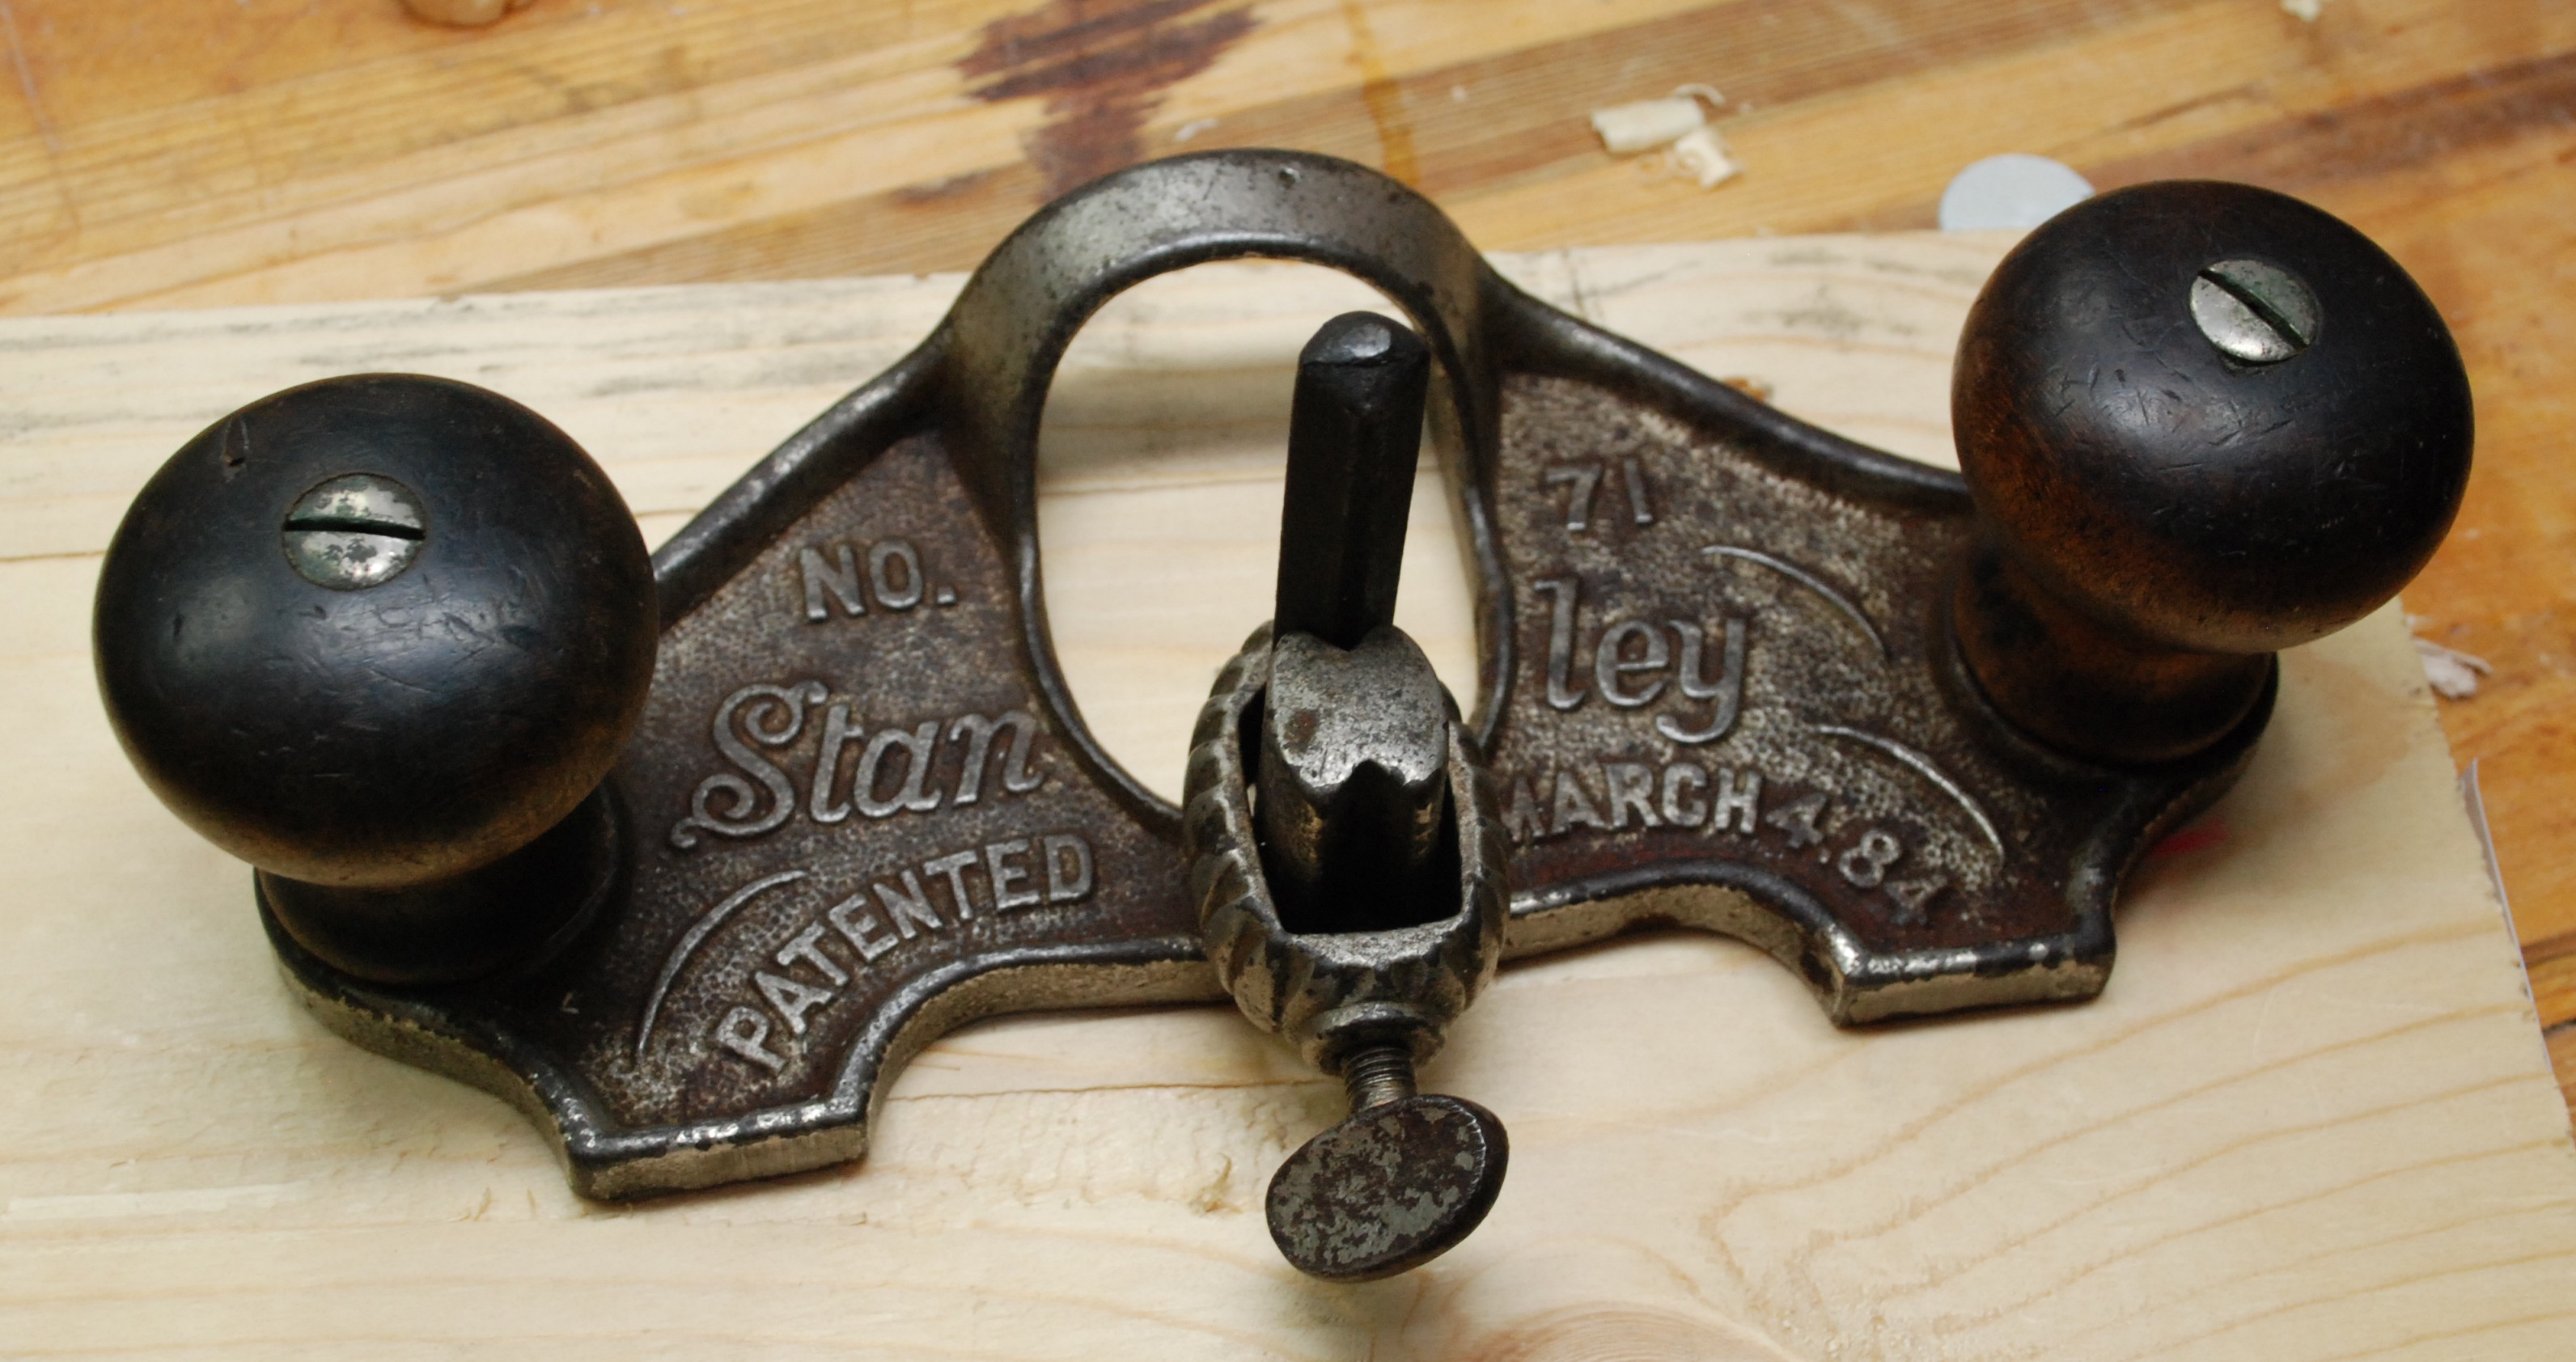
I have been wanting a router plane for a while now. Veritas makes a nice looking version, but it is, like all new planes, rather expensive. I did some lurking on ebay and came out with an older Stanley 71. Based on my reading it is newer than 1890 when they arched the front throat area, but older than the mid 1890s when they added an adjustable support to said arch. In short, It is simple but effective. Later models had a lot of bells and whistles, but they are often missing pieces or are expensive if complete.
Step one, disassemble and scrub off the rust. I used boeshield rust free because it was the only thing I had. It took a lot of scrubbing and squirting, but I got most of the rust off. Next after a wash to get the nasty stuff off I wanted to dry it really well. In Florida things will rust pretty quickly if you don’t get them dry, so I decided to try a trick I had heard about. Put the plane parts in the oven on low for a little while. Well, cue the sad horns.
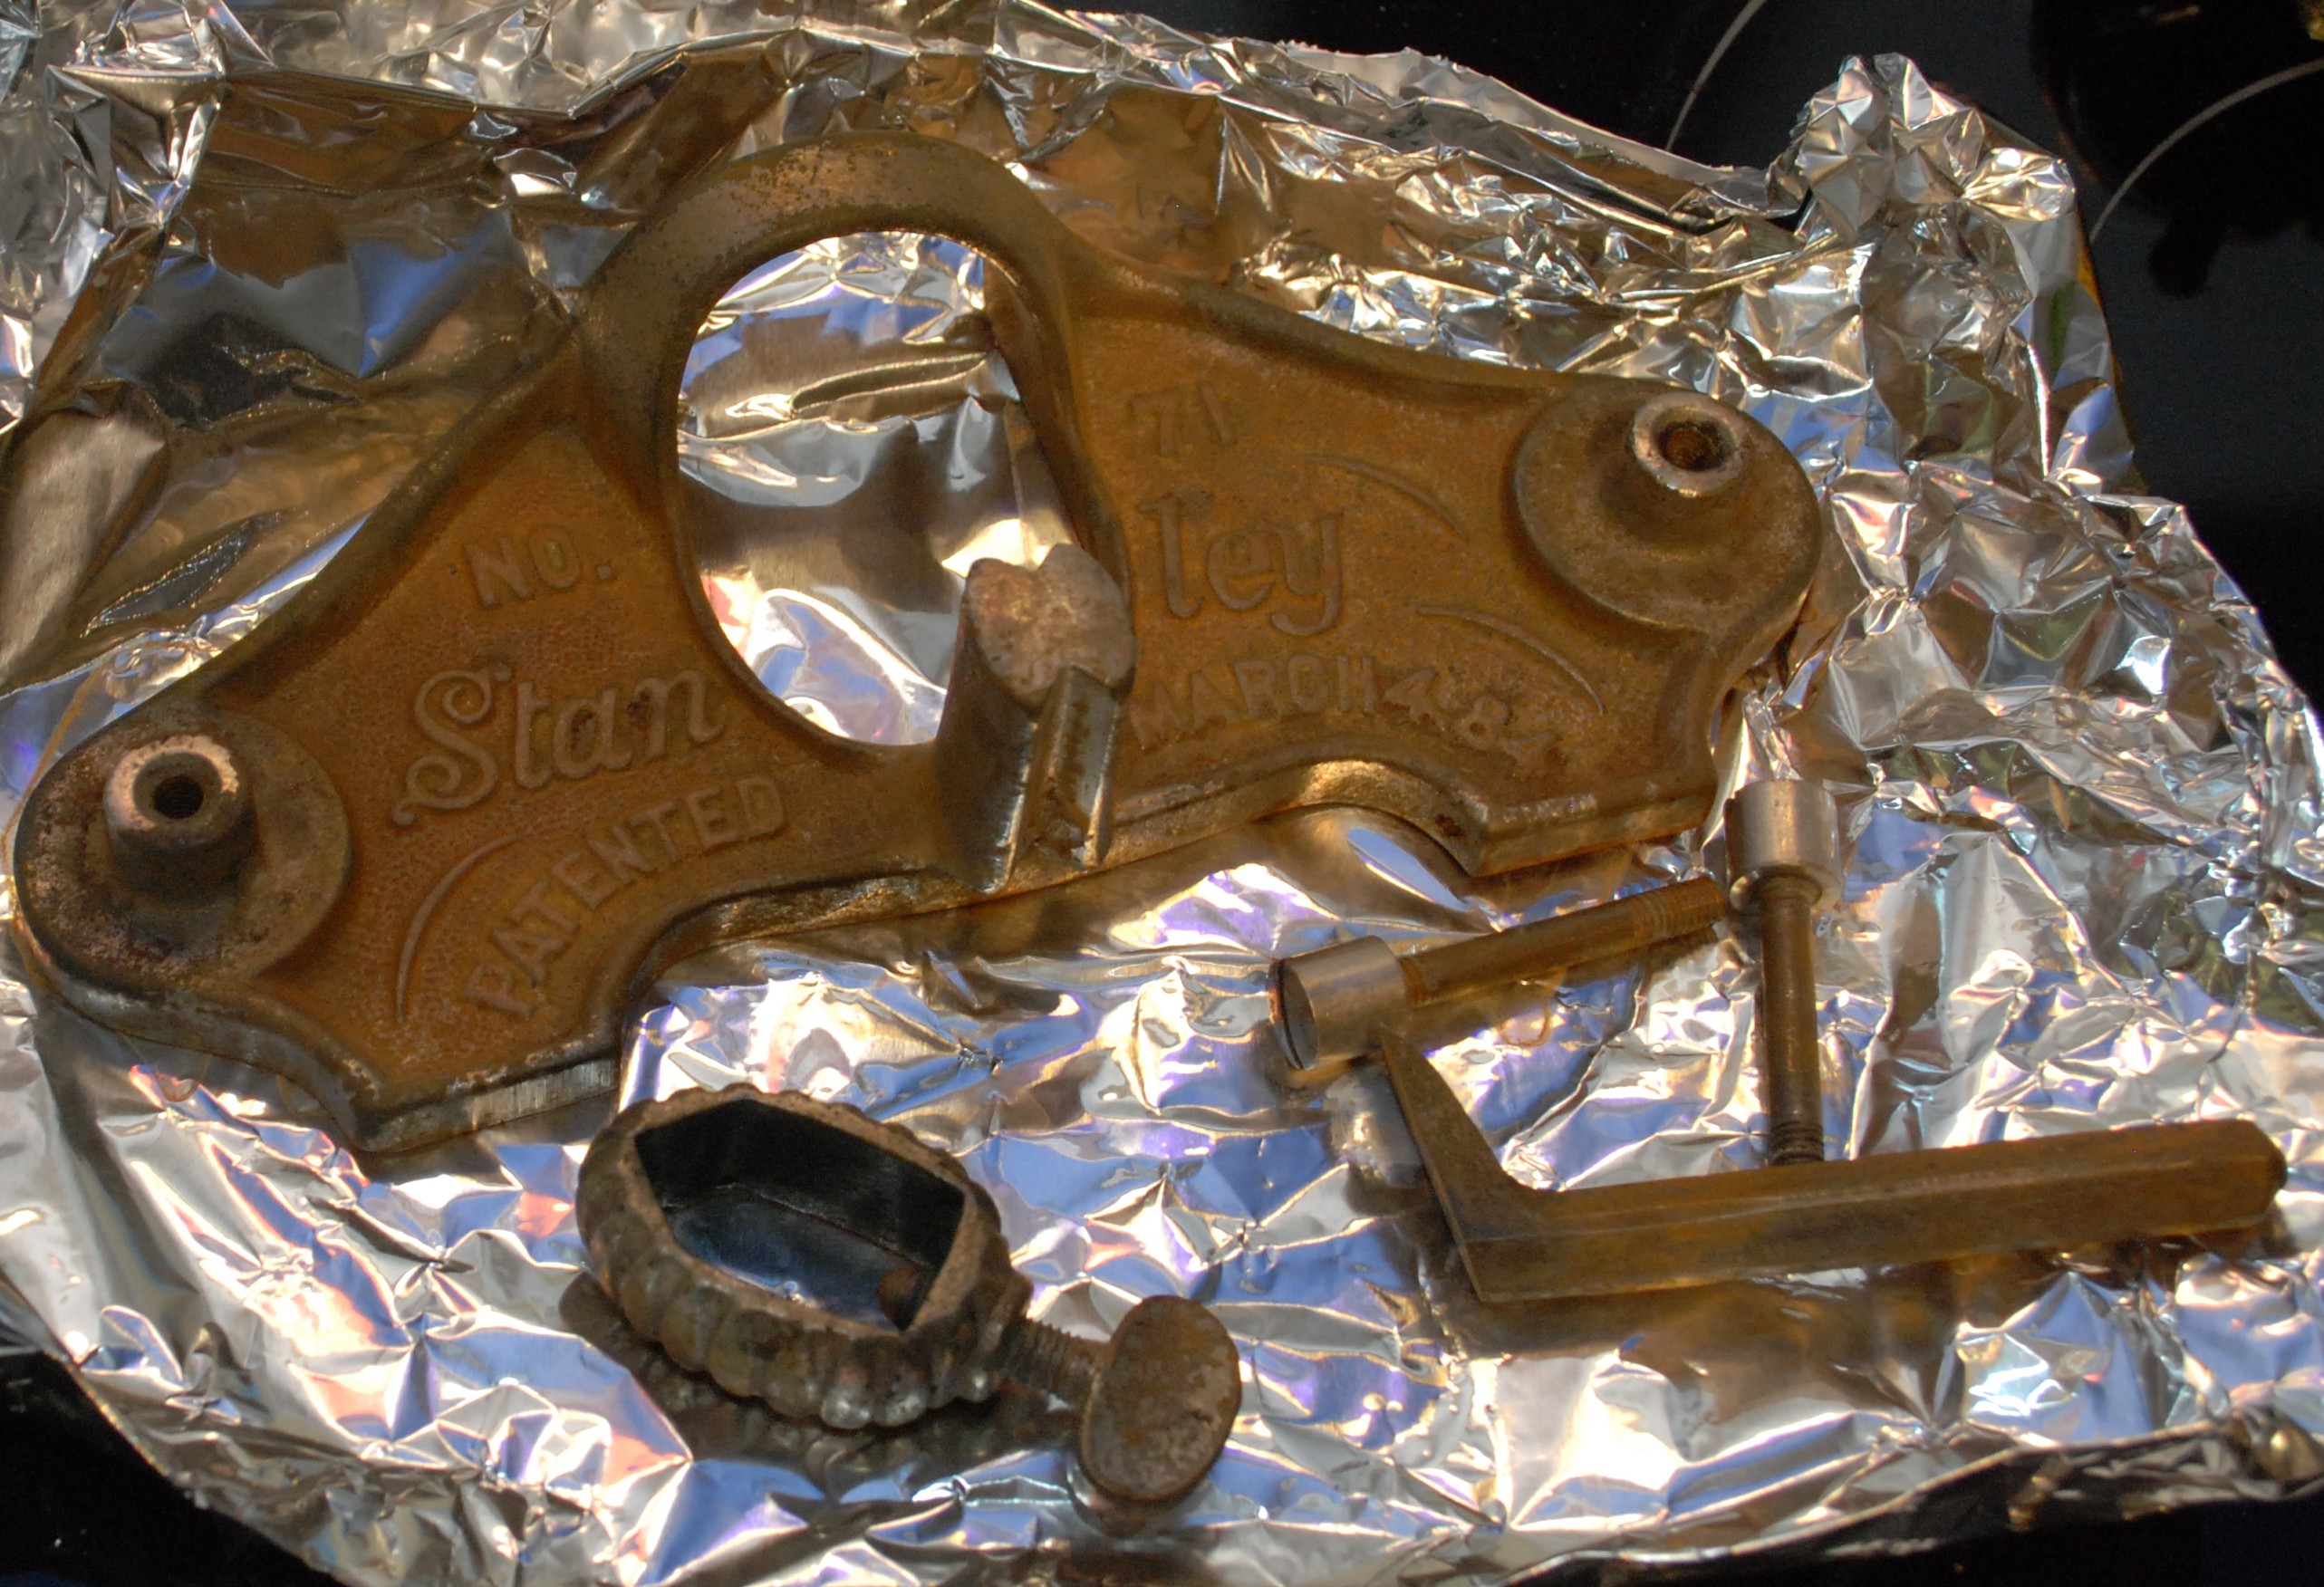
The rust isn’t deep, but with all the nooks and crannies on top scrubbing it out is going to be a bear. Time to break out some bigger guns. I have heard a lot about various rust remover baths such as Krud Kutter and Evapo Rust. I found Krud Kutter at my local hardware store, so lets try that!
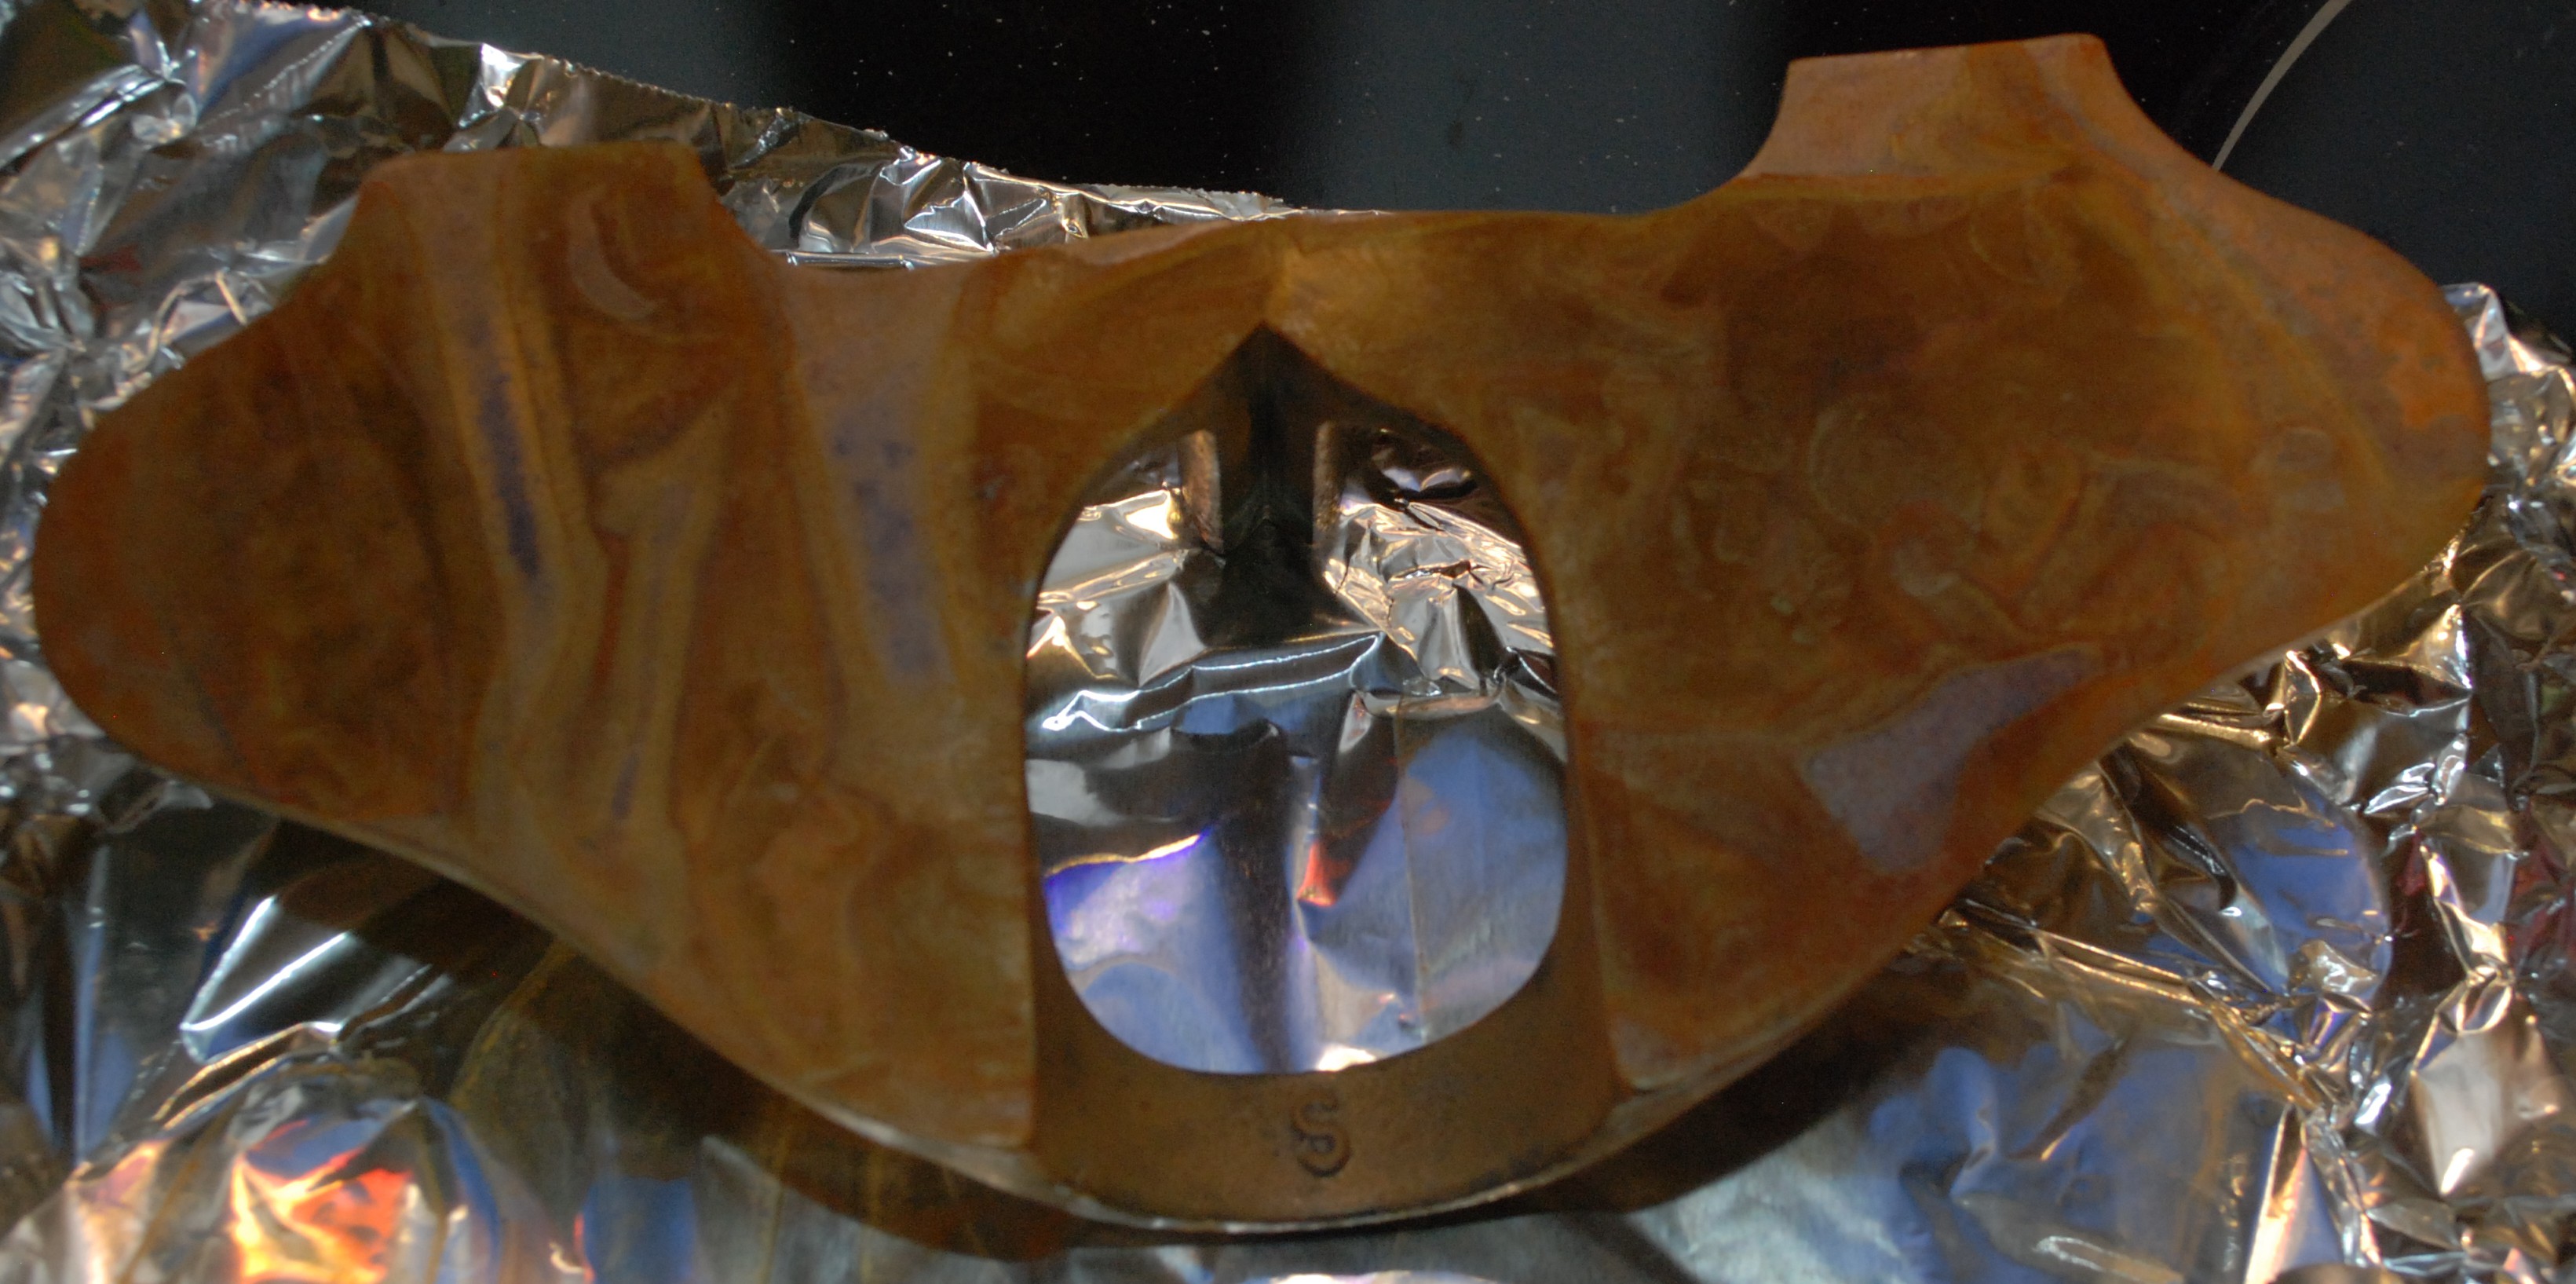
This stuff has a pretty pungent smell, but it appears to work well. It converts the rust so you end up with a very dull grey looking material left over instead of rust. Wikipedia has a full explanation. At any rate the results are pretty good. It certainly isn’t shiny, but the rust is completely gone!

Next, the knobs got a good sanding. I didn’t get rid of every stain because some ran pretty deep, but I did get the worst of the big scratches out and gave them a nice smooth feeling. A coat of tung oil should keep them safe for years to come.


I spent some time on the granite block with different sanding sheets trying to flatten the bottom. There were a few edge areas that didn’t quite get there but a majority of the bottom is dead flat. I went a bit overboard and polished all the way to 1500 grit sand paper. Not really needed, but once you get started it is kind of fun to see how shiny you can go!
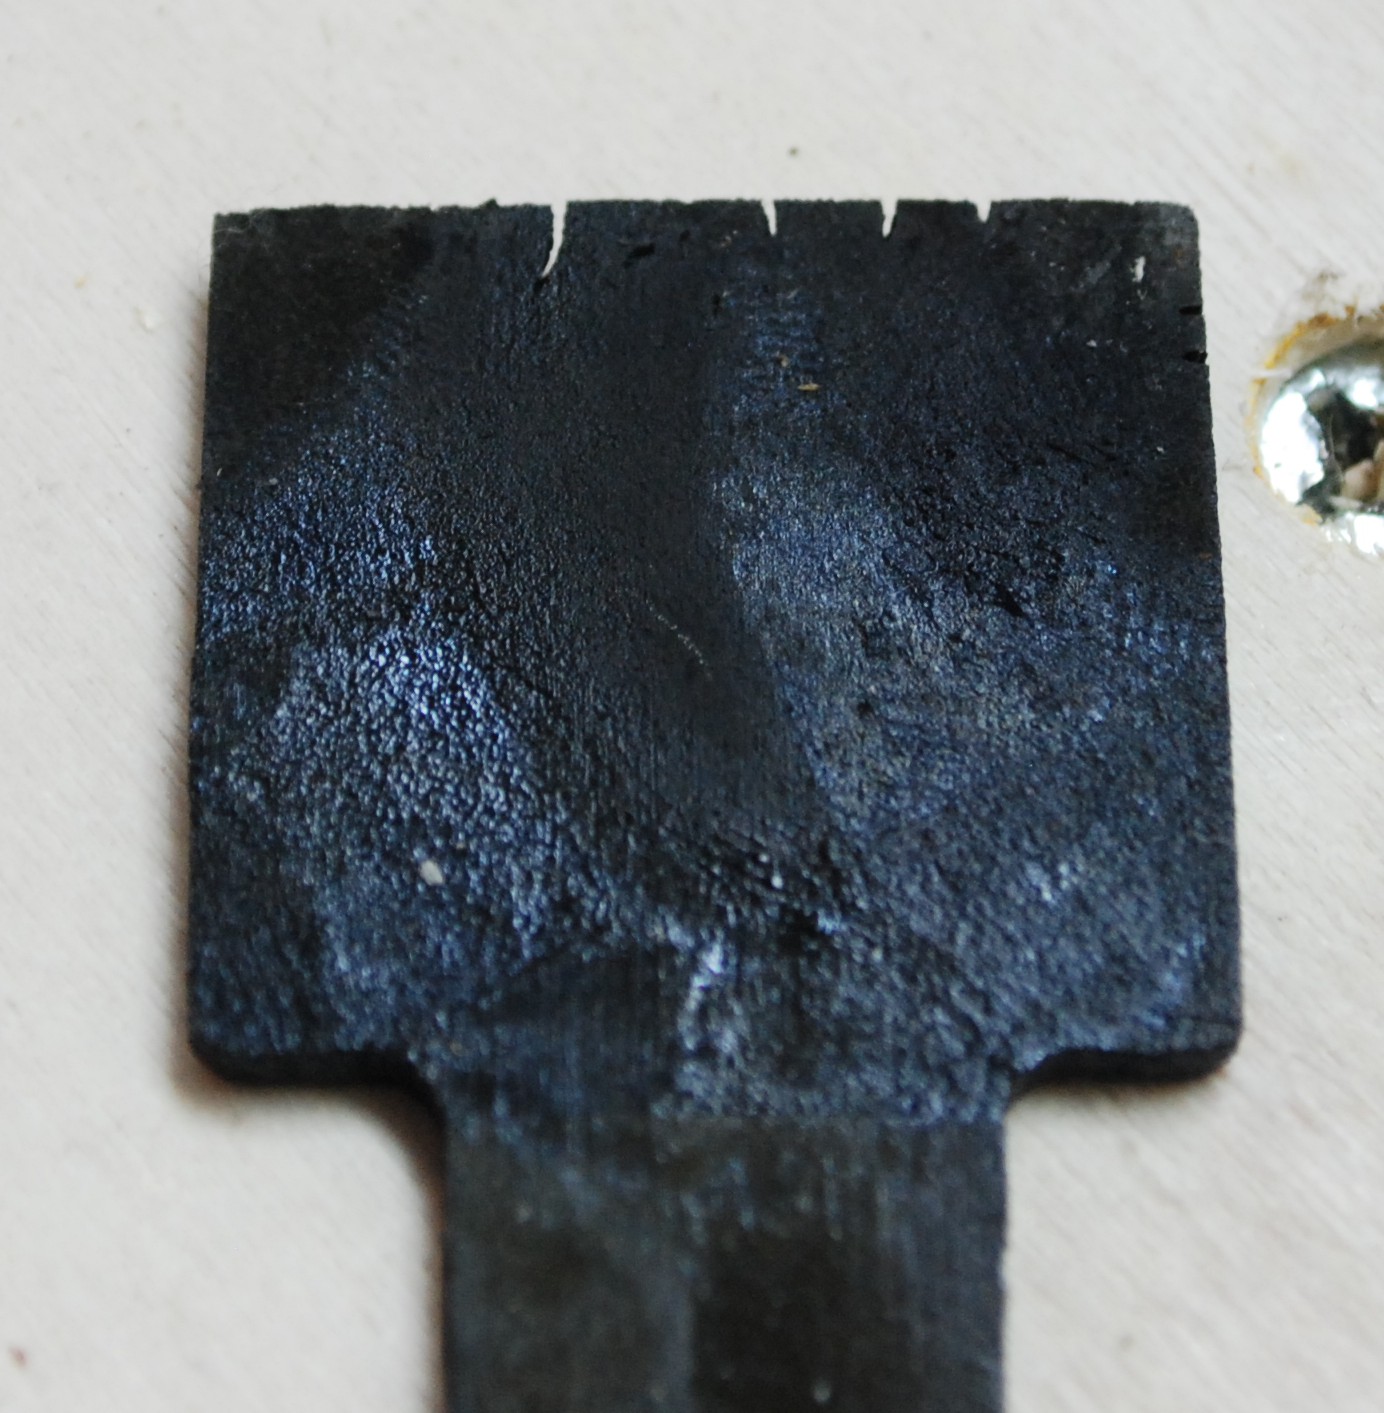
Finally everything started to come together. The cutter spent a few minutes on my diamond stones till it felt sharp enough to run with. I tried to get some shine going with a buffing drill attachment and compound. It didn’t really do much. I was trying to buff up all the intricate texture on top, but it only kind of got the letters. Oh well, maybe I will break out my bench grinder buffing wheel at some point in the future. On the bright side, for all my efforts, the rust is gone, it looks less grungy, and it is back in working shape.
To test it out I went back to the handle I made for my low angle jack in a previous project. My paring work wasn’t bad, but the router plane made it a lot better. The handle would rock a little bit on some high spot. After a few minutes of work with the router it sits flat on the plane side.


Bonus Bullnose Plane
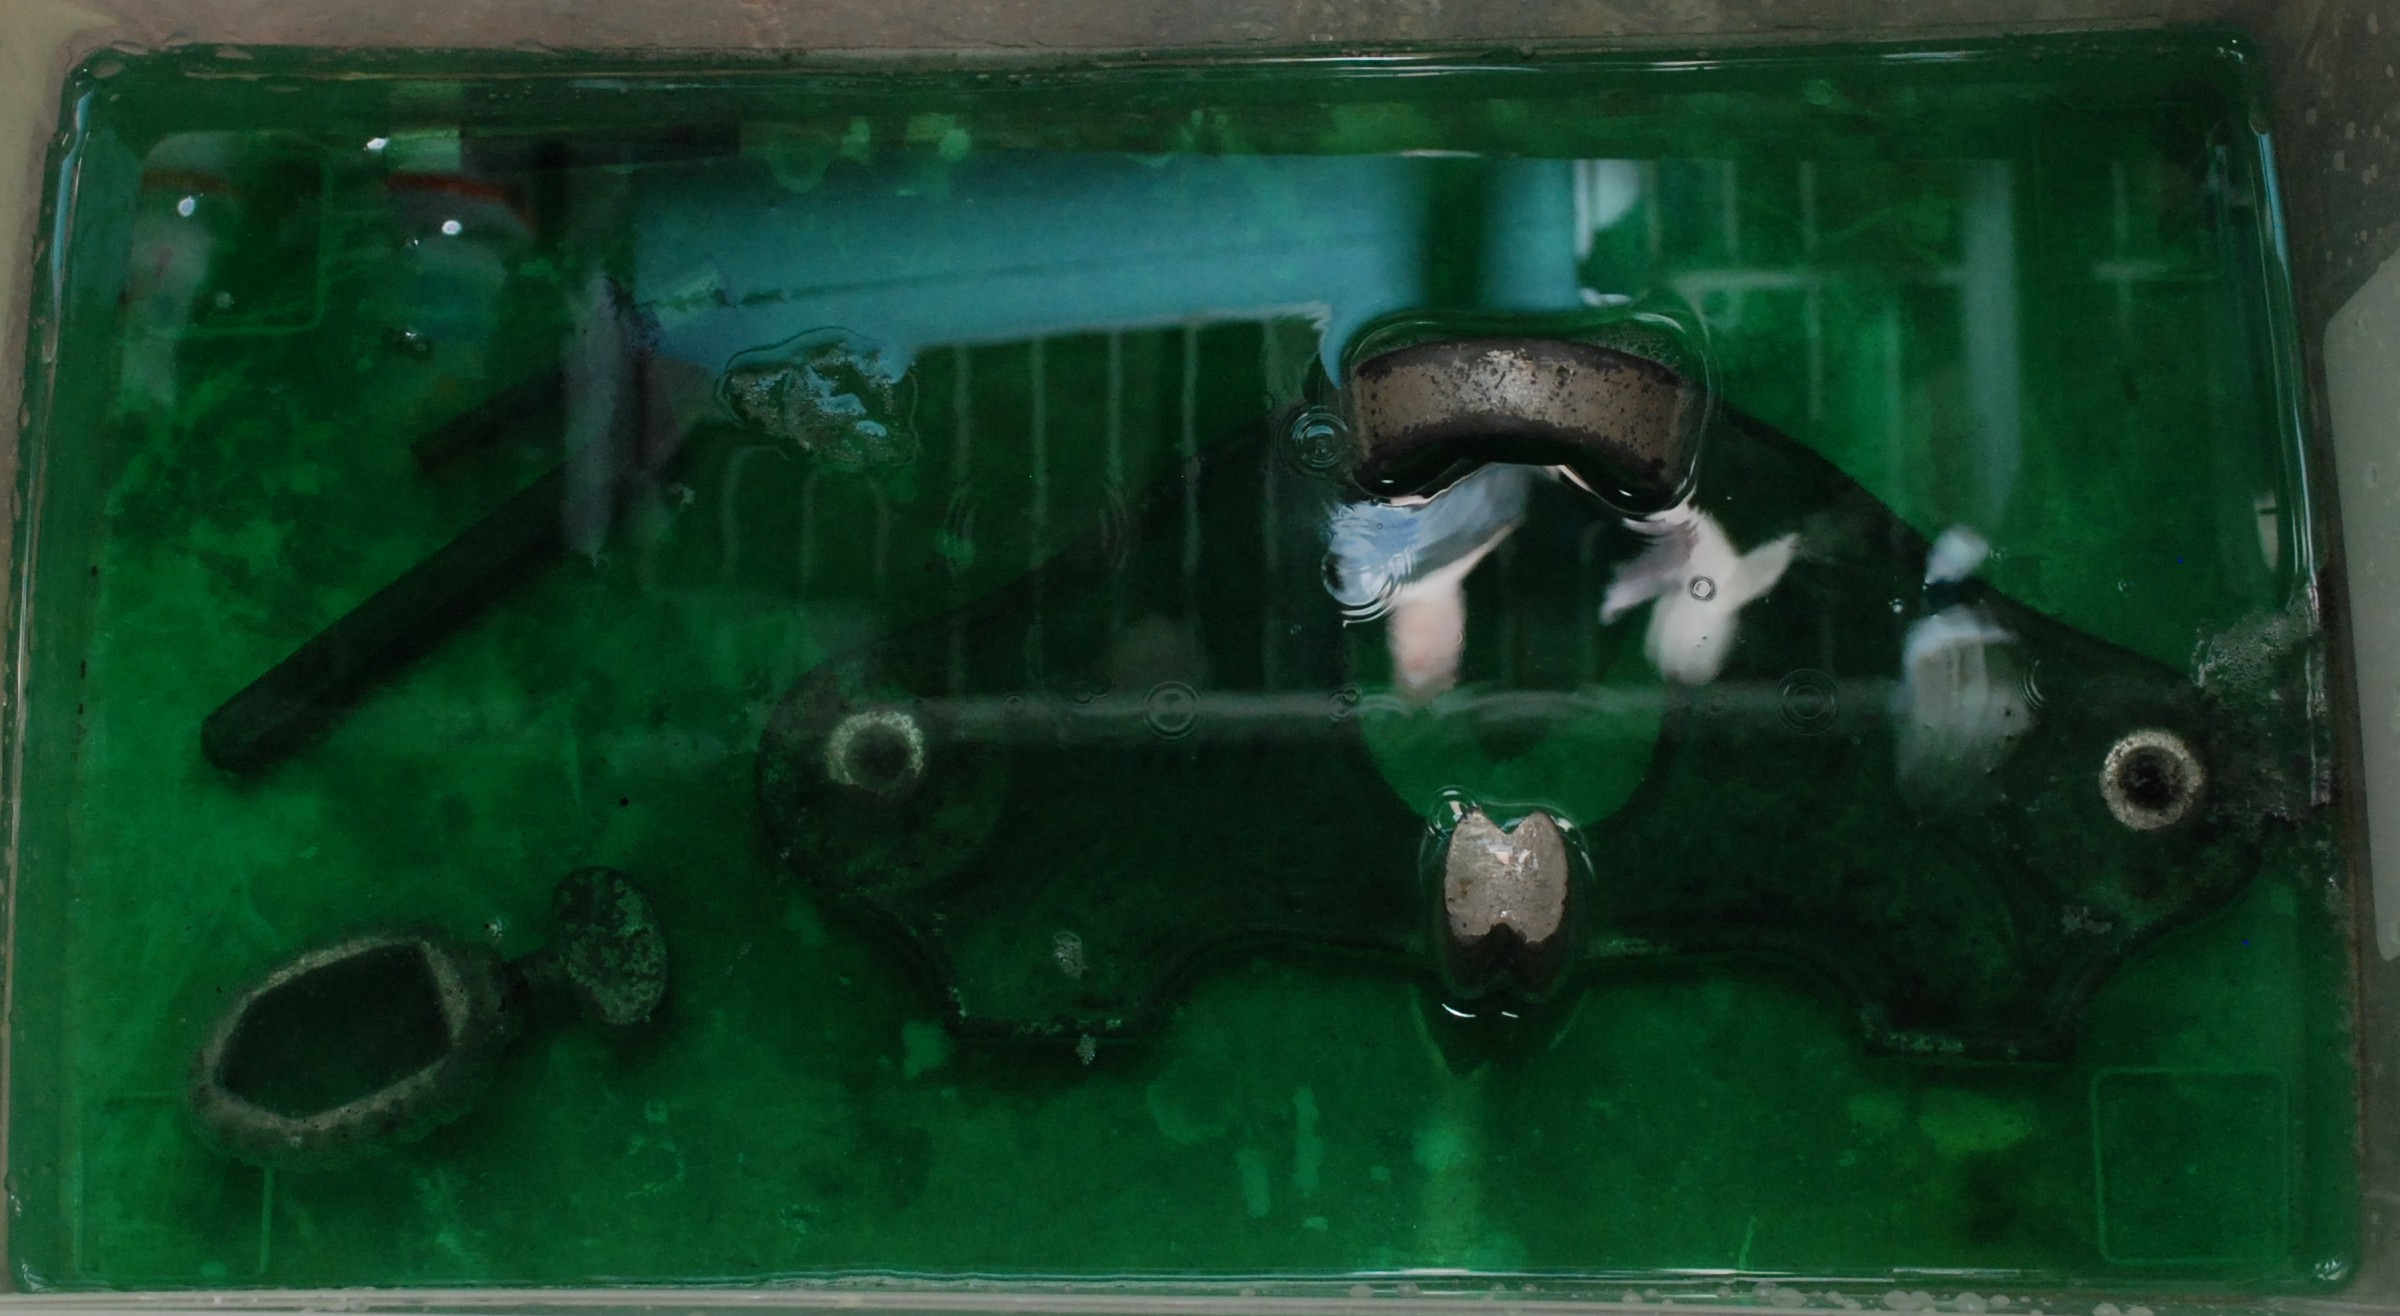
I was going to include a little bullnose plane that someone gave me a while back. It had a lot of rust and small cavities that needed cleaning. A great job for this Krud Kutter stuff.
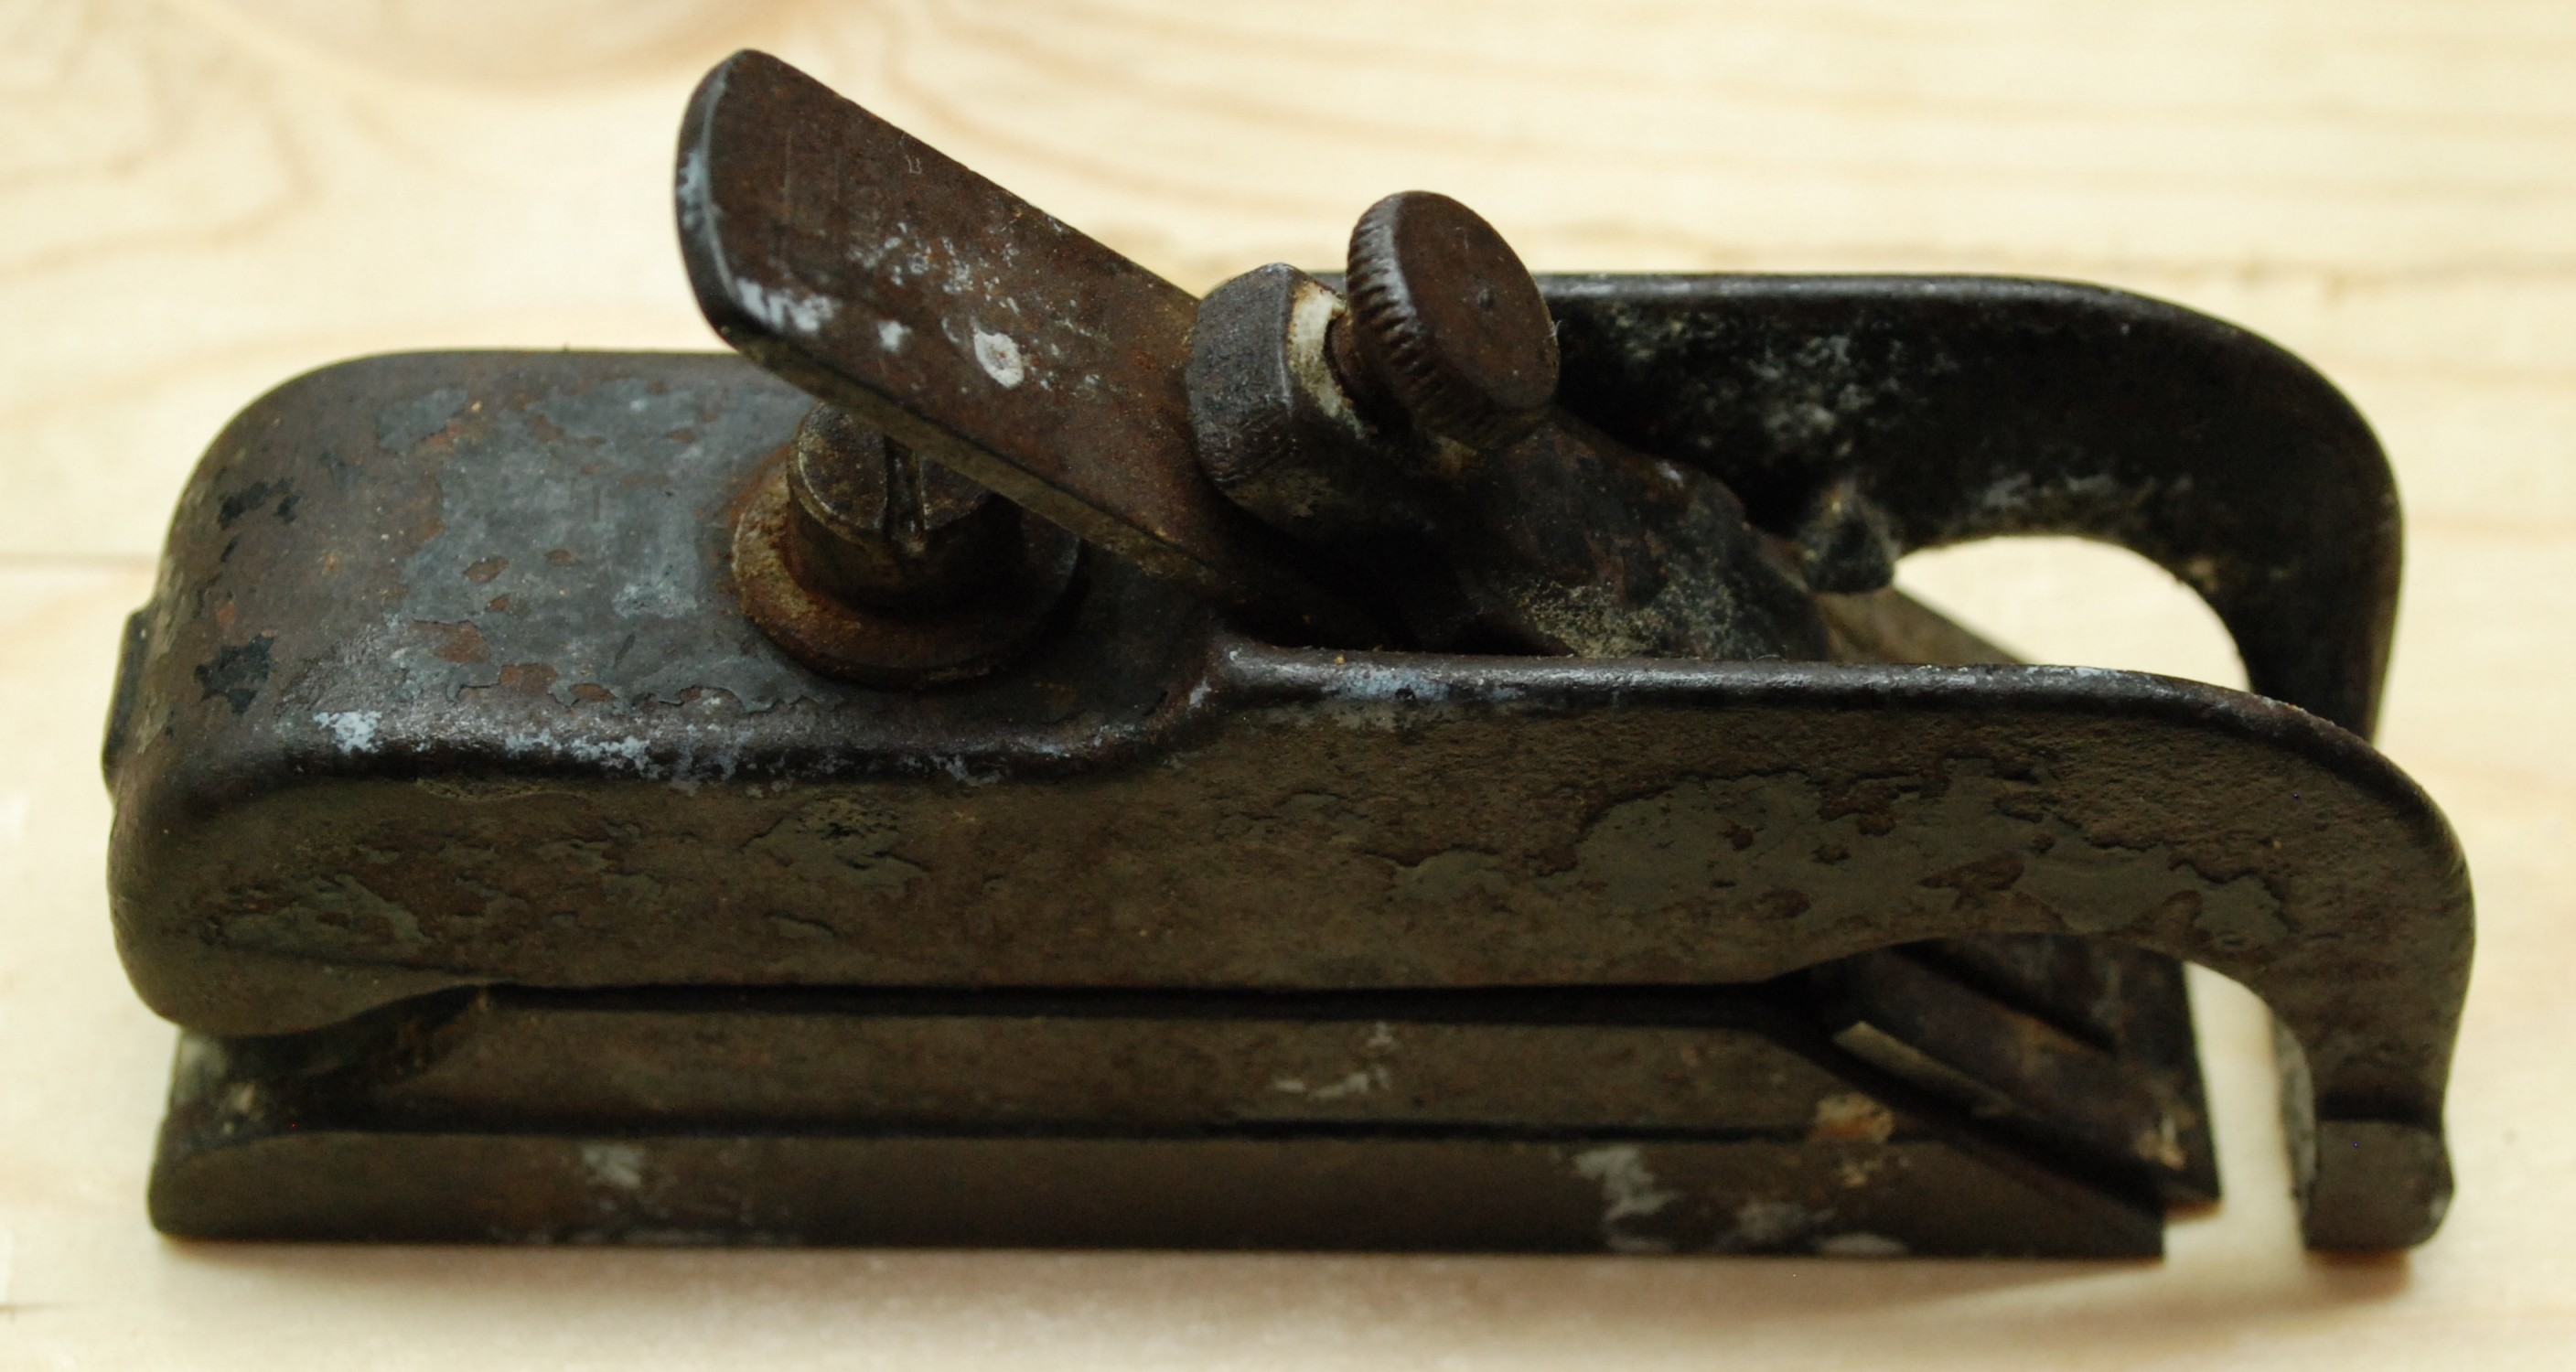
The Krud Kutter cut through enough junk for me to see that the blade had serious issues. Talk about splits-ville. I guess there is enough material there to grind back beyond those cracks, but I don’t really want to tackle that right now. I don’t have a burning desire for this plane, so now that the rust is tackled, it will go back in the drawer.


