
I have been using my new router setup for a number of weeks now. The lift is fantastic, the top is a little wonky and too soft, and the fence is barely adequate. I am settled enough on some of my other projects and have spent some time thinking out how I want to build a final top and fence. So, let’s get building and address all the issues my first top created.
The first thing to fix is the cutout the router lift fits into. The radius required is a size of router bit I don’t have. My last attempt didn’t go well. This time, I have a good plan. First, I put the router lift down on a piece of hardboard and snugged up pieces of plywood next to it. I then glued and weighted the plywood to the hardboard so it would provide a very tight hold of the lift top plate.


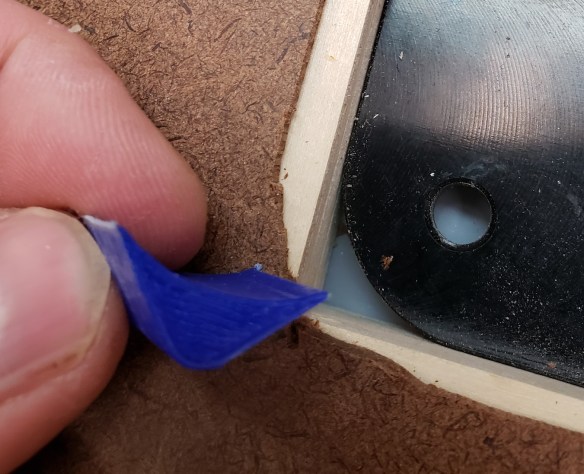
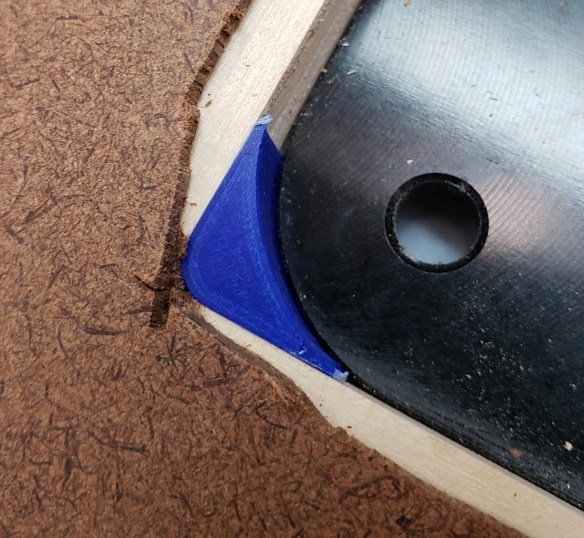
That all made the edges fit snugly, so I know there won’t be any wiggle when I drop the router lift in. Next, to solve the radius problem I just 3D printed some corners that take up the extra space. Now, the router bit I have will follow the contour and there won’t be any gaps at the corners. I used thin CA glue to hold the printed corners in place.
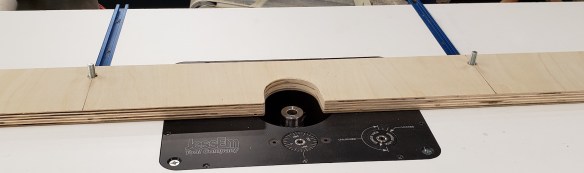
With the cutout template finished I double sticky taped it down to a big piece of laminate faced plywood and got routing. The first pass hogged out the lip that the router lift will sit on. A jigsaw opened up the rest.

Finished template 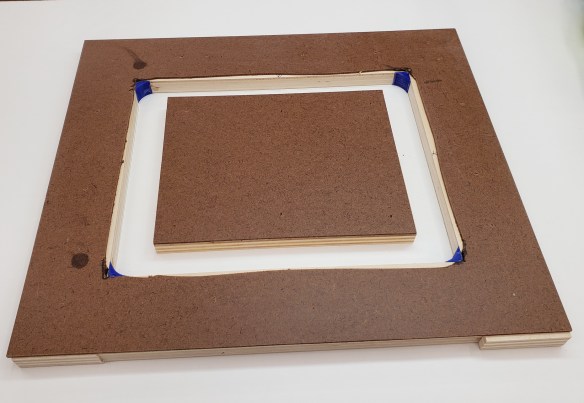
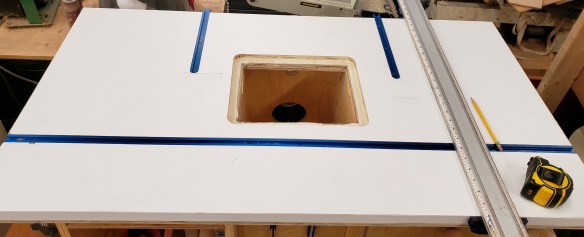
Template in place 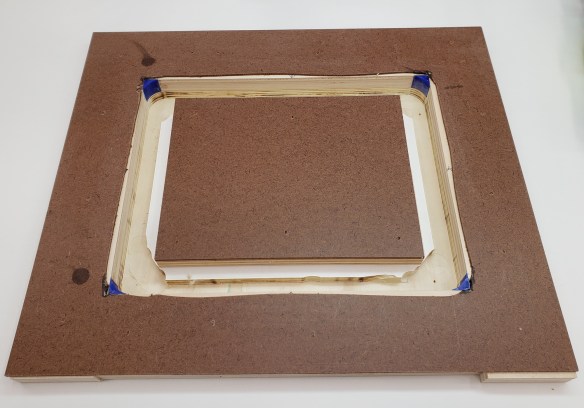
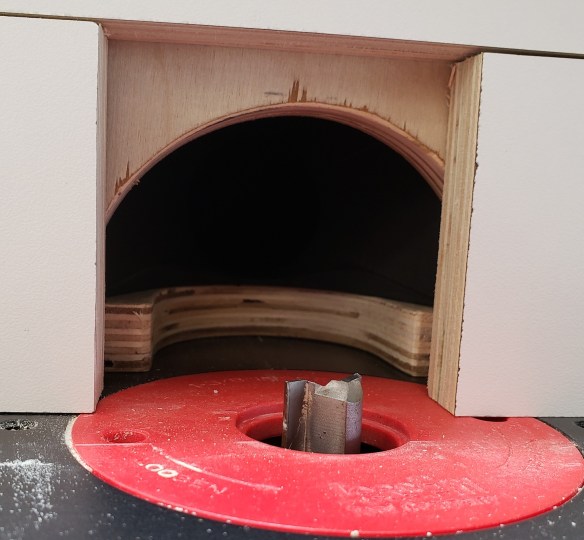
Routed recess 
Opening cut
I checked the fit and it is wonderful. There is almost no slop, and the corners match the lift well.


I cut a piece of 3/4″ plywood to go under the laminate top to act as support. I sat the two pieces on my flat table saw top and went around with a straight edge and flashlight to check everything. I found some slight bows and used cawls to clamp everything flat, then slowly brad nailed everything together.


Some light is peaking through. I used this plywood as a clamp cawl to flatten the top while I nailed.
With everything tacked together I moved the top to the router base I built earlier. I found some slight dipping in the center, so I cut brass shims to bring the top back to flat when everything was screwed down. With the top in place, flat, and securely fastened, I added edge banding all the way around to help protect the laminate from getting chipped.


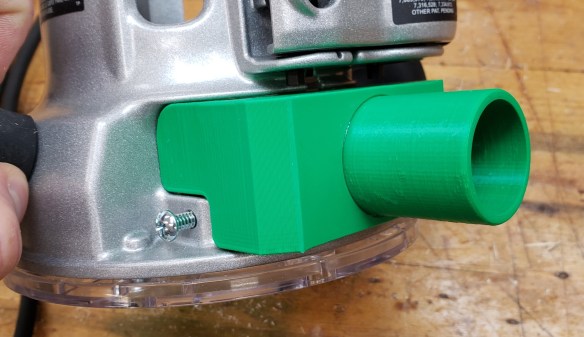
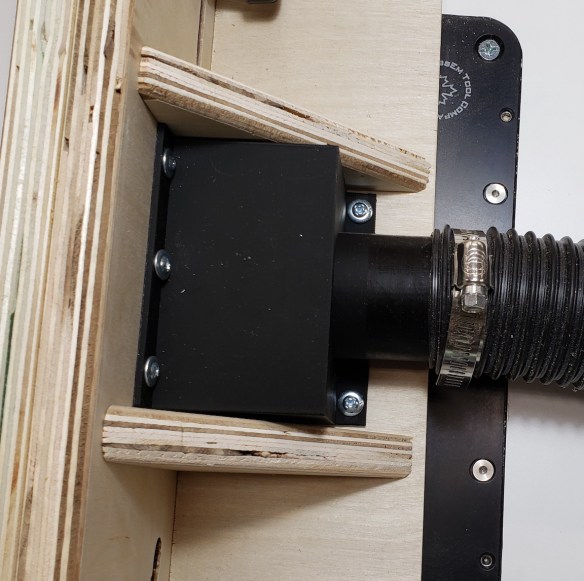
Next I wanted to add a number of t-tracks to the top for featherboads and to keep the fence in place. My router produces a ton of dust when doing a big cut and my fixed base porter cable 890 series doesn’t come with any collection port. A few iterations of printing got me this two piece design that I glued together. It goes in where the edge guide would normally plug in.

The start of the cut usually generates a lot of dust, but once the grooves got going the shroud did a good job picking up most of the dust. There probably aren’t any 100% solutions, but this does save a lot of mess. The grooves turned out well!
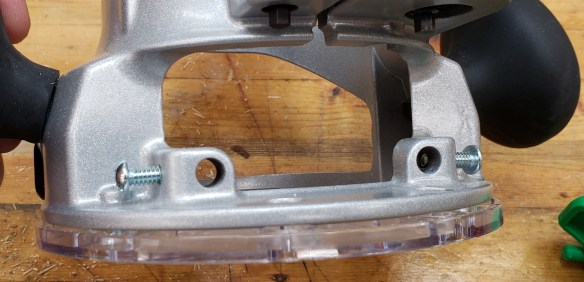
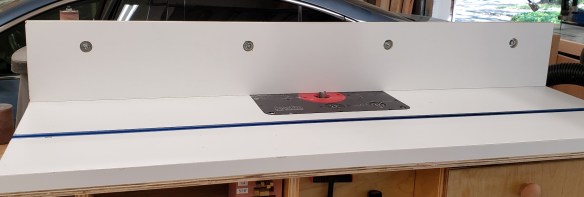
The top is nearly complete. I just need to do the final installation of the lift. First, I wanted to reinforce the places where the leveling set screws will land. The plywood is too soft, and I expect they will sink in with time. On my last top I used CA glue to shore up the area. This time I found some 1/16″ brass to line those areas. Once bonded, the leveling went quickly. All the effort I spent getting the table top level means the router lift plate can be perfectly flush all the way around. No catches or dips at the transitions.


The Fence
With the table top finished, I was ready to move on to the fence. Having it clamp at the edges worked in my last fence adaptation, but the center tended to flex. That is the most important place to keep still, so I added the t-track in closer to the center to keep the fence stable near the bit. I cut out some 3/4″ plywood to act as a base an front face for the fence.

I put in knobs to clamp the fence down, and added spacers to move the height of the knob up. The fence is tall enough it needs a little boost to make it easier to reach.
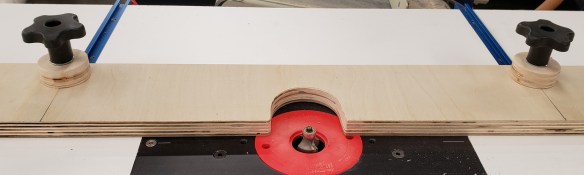

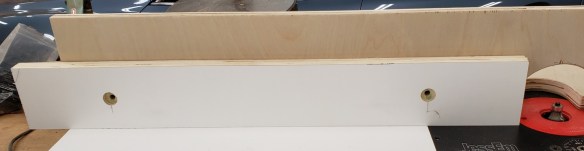
I cut out laminate plywood sections to make movable fence faces. I set them against the front of the fence and marked the spots where a slot would need to start and top. I should have drilled out the ends of the slot and routed the middle. The full depth cut got a little squirley in places. Oh well, the fence faces open and close easily.
Fence face test fit 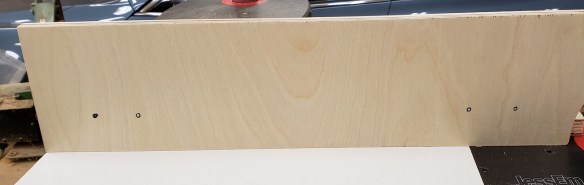
Marked bolt locations 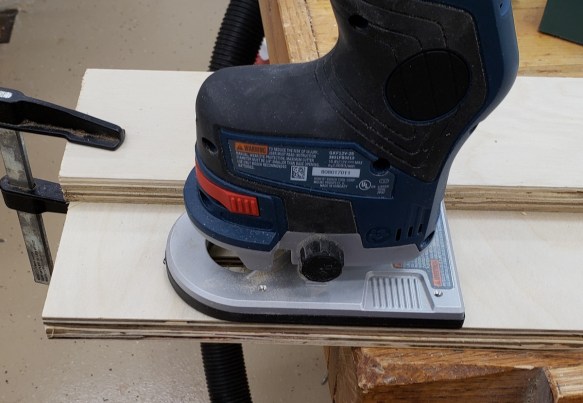
Routing slots 
Not my best results 
Face fully closed 
Face fully open
Now that I know where my hands will be going to tighten the fence and faces, I know where there is free space to add ribs. These triangular ribs will stabilize the fence front and keep it stiff. I just glued and nailed them in place.

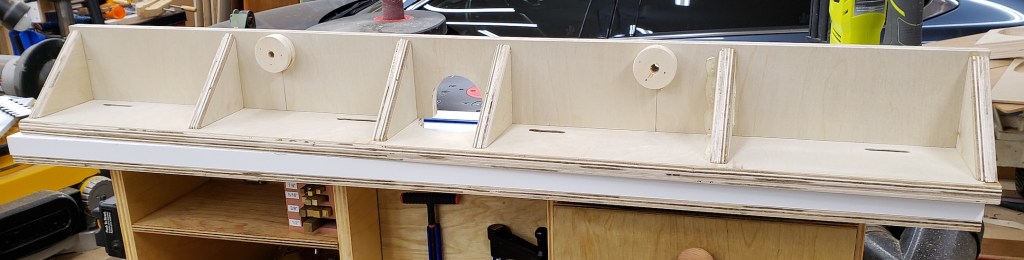
To finish off the fence I cut a strip of laminate to go across the top of the moveable faces. It makes the total height 5 inches and holds a t-track that goes the whole length of the fence.

The fence is done, but it still doesn’t have any dust collection. I printed a duct section to screw down just behind where the router bit will be. This combined with the dust collection built into the cabinet means that very little dust will escape this unit.

That puts the final touches on the fence. While I was at it, I cut a hand full of extra moveable faces and screwed them to the back of the table cabinet as spares. I also cut a full length extra tall fence that moves the total height up to 6 inches.
These upgrades should make the whole router setup really clean and fast to operate. Combined with the base I built earlier I am all set on the router front and am ready to tackle a lot of new future projects!


I’m searching for this kind of in-depth article on router setup. Thanks for this information and sharing your idea.
Would like to share it with my friends!
LikeLike
By all means. I want to share my work to help others, and just ask that you link people back to my work. I have really loved this table and don’t have any corrections or updates!
LikeLike