
Storage is a premium in our house and rarely used bedroom items like blankets and extra pillows take up a lot of space. I looked around for ideas and instead of trying to build a better chest of drawers than we currently have, I went for a new bed frame with storage. I couldn’t find many good examples of bed frames that keep the boxsprings and provide a decent storage solution. So I designed my own.
The frame is going to be in two halves that are joined by a narrow bit of plywood to tie the two together. This makes each half narrower and lighter, and get it the right size for drawers.
Most of the body parts are made of plywood that will get covered in maple face framing. I used pocket holes to aid in assembly and came back afterwards with screws from the other side to help with strength. Each base has 3 cavities of the same size. The ones closest to your head will have a false drawer front because our night stands sit too close for them to be useful.


The drawers are going to be big and heavy, so instead of messing with metal drawer slides I am just going to have them slide on the floor. Each drawer cavity got some clean pine along the edges to help horizontally guide the eventual drawers. Everything is recessed 6″ to prevent me from banging my foot on the corners like I always do with our metal bed frame.

The left and right half with drawers all needed face framing. I hand planed all the surfaces, and went with waterlox varnish (a thinned tung oil) for the finish based on my lessons at the tampa woodworking show. I am pretty sure I applied it too heavy, but I really like the results.


I did the same for two long sets of rail to go across the upper portion of the drawer area. It isn’t a traditional way to do face framing, but it was much easier to do and will still look good. Everything got strapped down with pocket hole screws.

With all the face work done I could finally assemble the whole lot. Pocket holes around the edges will hold on the lip that keeps the box springs from falling off. I screwed up a cut and had to do the center spanner in two pieces instead of one. A few alignment instructions later and it was ready to install in the bedroom.

The installation went pretty well and after a few weeks of sleeping on the frame we are really happy. The height is good, the frame is sturdy and no banged toes!
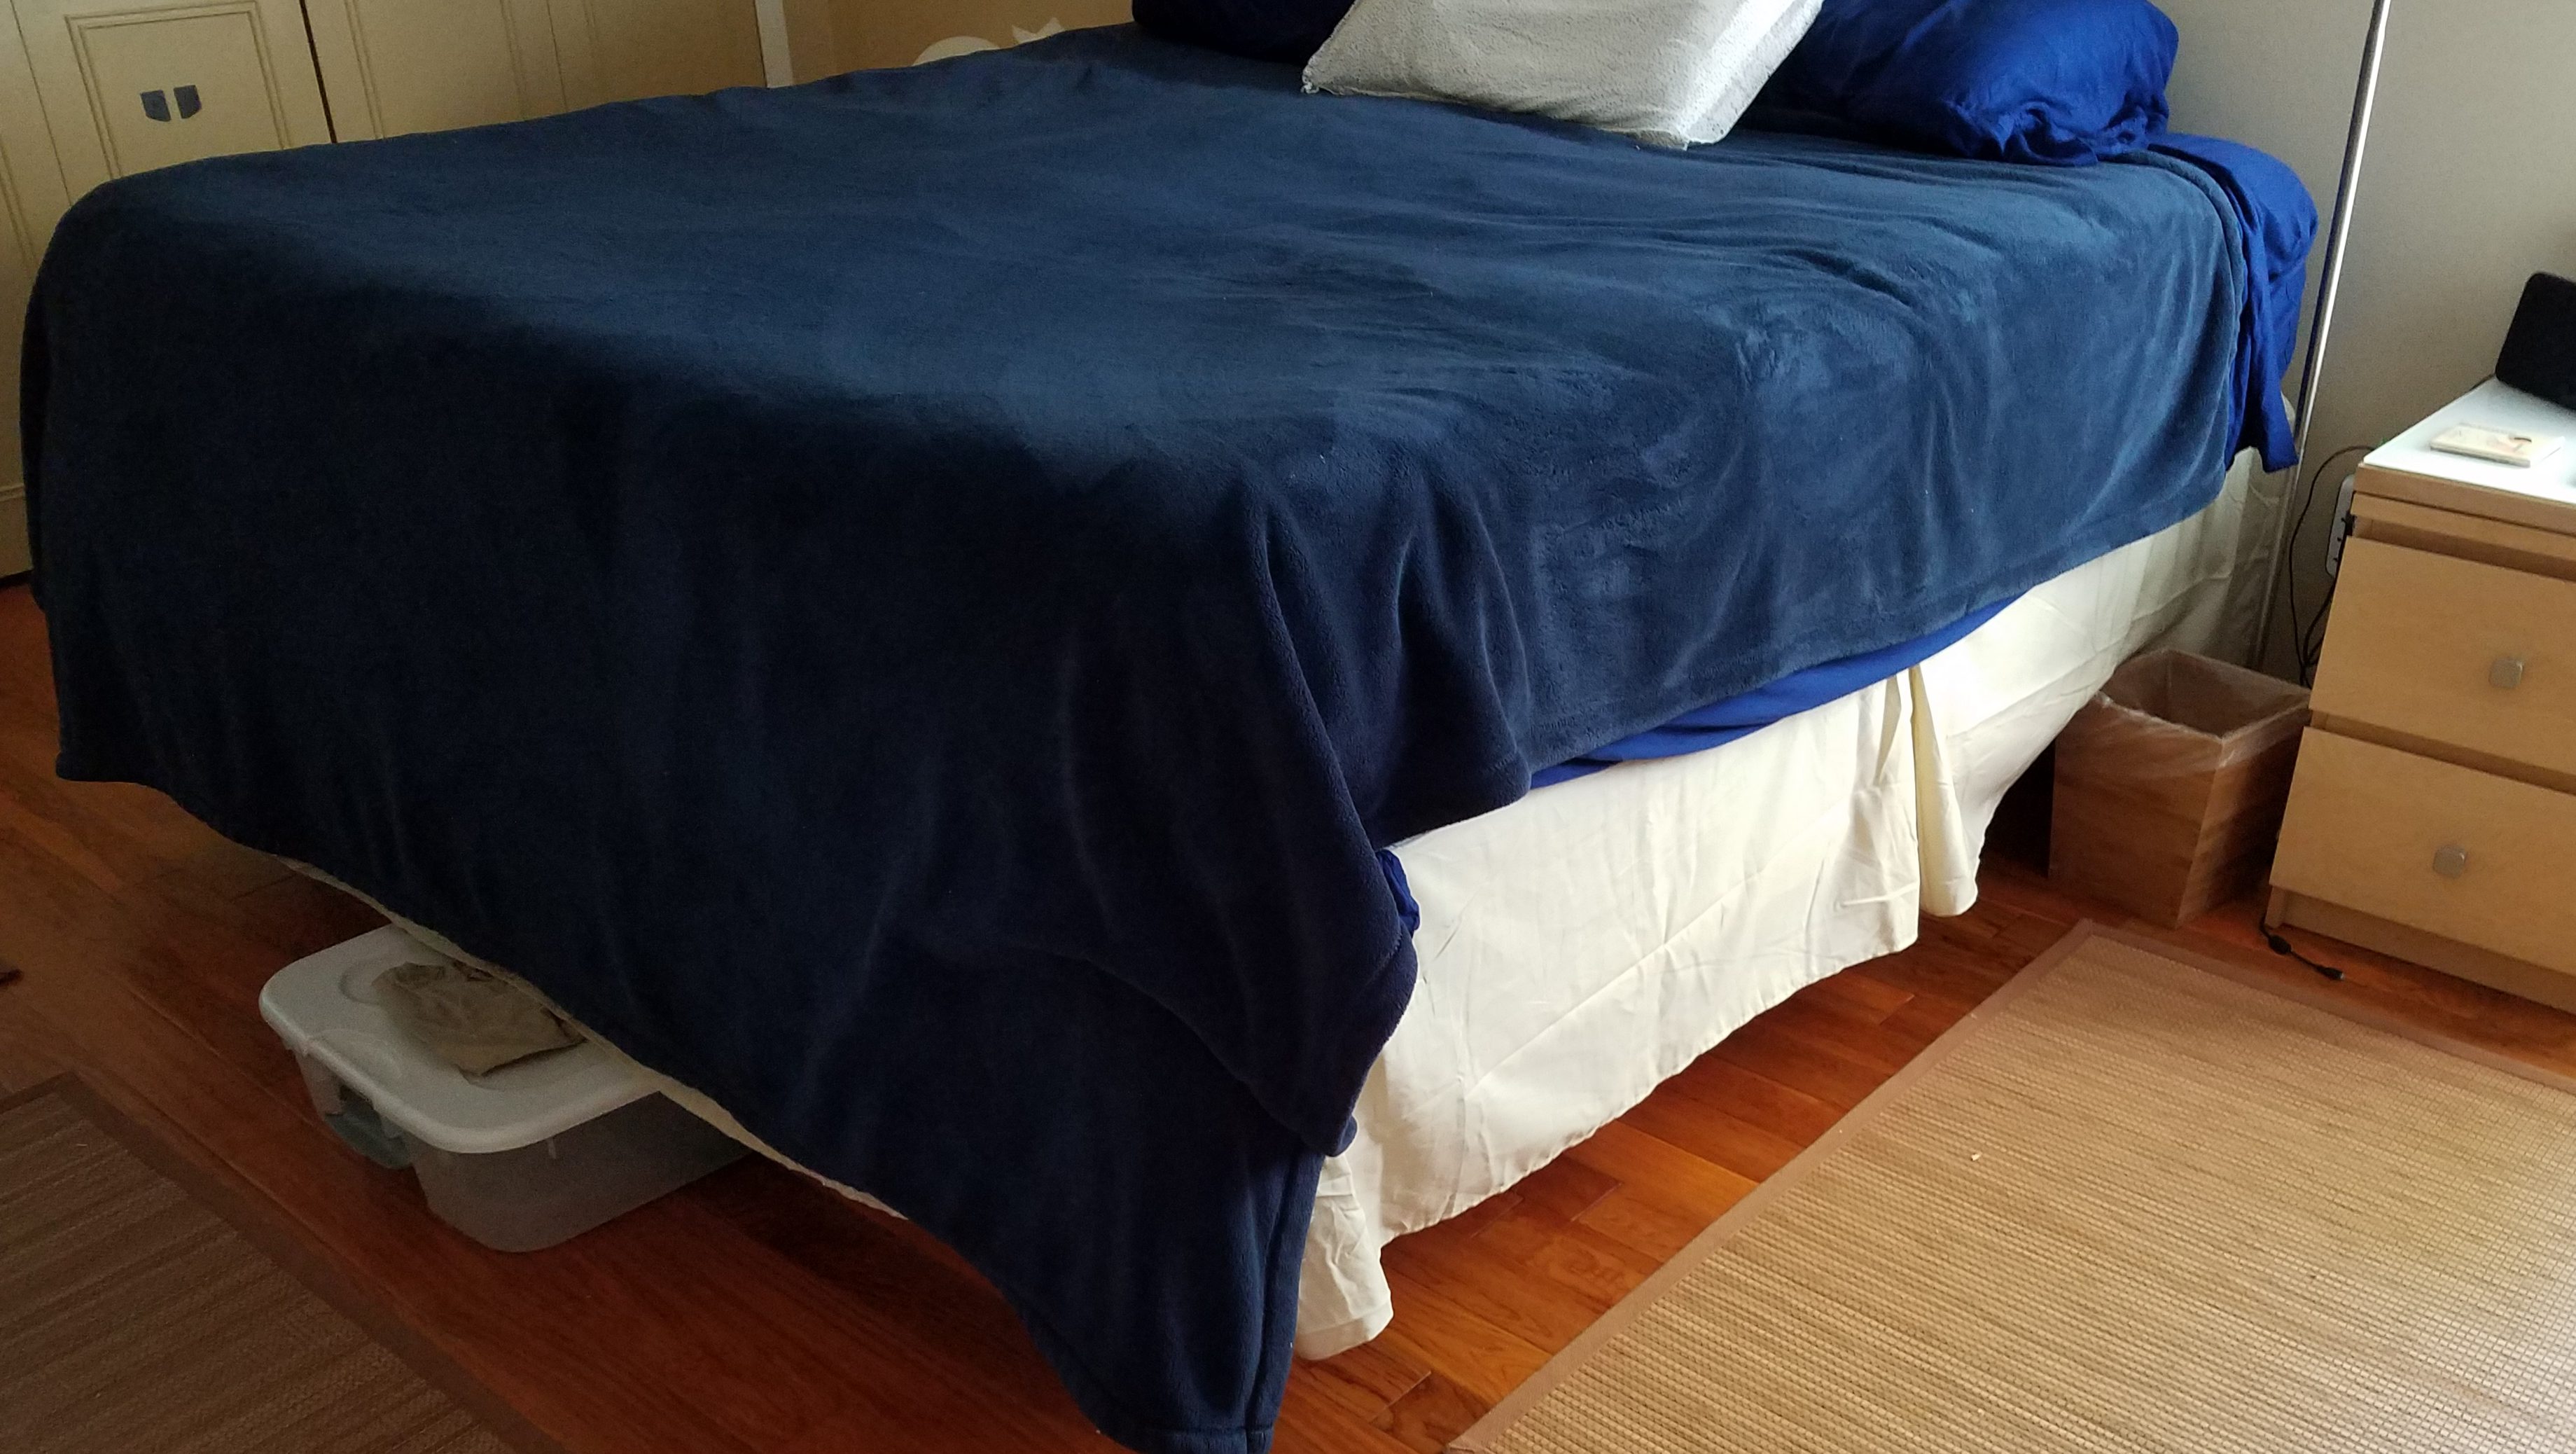
Currently I am using a few pieces of pine as the boarder to keep the box springs in place. I need one across the head, because the boxsprings have slid up since we installed them. The bedskirt ended up covering most everything. I was going to be more decorative with the box spring trim, but now will probably keep it simple. Phase 1 complete, phase 2 will be the trim and a piece to cover up the bottom face, and phase 3 will be the drawers.


Pingback: Bed Project Phase 2 | Kilted Craft Works