
Summer roars in Central Florida, but I am still in a spring cleaning and organizing mood. I have kind of a two for one. My office closet is a mess and needs something to organize printer paper and materials, and I want to try something with milk paint. I don’t know if shabby chic is still a thing, or if it includes cabinet grade plywood, but here we go.


I cut the height to specifically fit the height of a shelf in my closet, and the width of a sheet of paper plus a bit. I made as many shelves as I could with the scrap I had left over from previous projects.


A shallow drawer goes in the small bottom cavity. This will hold ink cartridges and other small printer related items.

I am 100% new when it comes to milk paint. I followed the directions and thought I was doing it right. I could have been making a complete hack of it though. The final product was really freaking rough, even with some buffing with a maroon finishing pad.


The first coat looked really streaky and terrible, while the second coat evened things out a bit. It was still lighter than expected and a bit rough. I hit everything with a coat of BLO to help seal the paint and unpainted sections. In retrospect a project with lots of internal cubbies and tight spaces was not the best way to try out milk paint for the first time. I will have to give it another shot later, but am not currently impressed with the results
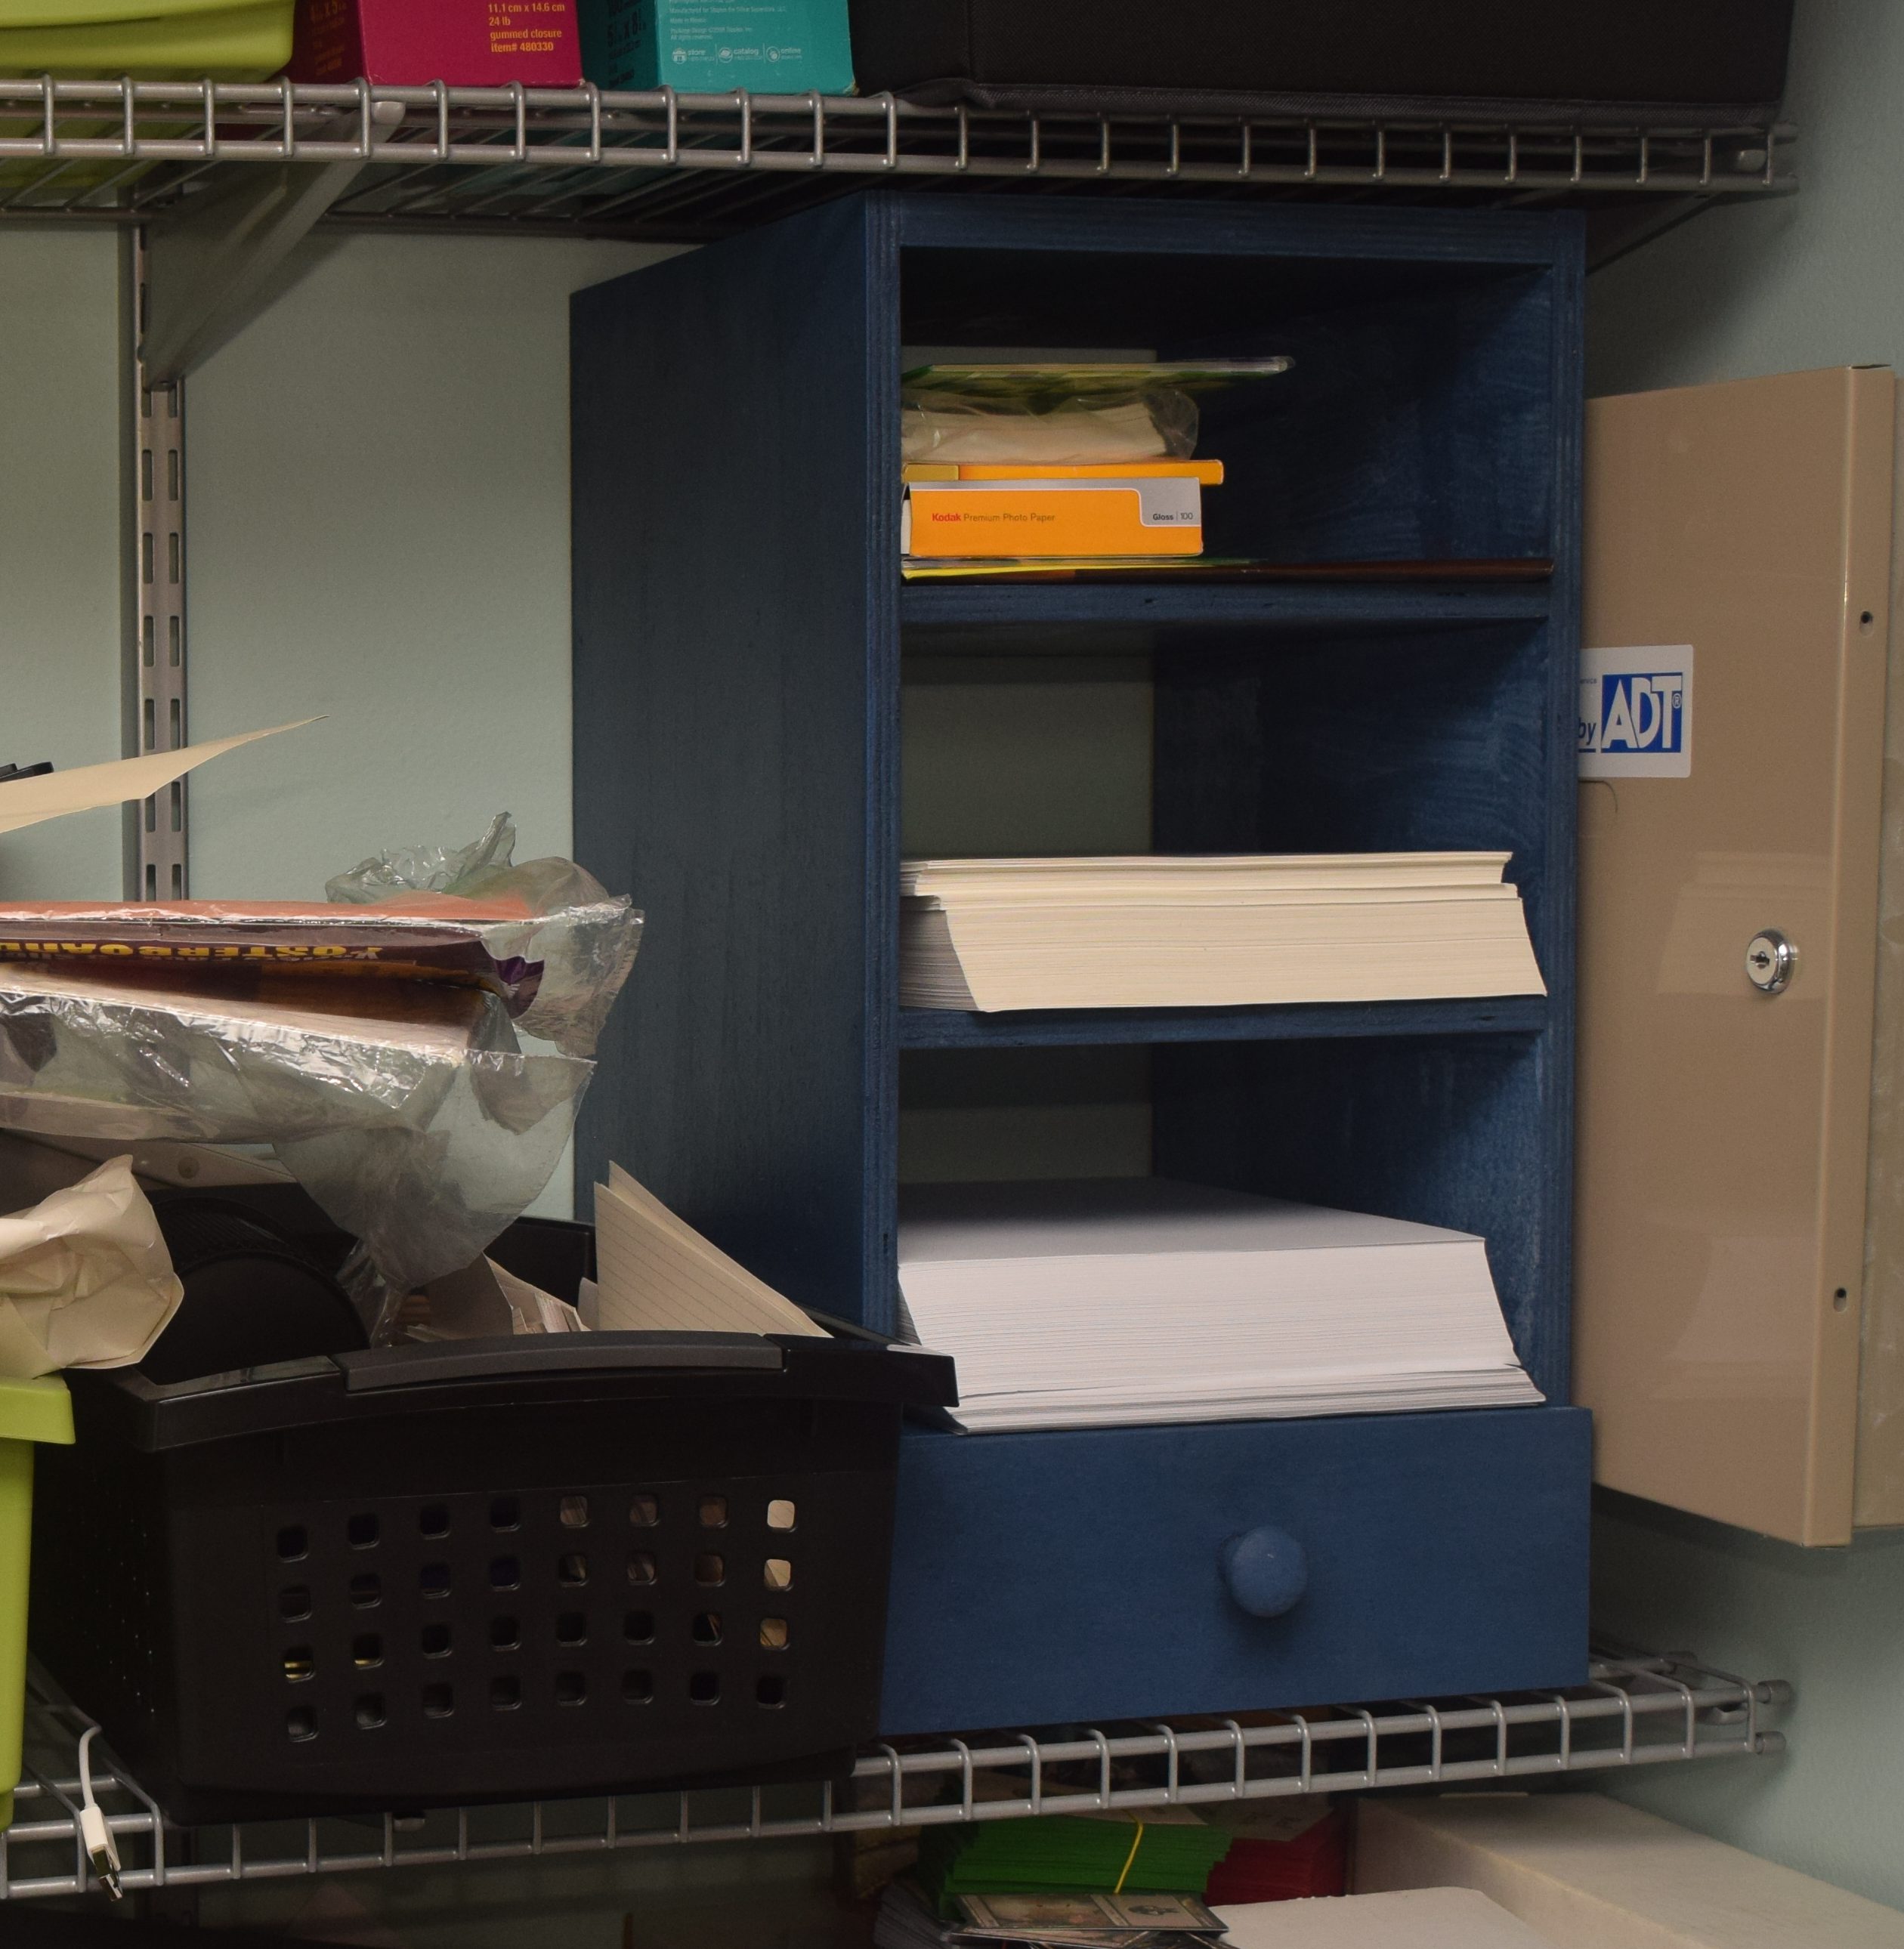
The office closet still has a long ways to go, but at least the paper isn’t getting spilled or bent up any more.
