I had a little project that involved 10 tons of Alabama strip rubble.

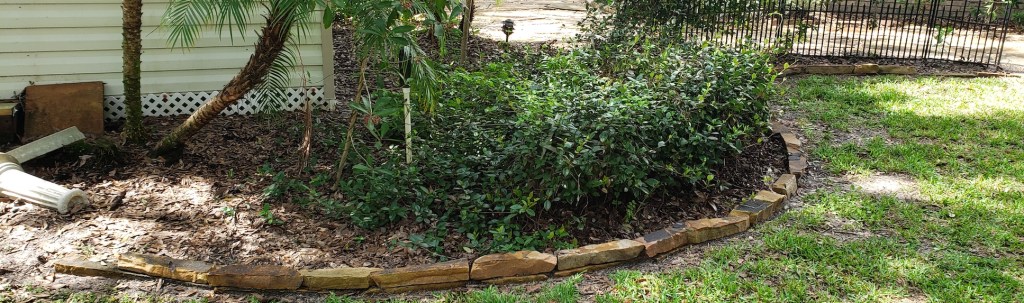
Our house came with some sections of the back yard that had gorgeous stone separating the flower beds from the rest of the yard. It has been around for a number of years and could use a little help in spots, but the age and moss make it look really wonderful.


The trick was that not all the beds had it. On top of that, out front they had used some really basic concrete border stones. It was done well, but compared to the really nice stuff in the back, it felt lacking.

I went through the yard and measured out every place where I thought I would want a stone border. Luckily the neighbors had info on where I could get more stone. I had to make a special order and buy it from Alabama sight unseen. I over-bought, but didn’t want to run out! My process was to dig up any border that was there, till the edge if needed, dig a trench about 6 inches deep, fill it with paver sand, and pound in the first layer of brick.


Along the side of the house I heavily altered the path of the bed to straighten the edge. It took a lot of tilling, but was eventually a nice rock bed. A lot of rain comes over that corner of the house, so the rocks should help prevent erosion.


After a lot of digging through the pile looking for the right stone I got more organized. I started unpacking the whole pallet and sorting the stones by size and whether they were good for the base layer, or not.

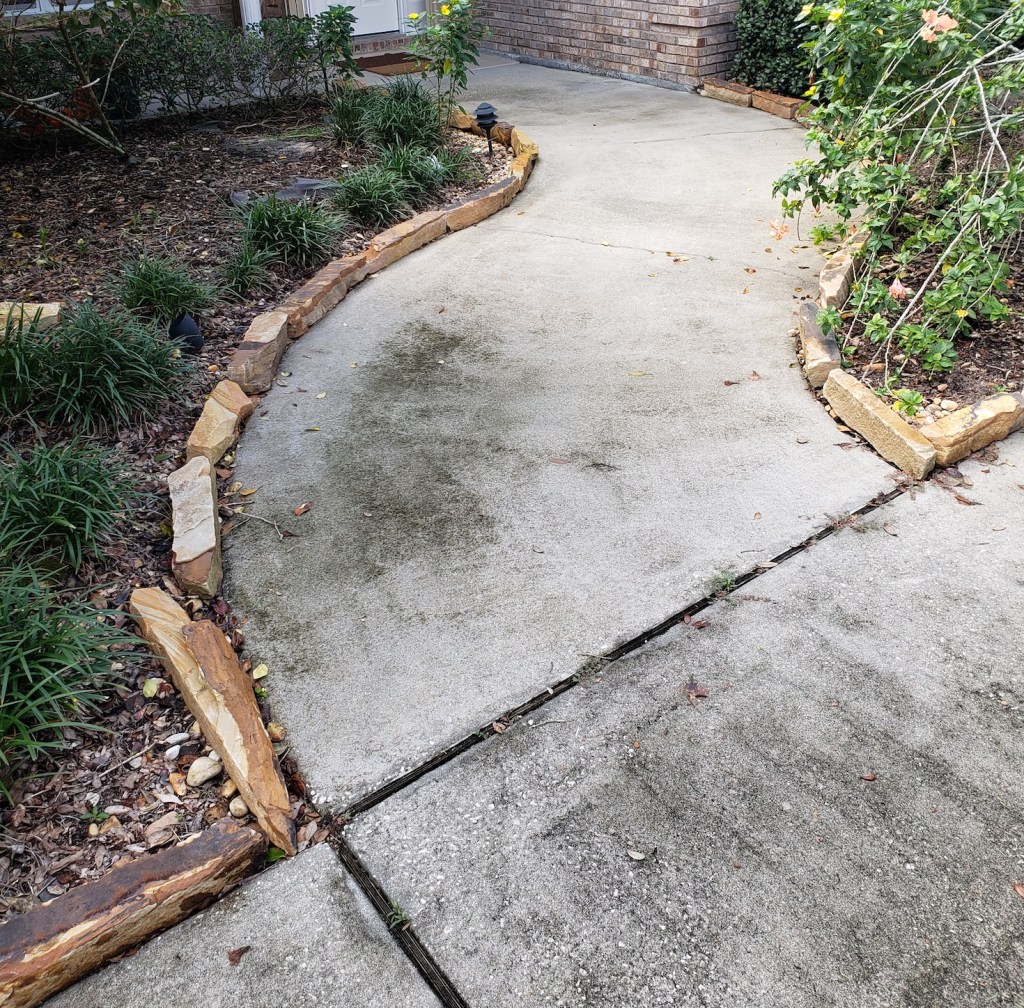
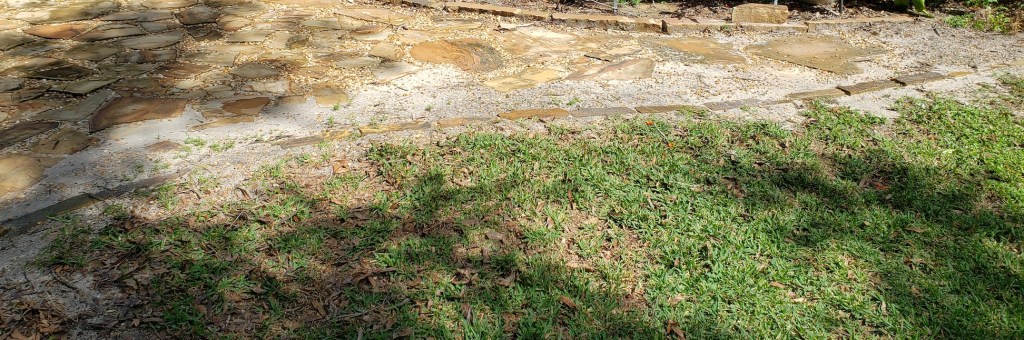
As the project went on I kept adding new areas to the list. Originally I wasn’t going to do any transitions from the flagstone walkway we have, but broke down and did it. Basically every place I found this black plastic boarder I dug it up and replaced it with a stone border.

I didn’t take many pictures of the process because I was too sweaty and covered in sand most of the time. The project started in mid May and didn’t finish until late October. Lots of evenings and weekends! All told I put down 8 or 9 tons of stone with another ton getting stored in the side yard, and some fraction of a ton being given away. That came out to around 550 feet of trenches dug for the stone to go into. Roughly 4 tons of paver base sand placed in the trenches to give the first layer a stable footing, and another 2-3000 pounds of sand to help fill in around the first stone. Because some of the rock borders got expanded I needed more egg rocks (looks like small river stones) to rejuvenate areas and fill them in. That was another 4 tons of rock. Speaking of which, here is what 60 bags of egg rock looks like in my suburban.

At 3000 pounds I was 50% over the stated cargo capacity. The suspension was completely bottomed out. Oops! Good thing I got all the other runs of rock and sand in 20-30 bag increments.
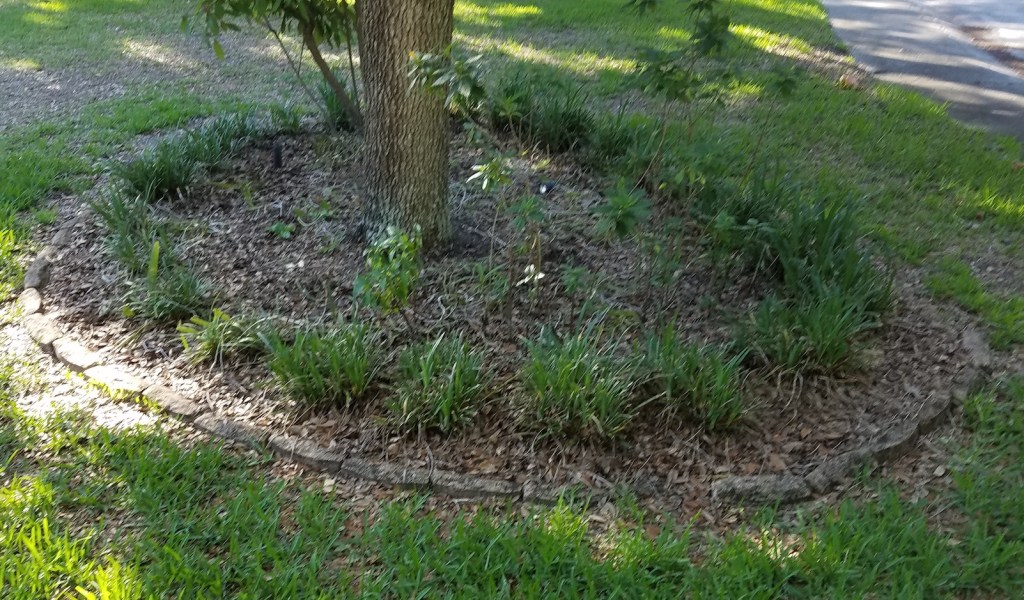
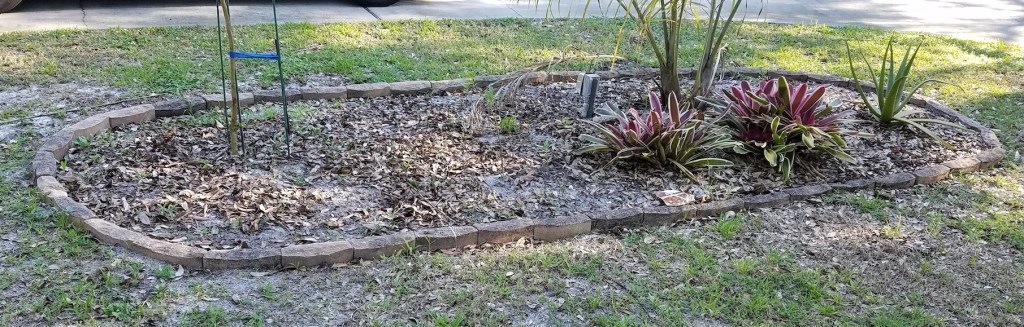
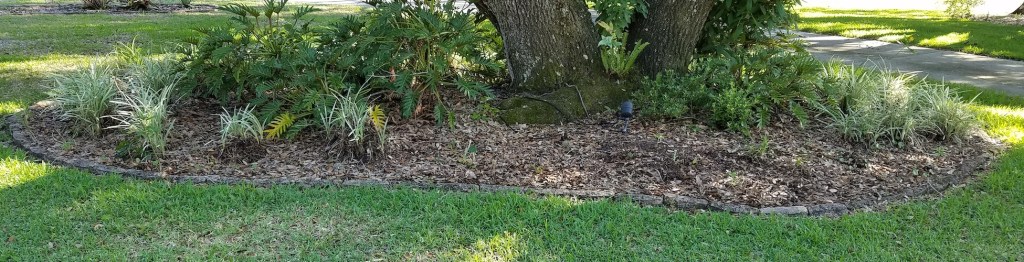
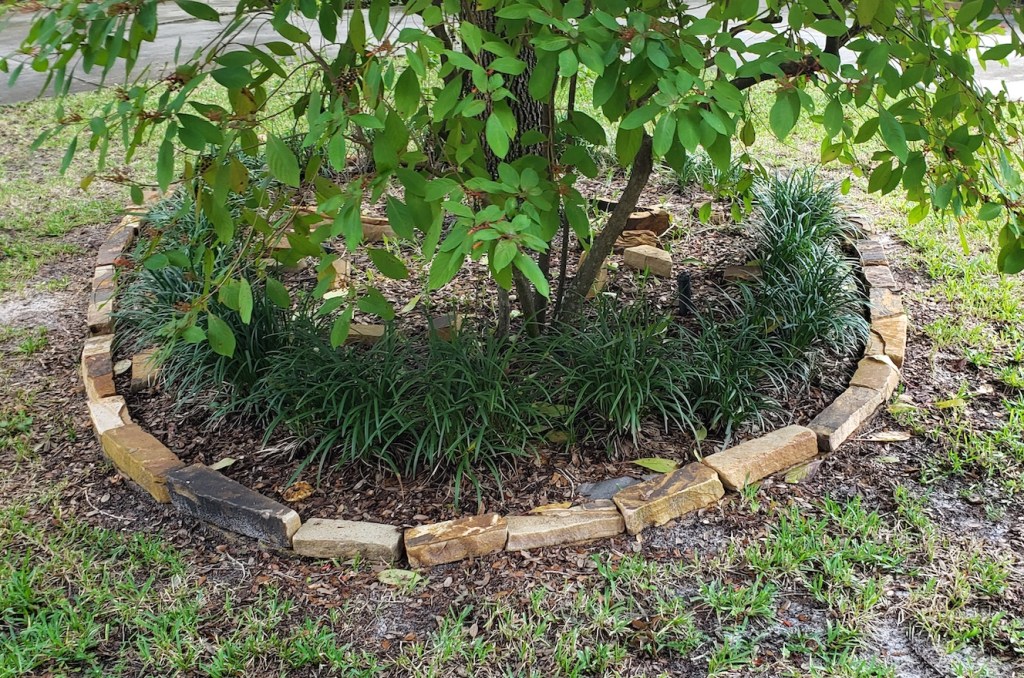
I don’t know how many hours I worked on it over the nearly 5 months, but I will never do that again! It was worth it all though. The new borders really help separate the various trees and beds from the rest of the yard, and the walkways look stunning with that rock border. I trenched everywhere and packed in the first layer. Once I had the first layer in everywhere, I came back and used landscape adhesive to glue on a second layer of stone. That gave the first layer time to settle in more with the weather.
The front turned out well, and I had enough to lay some of the longer more interesting looking stones along the walkway and edge of the driveway. At the end of this slide show you can see where I stored my extra stone for some future flowerbed expansion.


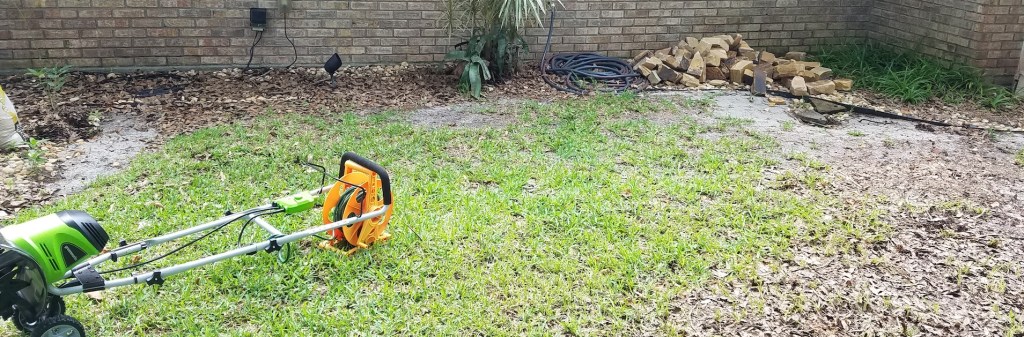
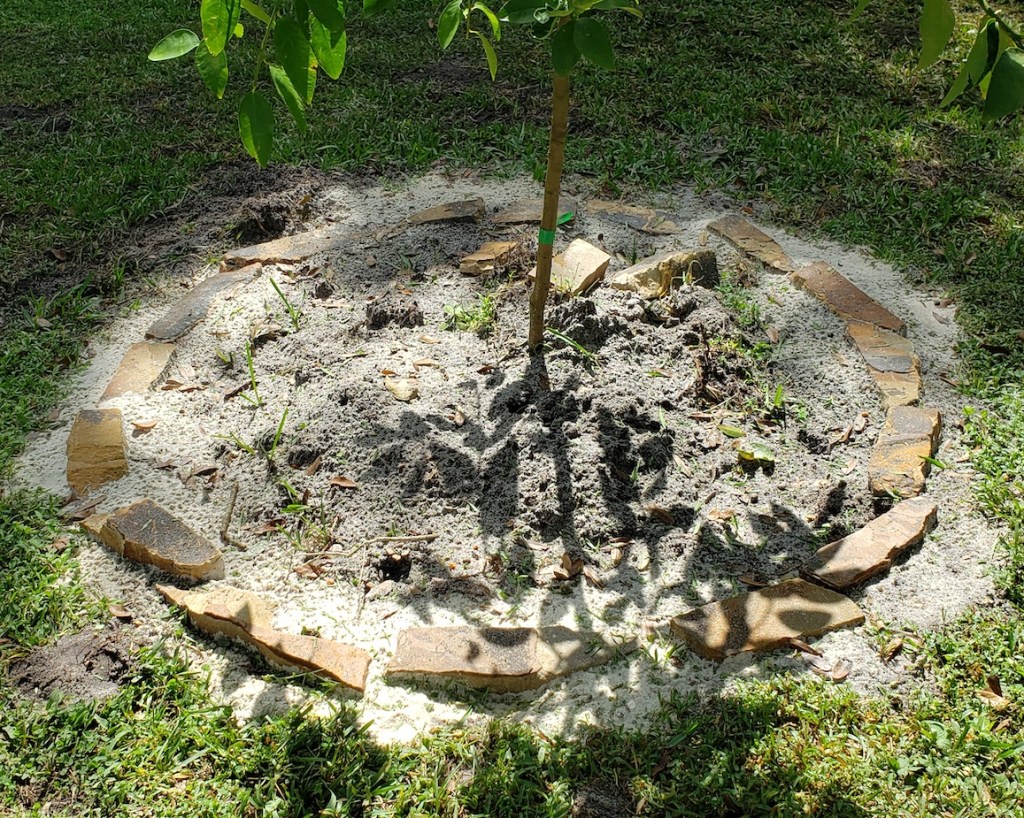
In the back we added all new border around the shed, expanded the area across the back of the pool deck and planted 2 new citrus trees.


- 5 months of work
- 550 feet of trenches
- 10 tons of Alabama strip rubble
- 5 tons of base and paver sand
- 4 tons of egg rock
Did I mention it was a lot of work? I am hoping after a year or two that the rain will settle in the sand and make it all look a bit more natural. The colors of the stone are really pretty, but a few touches of moss would make it all just right.

Pingback: Pallet Wood Florida | Kilted Craft Works