
This was a hum-dinger of a project! It took me 3 weeks to complete, which was about twice as long as I thought it would. In short, I would never recommend you buy a woodriver tail vise. The instructions are terrible, and the design isn’t really that great. I guess for 60 bucks I can’t complain too much. Most of the alternatives are 250+ dollars. I almost think they could be 4 times better if they are easier to install. I digress, let’s put this puppy together!
Body Box
I pulled the hardware out and read the instructions. They show pictures of hardware for model numbers that are not the model number I bought… oh well, Time to wing it! The black plate will screw to the side of my bench top, and the green plates will slide along that plate. I want to start by making a box structure around the main screw. Two boards against the green plates are a good place to start. One clears the center screw head, but the other needs to be cut down. I could thin it, but why not get fancy! I used my No. 50 to remove the wood that interferes with the round portion of the green fixed nut (I will call it a screw head), and a No. 78 to groove a clearance for the base of the screw head. It looks like a fit. In retrospect, I really should have just thinned it. It would make later steps simpler.


I filled in the groove areas and trimmed them flush at the two ends. This let me put solid wood in between the bolts that hold the two plates together. With the ends covered I will need clearance to get this thing over the screw head for installation. A chisel cleaned out a little section between the hollow and groove I made. Another filler board runs the length to help stiffen and give a give a surface to later bolt the dog hole block to.


Dog Hole Block
I laminated a few large boards together to give me a big block for drilling dog holes. The third and fourth picture show a heavy block at 90 degrees to the screw. I was going to add this L so I could have an extra clamping surface. After doing lots of cutting and chopping I decided to nix it. It didn’t fit well and I was going to have to drill out a lot of the center to allow screw clearance. Besides, I already have a good quick release front vice. I ended up just filling where that block would have gone, and screwed the body box to the dog hole block. That makes it more easily replaceable in the future.


Installation
I fashioned a board with grooves and a relief hole to go between the bench top and that black mounting plate. It was easier to make separately, then attach. Sitting the vice on the table top I was able to pencil out the waste area, and started cutting with a circular saw. I finished with a hand saw. The vice is thicker than the table top, so it took a lot of chiseling to clear enough of the table support to let everything move around. After careful fitting the screws went in, and my tail vice was installed.


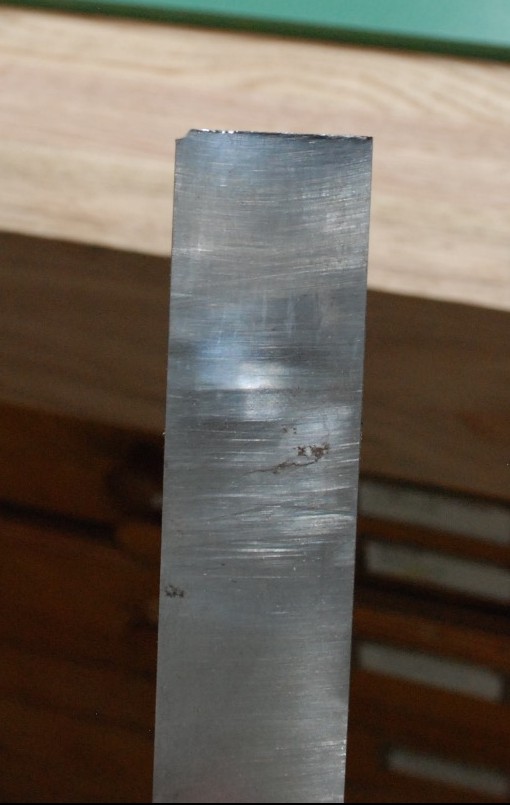
It wasn’t without injury. I ended up hitting one of the lag bolts that holds together the table base. My biggest chisel took a beating. It made me very sad, and this will take a lot of sharpening to correct. Lesson learned, watch for metal hardware when you work!
End Caps
An end cap with a hole covers the opening that the screw goes through. I only screwed it in place so it could be removed if needed in the future. I also added a few end caps where the front of the vice meets the table. Boring vertical holes down between the end caps help for holding small round things like screw bits for sharpening. These are also only screwed in place in case I want to replace or modify them.


Lastly there is a big section between the dog hole block and the table that needs covering. It is mostly cosmetic, but having it there helps keep shavings and junk from building up. I took a board and removed a volume where the green top plate will be with a mixture of rabbet planing and chiseling. Once glued in place the vice was fully installed!


Final Surface and Finish
Once installed I cleared all the junk off and grabbed a jack plane. When I first built the top I only had one hand plane, and I didn’t really know how to use it, so I ended up using a belt sander on most of the top. SACRILEGE!! Now, I spent probably less than 20 minutes planing off the old finish, stains, and gouges. I left some plane marks behind, but I never really expect the top to be perfectly smooth. I finished with some boiled linseed oil and left it to dry. Gorgeous!


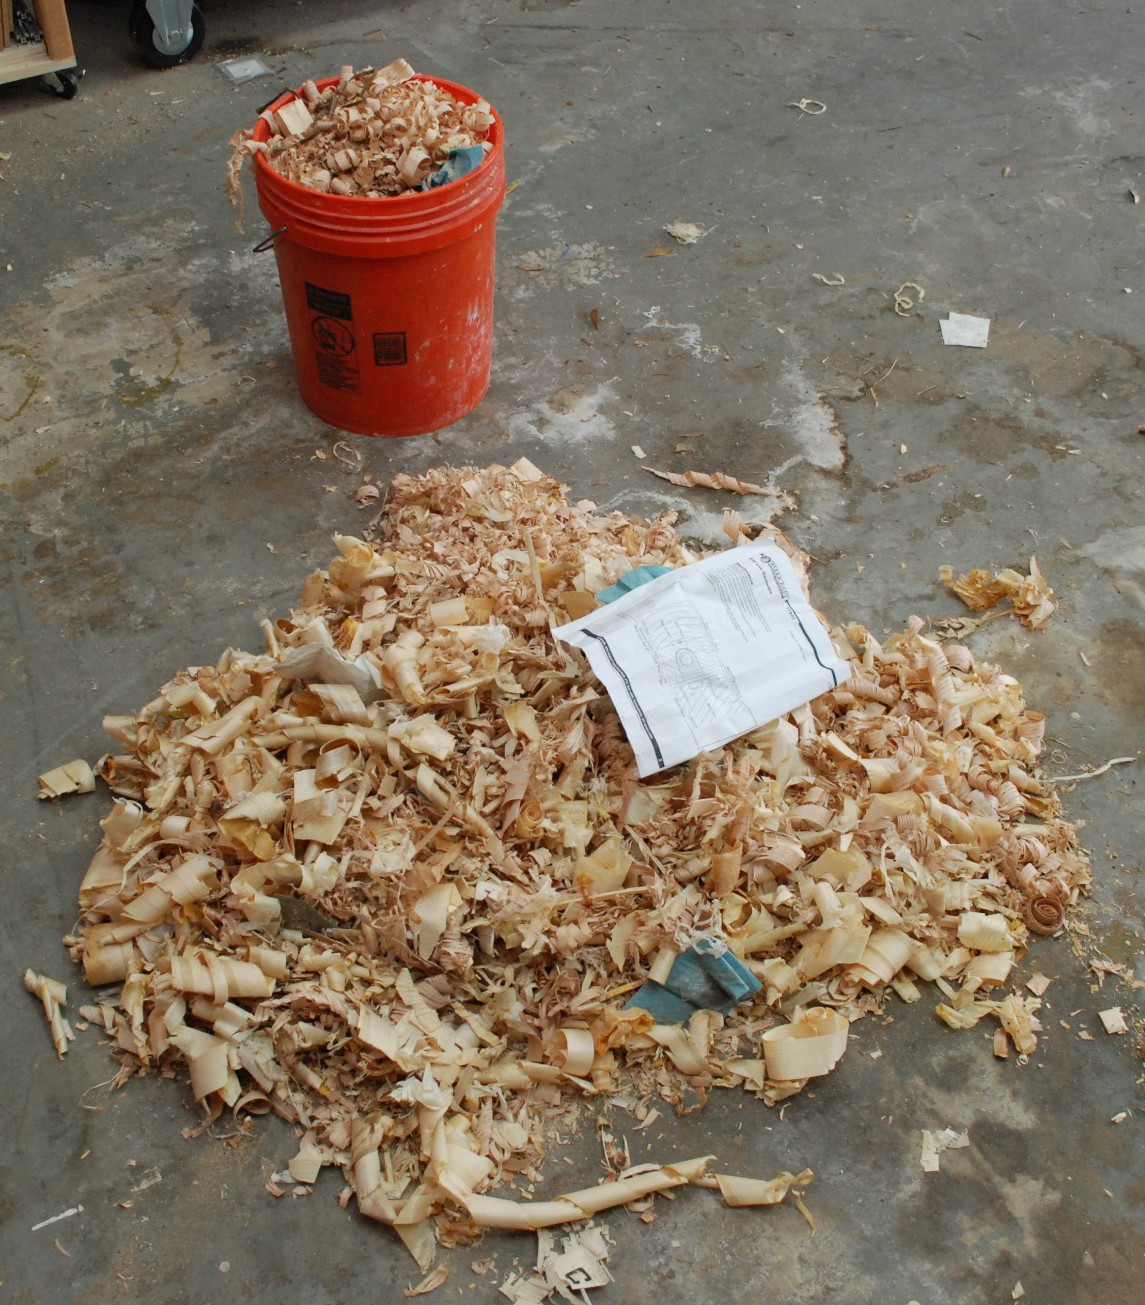
I reinstalled my front vice on the left side and drilled a few more holes before applying the finish. This is how a table should be setup for right handed people like me. That way when you stand in front and plane from right to left you push against the dog in the table, not the vice. I didn’t know this when I first installed that front vice. Oh well, you live and learn. After a sweep up this never-ending project finally did. What a pile of shavings!

Thank you for this post and the nice pictures. I’m finally getting around to building my ultimate workbench and the box with the tail vice hardware which has been sitting on the shelf for years is missing any kind of instructions.
LikeLike
Honestly, now that I have had it a while, I realize it was kind of a mistake. At least for me. I rarely use it. It is good for clamping pieces longer than my front vise can handle (around 3 feet), but anything that goes longer than my table (5 feet), and the tail vise can’t be used. If your bench is a lot longer than mine, then it might be more useful to you. Anything long I usually just use a holdfast and have some of it hang over. The other thing you can do is get something like a wonder dog from veritas and clamp it sideways between two dog holes.
LikeLike
Thanks for your feedback, my current design is for a long bench, my quatersawn beech stock for the top is over 9′ long , but the bench will probably end up more in the 7-8′ range.
I’m loading it up with vises such as shoulder, tail, face, leg, and pattern makers. I also do metal working, casting, Blacksmithing and want to focus on more sculptural furniture.
Unfortunately I have to concentrate on running my general contracting business and only get to do my fun woodworking occasionally. Retirement is just around the corner 👍🏼
LikeLike
Good luck with your workbench, and send me a picture when you get it all finished. Retirement is just around the corner for me too! Only another 30-35 more years and I am there.
LikeLike
Thanks for all the pictures and details. I just bought one of these with the understanding that it’s going back to the WoodCraft store if I can’t make it work on my new bench (still in design – yet to be built). Turns out that the only way to figure it out is to buy one. Real dimensional drawings are non-existent from vise makers. I’ve yet to find a single one that will provide a true three view drawing. I like what you came up with and while what Woodriver shows in their cartoon could be done, you would most likely need an NC milling machine to do it. I think your “built-up” approach is good and gives me some ideas. I just retired so I have lots of time to figure out how to waste the kids inheritance and this project is a dandy! Nice work – keep it up!
LikeLike
Thanks for the comment. After a while of having this tail vise I realized I barely use it. Anything longer than my front vise goes to the tail vise, but my bench isn’t that long, so instead of clamping end to end, I clamp side to side in my front vise. I would take it back and get a wonder dog or something else. My next bench top will certainly not have this vise.
LikeLike
This was very helpful unplanning to install this vise. I had several questions and your descriptions helped.
LikeLike
I have their small tailvise and am about to install it. While I shall go about it differently than you, I appreciate you sharing of your “Adventure”. I am curious though; how has it held up structurally? Any problems with seasonal wood movement? Since your dog hole strip seems to be four boards face glued together, why did you wind up (at least in the photographs posted) with only two dog holes and those at the front end of the vice? It would seem you could greatly expand the capacity just by drilling more evenly spaced dog holes in line towards the tail end of the vice.
LikeLike
I added more holes later on. I don’t remember when, but there are more now. It has held up just fine, though I don’t use it a ton. I find myself doing a lot more with the front vise and hold downs. If/when I rebuild the top, I am going to leave it off.
LikeLike